Homemade Potato Bread with Chives: Light, Fluffy, and Perfectly Savory
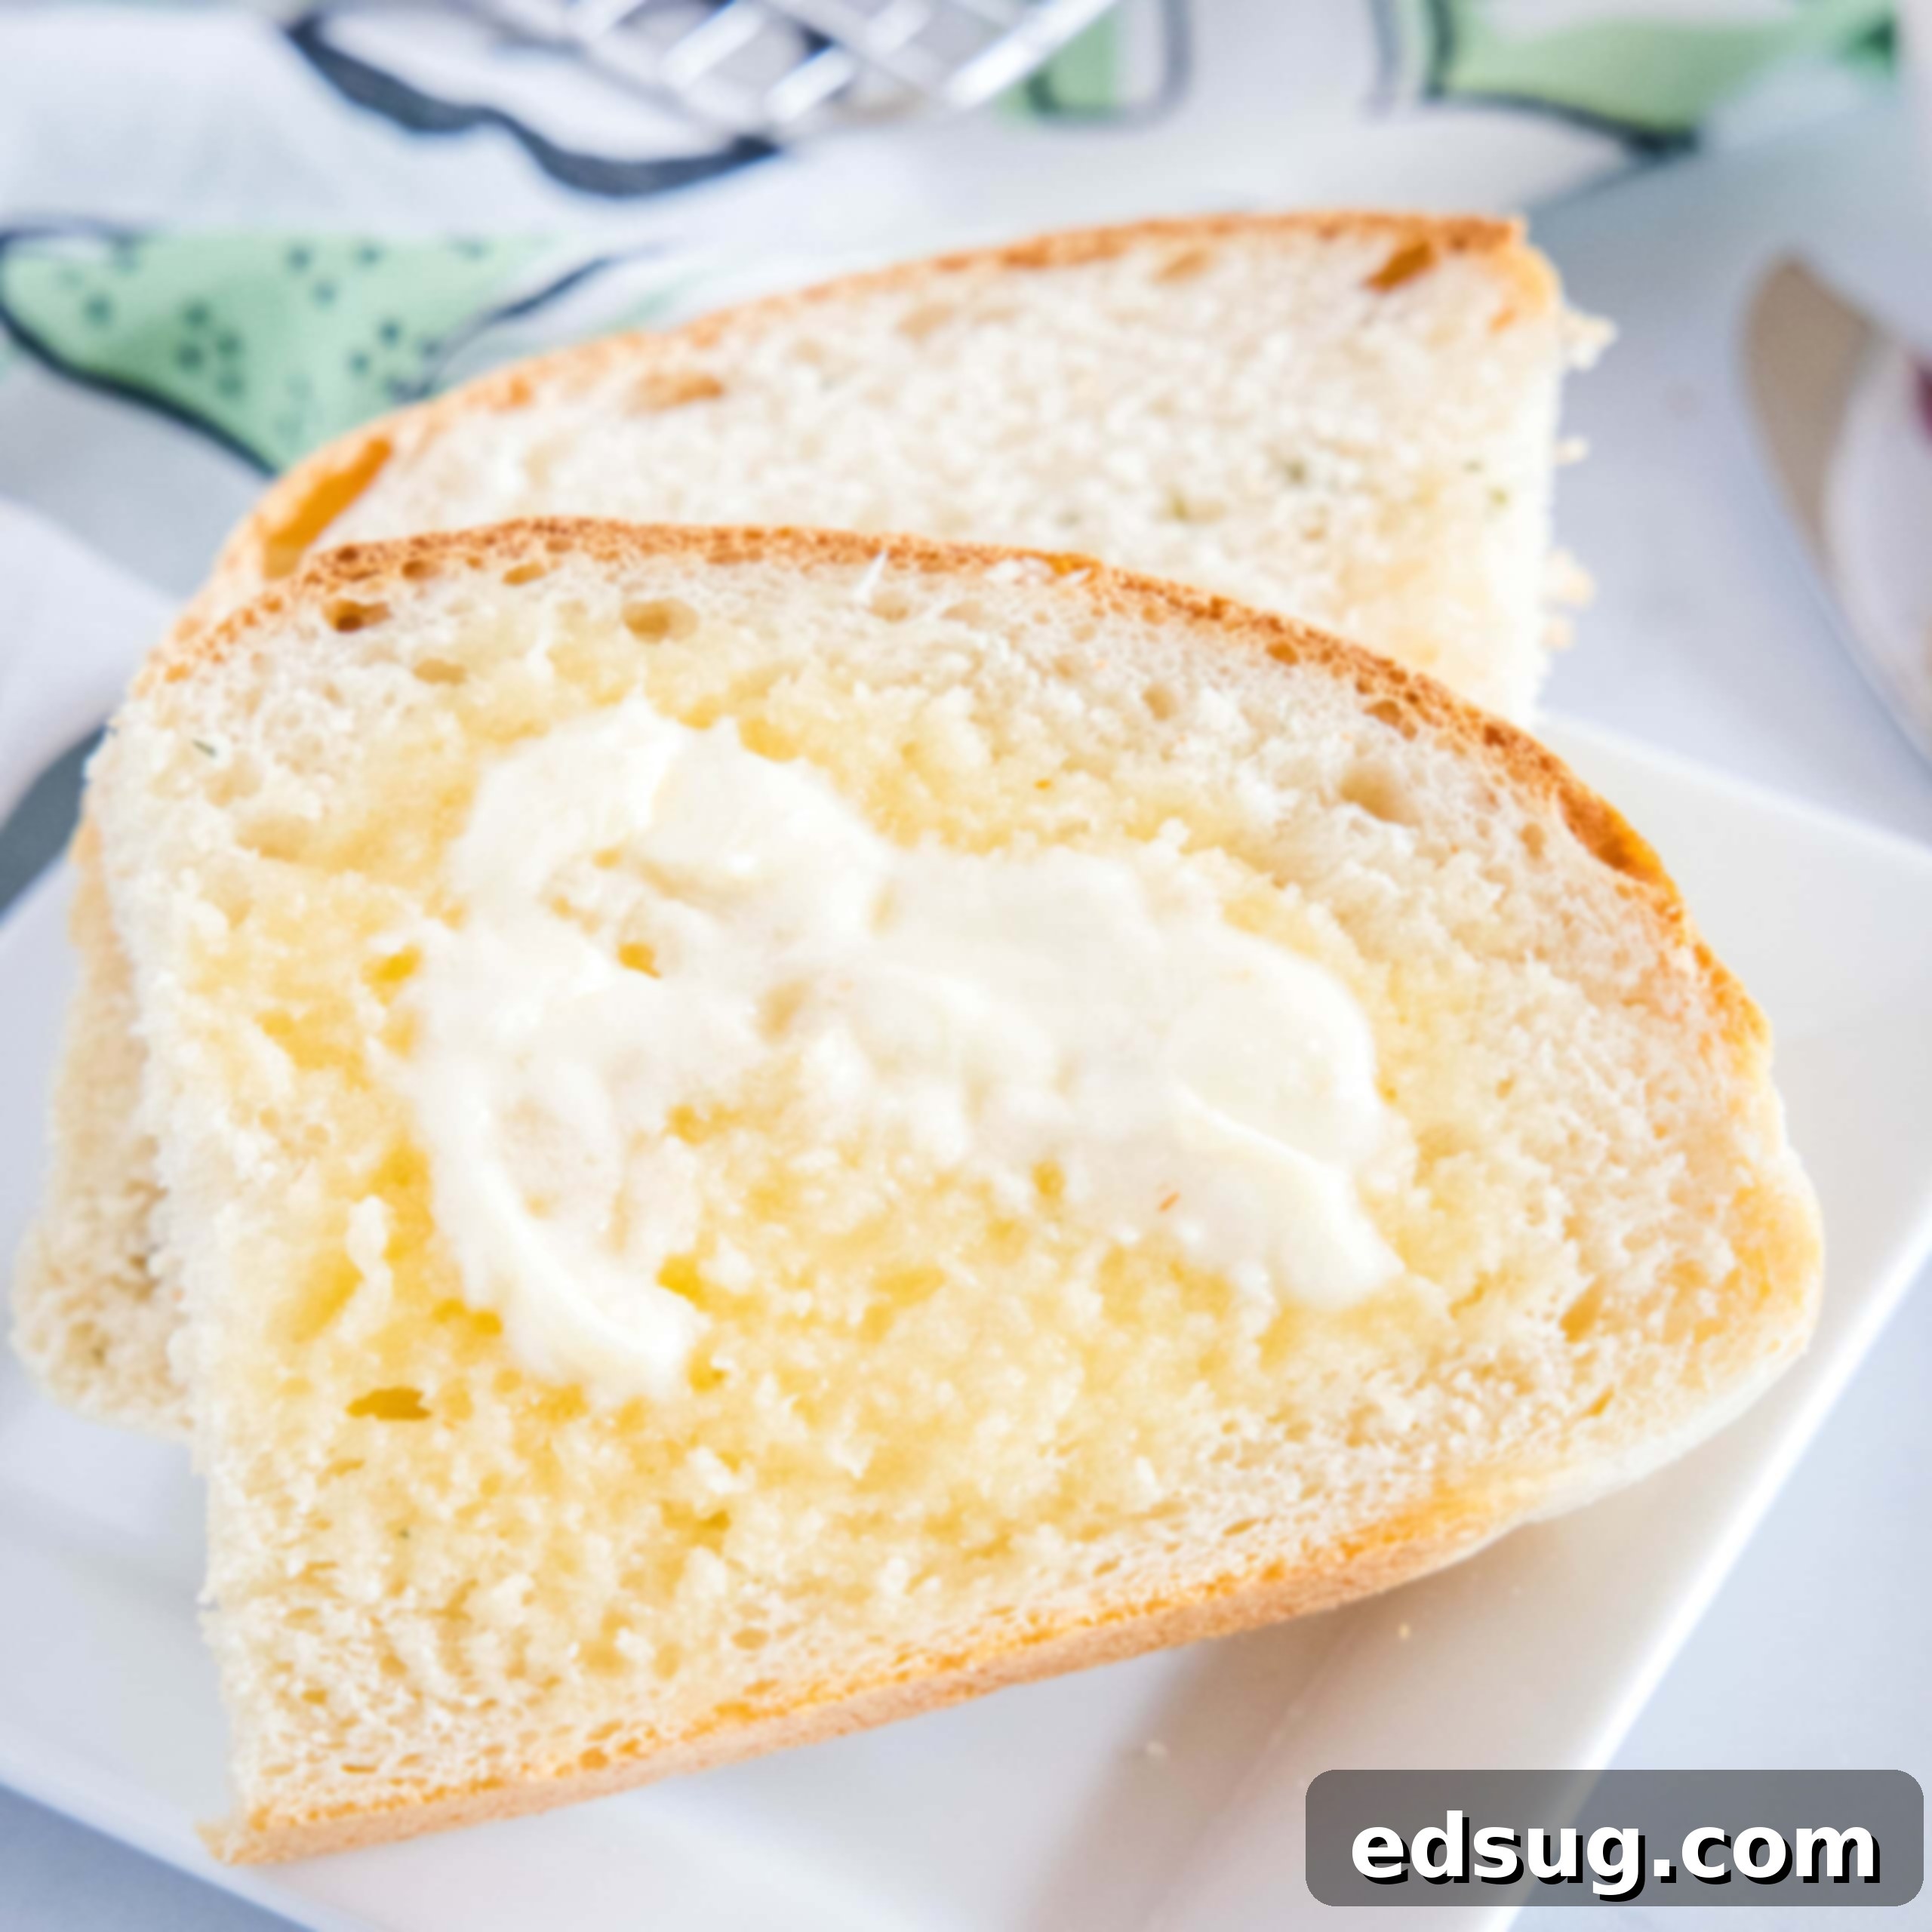
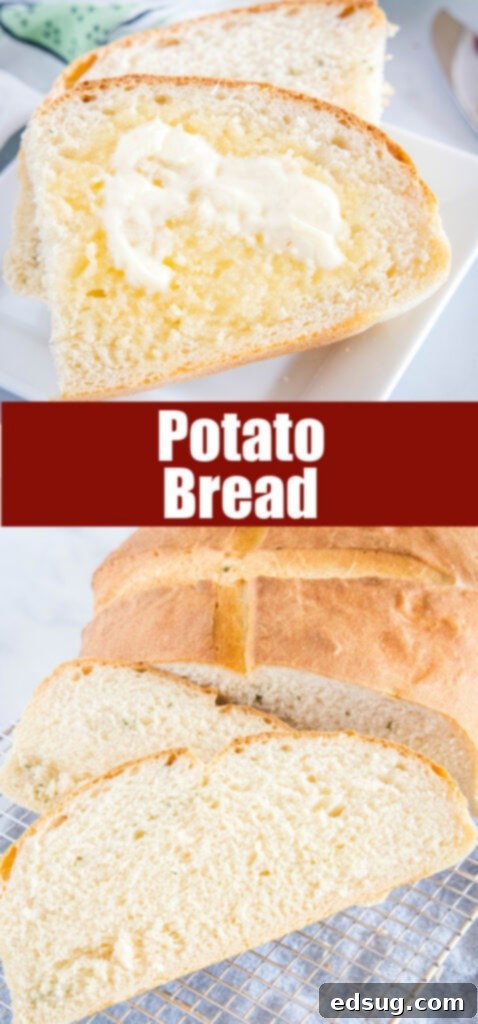
There’s an undeniable comfort that comes with baking homemade bread. The aroma filling your kitchen, the warmth of a freshly baked loaf, and that first bite of a tender, flavorful slice are truly unmatched. While many breads offer delight, this particular recipe for Homemade Potato Bread with Chives elevates the experience to a new level. It’s incredibly light and fluffy on the inside, boasting a wonderfully crispy crust, and infused with the subtle, savory hint of fresh chives.
This isn’t just any bread; it’s a versatile masterpiece. Imagine it as the perfect canvas for your morning toast, a hearty base for a grilled cheese sandwich, or the ideal accompaniment to a comforting bowl of your favorite Creamy Chicken Tortellini Soup or a spicy chili. A simple slice, warm and buttered, can even be the star alongside your dinner. Once you try this recipe, you’ll want to enjoy fresh bread every single day.
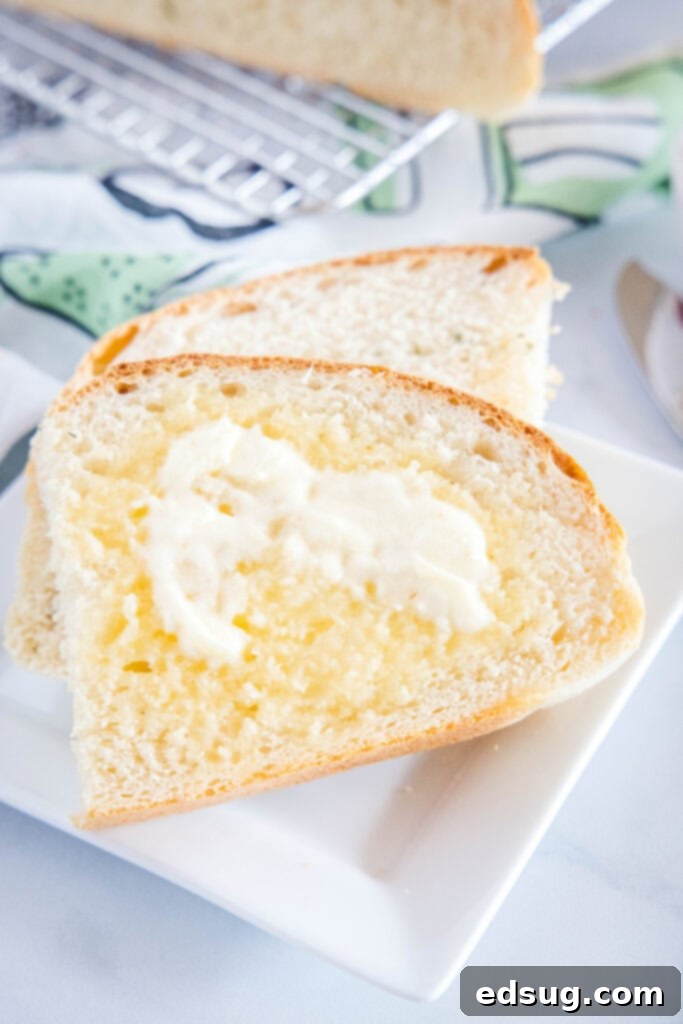
What Exactly is Potato Bread?
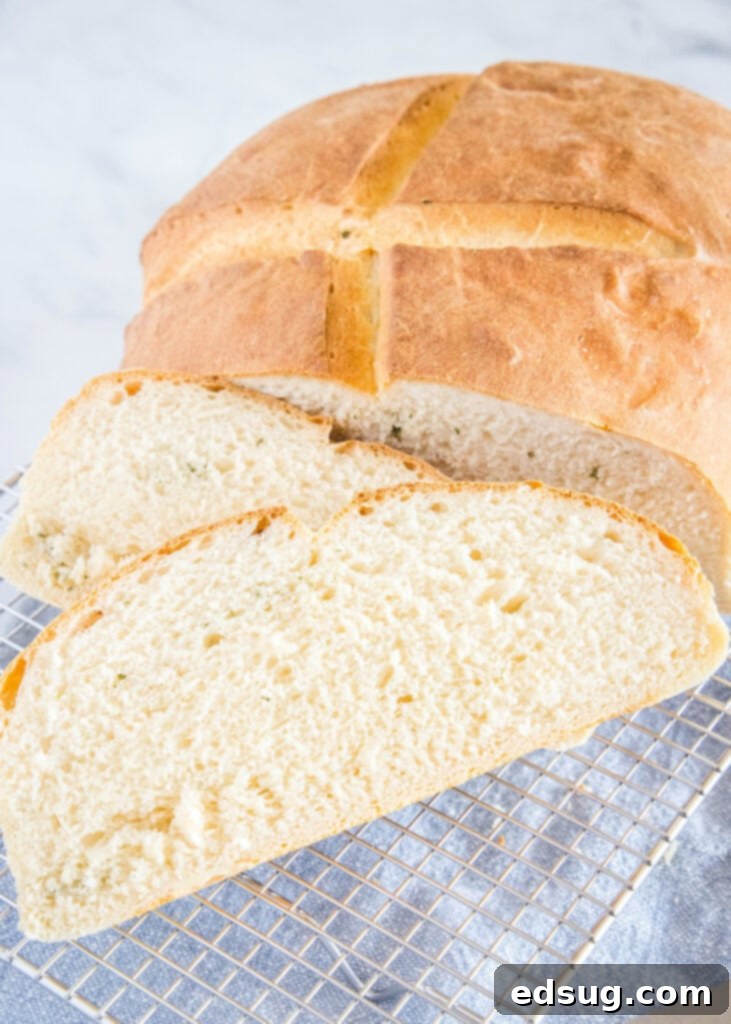
At its heart, potato bread is a delightful variation of traditional white bread, with one key difference: it incorporates mashed potatoes directly into the dough. This simple addition works wonders, transforming an ordinary loaf into something extraordinary. The natural starches and moisture from the potatoes interact with the flour, resulting in a dough that yields a remarkably moist and tender crumb. Simultaneously, it contributes to that irresistible, golden-brown crispy crust that makes homemade bread so addictive.
The texture of potato bread is noticeably lighter than many other types of yeast breads, making it an excellent choice for a wide range of uses. It slices beautifully for toast, holds up well as the foundation for hearty sandwiches (we even used it for leftover Sous Vide Corned Beef to craft gourmet Reubens!), and provides a satisfying yet delicate chew. While the potato provides the signature moisture and tenderness, the addition of fresh chives in this recipe introduces a subtle, savory dimension, elevating the flavor profile. This herbaceous touch is completely optional, but highly recommended for an extra layer of deliciousness.
Choosing the Best Potatoes for Your Bread
The beauty of this potato bread recipe is its flexibility, especially when it comes to the mashed potatoes. The absolute best option, for both convenience and optimal texture, is to use leftover mashed potatoes that have been chilled. Cold potatoes are easier to incorporate into the dough and prevent over-activating the yeast with excess warmth.
You have several choices for your mashed potatoes:
- Homemade with Flavor: If you have leftover mashed potatoes seasoned with garlic, butter, or other herbs, fantastic! These will only add more delicious complexity to your bread. The subtle garlic or herb notes will be a welcome surprise in every bite.
- Simple Boiled Potatoes: If you don’t have leftovers, simply boil a few potatoes until very tender, then mash them without adding too much liquid. Allow them to cool completely before using. Russet or Yukon Gold potatoes are excellent choices for their starchy texture, which creates a light and fluffy mash perfect for bread.
- Instant Mashed Potatoes: For ultimate ease, instant mashed potatoes can be used. Prepare them according to package directions, then let them cool thoroughly before adding to the dough.
You only need 1 cup of mashed potatoes for this recipe, so if you’re already whipping up a batch of Sous Vide Mashed Potatoes for dinner, consider adding an extra potato or two. This way, you’ll have just enough leftovers to create a truly spectacular loaf of potato bread!
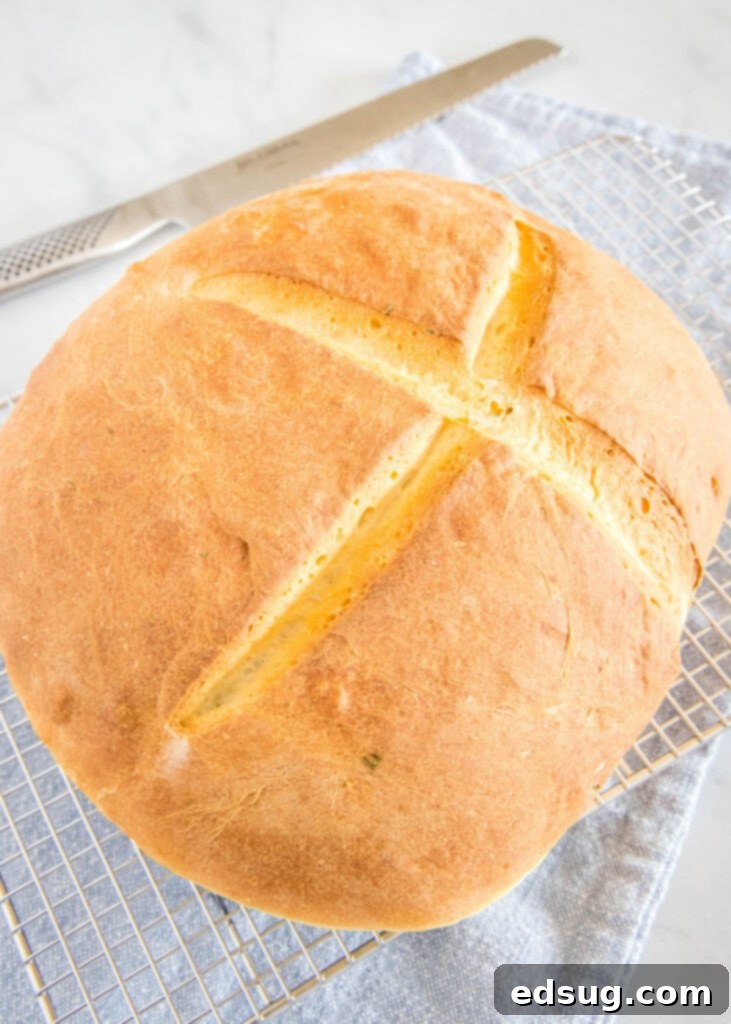
The Simple Ingredients for Irresistible Potato Bread
Crafting this incredible potato bread requires a handful of basic pantry staples, each playing a crucial role in achieving its signature texture and flavor:
- Active Dry Yeast: The leavening agent that makes the bread rise, giving it its light and airy structure.
- Warm Water: Activates the yeast, providing the ideal environment for it to bloom.
- Sugar: Feeds the yeast, helping it to activate and contribute to the bread’s fermentation and browning.
- Salt: Essential for flavor, it also helps to control yeast activity and strengthen the gluten structure.
- All-Purpose Flour: The primary structural component of the bread, providing the necessary gluten for a chewy yet tender crumb.
- Milk: Adds richness, contributes to a softer crumb, and enhances the bread’s overall flavor.
- Vegetable Oil: Helps to tenderize the dough, keeping the bread moist and improving its shelf life.
- Mashed Potatoes: The star ingredient, ensuring a moist, tender crumb and a unique texture.
- Chives: Minced fresh chives provide a delicate, oniony, and herbaceous flavor that perfectly complements the potato.
How to Make Homemade Potato Bread: A Step-by-Step Guide
Baking bread might seem intimidating, but this recipe breaks it down into easy, manageable steps. Follow these instructions for a perfect loaf every time:
- Activate the Yeast: In a large bowl, combine the warm water, active dry yeast, and a teaspoon of sugar. Give it a gentle stir and let it sit for about 10 minutes. This process, known as “blooming,” confirms your yeast is active and alive. You’ll know it’s ready when a foamy layer appears on the surface.
- Combine Wet and Dry (Initial Mix): Once your yeast is active, add the vegetable oil, salt, and the cold mashed potatoes to the bowl. Incorporate about half of the all-purpose flour (2.5 cups). Mix everything together until just combined. The mixture will be shaggy at this point.
- Add Remaining Flour and Form Dough: Gradually add the remaining 3 cups of flour. Continue mixing until a rough, cohesive dough ball begins to form. It will still look a bit uneven, but all the flour should be incorporated.
- Knead the Dough: Now it’s time for the crucial kneading step. Turn the dough out onto a lightly floured surface, or if you have one, attach a dough hook to your electric stand mixer. Knead the dough for a full 8-10 minutes. If kneading by hand, be prepared for a good workout. If the dough becomes too sticky, add a little more flour, one tablespoon at a time, until it’s more manageable. The goal is to achieve a smooth, elastic dough that springs back when gently poked.
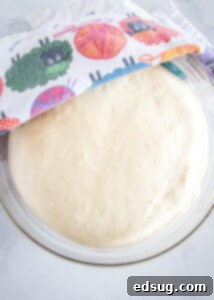
- First Rise (Bulk Fermentation): Transfer your beautifully kneaded dough to a well-oiled bowl, turning it once to coat all sides. Cover the bowl with plastic wrap or a clean kitchen towel and let it rise in a warm spot for approximately 60-90 minutes, or until it has visibly doubled in size. If your kitchen is cool, this rise might take up to 2 hours. Patience is key!
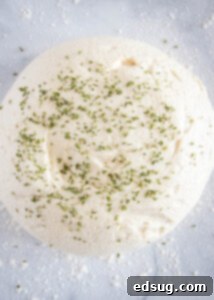
- Incorporate Chives: Gently punch the risen dough down to release the air. Turn it out onto a lightly floured surface. Sprinkle the minced chives evenly over the dough. Knead the dough for another 2-3 minutes, just until the chives are uniformly distributed throughout. This ensures every slice gets a burst of savory flavor.
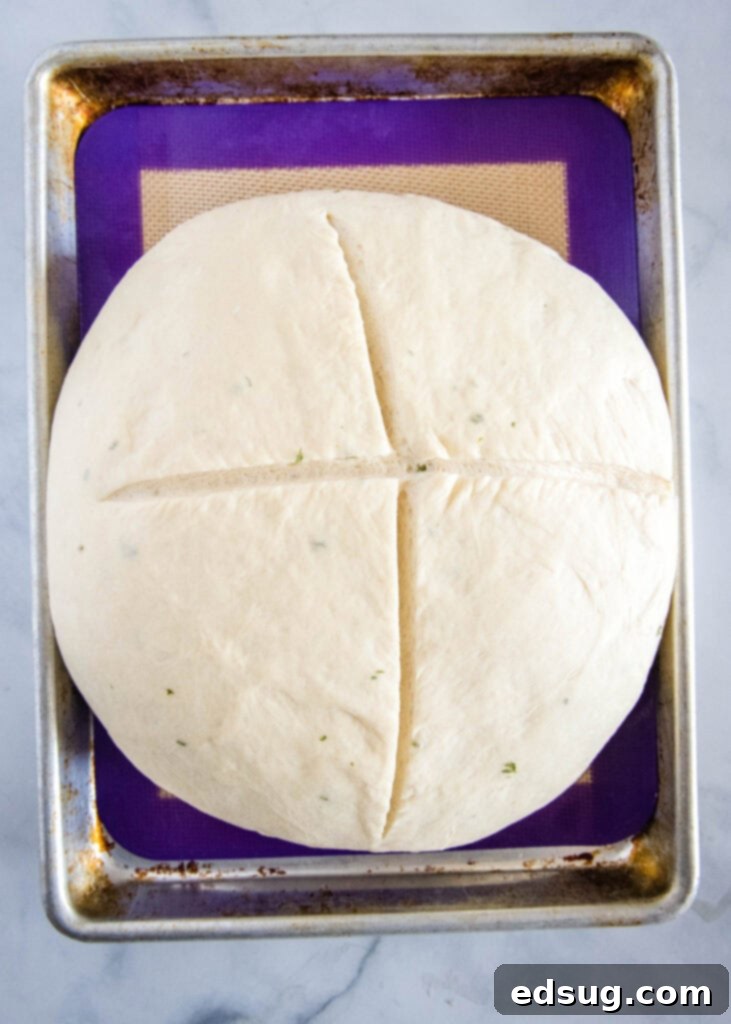
- Shape and Second Rise (Proofing): Divide the dough into two equal portions if you want two smaller loaves, or keep it as one for a large loaf. Shape each portion into a round ball or an oblong loaf (if using loaf pans, see below). Place the shaped dough on a parchment-lined baking sheet, leaving ample space between loaves if making two. Cover again loosely and let it rise for another 30-45 minutes, until it has almost doubled in size again.
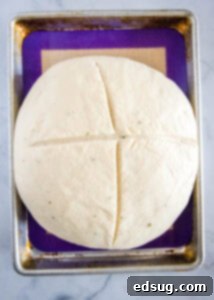
- Prepare for Baking: Preheat your oven to 400ºF (200ºC). Just before baking, take a sharp knife, a razor blade, or a bread lame and carefully cut a shallow “X” or a few parallel slits into the top of each loaf. This allows the bread to expand without tearing during baking, creating a beautiful crust.
- Bake to Golden Perfection: Bake the potato bread for about 35-40 minutes. The bread should be golden brown on the outside. To confirm it’s fully cooked, insert a digital thermometer into the center of the loaf; the internal temperature should register between 190ºF and 200ºF (88ºC-93ºC).
- Cool Completely: Remove the bread from the oven and immediately transfer it to a wire rack to cool completely. Slicing into hot bread can compromise its texture, so resist the urge!
Do I Need a Stand Mixer for This Recipe?
While a stand mixer with a dough hook can certainly make the kneading process quicker and less labor-intensive, it is by no means a necessity. You can absolutely achieve a fantastic loaf of potato bread by kneading the dough by hand! It just requires a bit more time and effort.
When kneading by hand, pay close attention to the dough’s texture. You’ll want to knead until it feels smooth, elastic, and has a springy quality. This might take a minute or two longer than with a mixer, so focus on the dough’s feel rather than strictly adhering to a timer. The most common pitfall when making homemade bread, especially for beginners, is not kneading the dough enough.
A note on dough toughness: If your finished bread turns out tough or dense, insufficient kneading is often the culprit. It’s tempting to stop after 5 or 6 minutes, thinking it’s “good enough,” but those last few minutes of kneading are critical for developing the gluten structure. Gluten is what gives bread its elasticity and helps trap the gases produced by the yeast, leading to that coveted light and airy texture. Trust the recipe and set a timer for the full 8-10 minutes. This commitment to proper kneading has been a game-changer for many home bakers, ensuring their bread consistently turns out perfectly tender and delicious.
Storing Your Homemade Potato Bread for Maximum Freshness
Once you’ve put in the effort to bake fresh bread, you’ll want to ensure it stays fresh and delicious for as long as possible. Proper storage is key to preventing it from drying out or spoiling quickly.
Room Temperature Storage: For enjoyment within a few days, allow the bread to cool completely on a wire rack. Once cooled, wrap the loaf tightly in aluminum foil. Stored this way, your potato bread will remain wonderfully fresh for 3 to 4 days on your countertop.
Freezing for Longer Enjoyment: This potato bread freezes exceptionally well, making it a fantastic candidate for baking ahead or splitting into multiple loaves. If you opt to divide the dough into two smaller loaves, you can savor one immediately and freeze the other for later! To freeze, ensure the bread is completely cooled. Then, double-wrap it, first with a layer of plastic wrap, followed by a layer of aluminum foil. This double protection helps prevent freezer burn. Properly wrapped, the bread will keep beautifully in the freezer for up to 6 months.
Can I Use Loaf Pans for This Recipe?
Absolutely! This recipe is incredibly adaptable, and you can certainly use loaf pans instead of shaping the dough into round balls for freeform baking. This recipe yields enough dough for two standard loaves of bread. Instead of forming two round balls, simply follow these steps:
- Lightly spray two 8×4-inch loaf pans with a non-stick cooking spray.
- After the second rise and chive incorporation, divide the dough equally between the two prepared loaf pans. Gently press and spread the dough to fill the pans evenly.
- Cover the loaf pans loosely with plastic wrap or a kitchen towel and let the dough rise for approximately 45 minutes, or until it has almost doubled in volume and is peeking above the rims of the pans.
- Bake at 400ºF (200ºC). When baking in loaf pans, the baking time may be slightly longer, closer to 45-55 minutes. As always, the most accurate way to check for doneness is to use a digital thermometer. The internal temperature should reach between 190ºF and 200ºF (88ºC-93ºC) for a perfectly cooked loaf.
More Delicious Bread Recipes to Explore
If you’ve enjoyed baking this potato bread, you’re sure to love exploring other homemade bread recipes. There’s a whole world of deliciousness waiting to be discovered in your kitchen!
- Texas Roadhouse Dinner Rolls
- Olive Garden Breadsticks
- Classic Oatmeal Bread
- Honey Oat Bread
- Naan Bread
- Cheddar Bay Biscuits
- Parmesan Garlic Knots
- Rosemary Focaccia

Potato Bread with Chives
Erin Sellin
10 minutes
40 minutes
2 hours
2 hours 50 minutes
12
Pin Recipe
Rate Recipe
Print Recipe
Ingredients
- 2 1/2 teaspoons active dry yeast, 1 packet
- 1 cup warm water, about 110º F
- 1 teaspoon sugar
- 2 Tablespoons vegetable oil
- 2 teaspoons salt
- 1 cup cold mashed potatoes
- 1 cup milk
- 5 1/2 cups all-purpose flour, plus more for kneading
- 2 Tablespoons chives, minced
Instructions
-
In a large bowl add water and sprinkle yeast and sugar over the top. Mix until combined. Let stand for 10 minutes until the yeast has foamed up.
-
Mix in vegetable oil, sugar, mashed potatoes and 2 1/2 cups of flour. Mix until everything is well blended.
-
All the rest of the flour and mix until it forms a rough dough.
-
Turn onto a lightly floured surface or use dough hook on electric stand mixer. Knead for 8-10 minutes, adding additional flour if necessary. Knead until the dough is smooth.
-
Place in a well oiled bowl and let rise for 60-90 minutes, until it has doubled in size.

-
Punch dough down, sprinkle chives evenly over the top and knead for about 3 minutes, until the chives are evenly dispersed.

-
For the dough into 1 large round loaf or 2 small round loaves. Place on a large baking sheet, cover and let rise for 30-45 minutes, until it has almost doubled in size.

-
Preheat oven to 400º F.
-
Bake for 35-40 minutes until it is golden and cooked through. The internal temperature should be 190º-200ºF, then you know it is cooked.
-
Remove from oven and allow to cool on a wire rack.
Nutrition
Calories: 263kcal |
Carbohydrates: 48g |
Protein: 7g |
Fat: 4g |
Saturated Fat: 1g |
Polyunsaturated Fat: 3g |
Cholesterol: 2mg |
Sodium: 423mg |
Fiber: 2g |
Sugar: 2g
Nutrition information is automatically calculated, so should only be used as an approximation.
Additional Info
Erin Sellin
10 minutes
40 minutes
2 hours
2 hours 50 minutes
Bread Recipes
American
12
263
Like this recipe? Leave a comment below!
I created a fun group on Facebook, and I would love for you to join us! It’s a place where you can share YOUR favorite recipes, ask questions, and see what’s new at Dinners, Dishes and Desserts (so that you never miss a new recipe)!
Be sure to follow me on Instagram and tag #dinnersdishes so I can see all the wonderful DINNERS, DISHES, AND DESSERTS recipes YOU make!
Be sure to follow me on my social media, so you never miss a post!
Facebook | Twitter | Pinterest | Instagram
.
