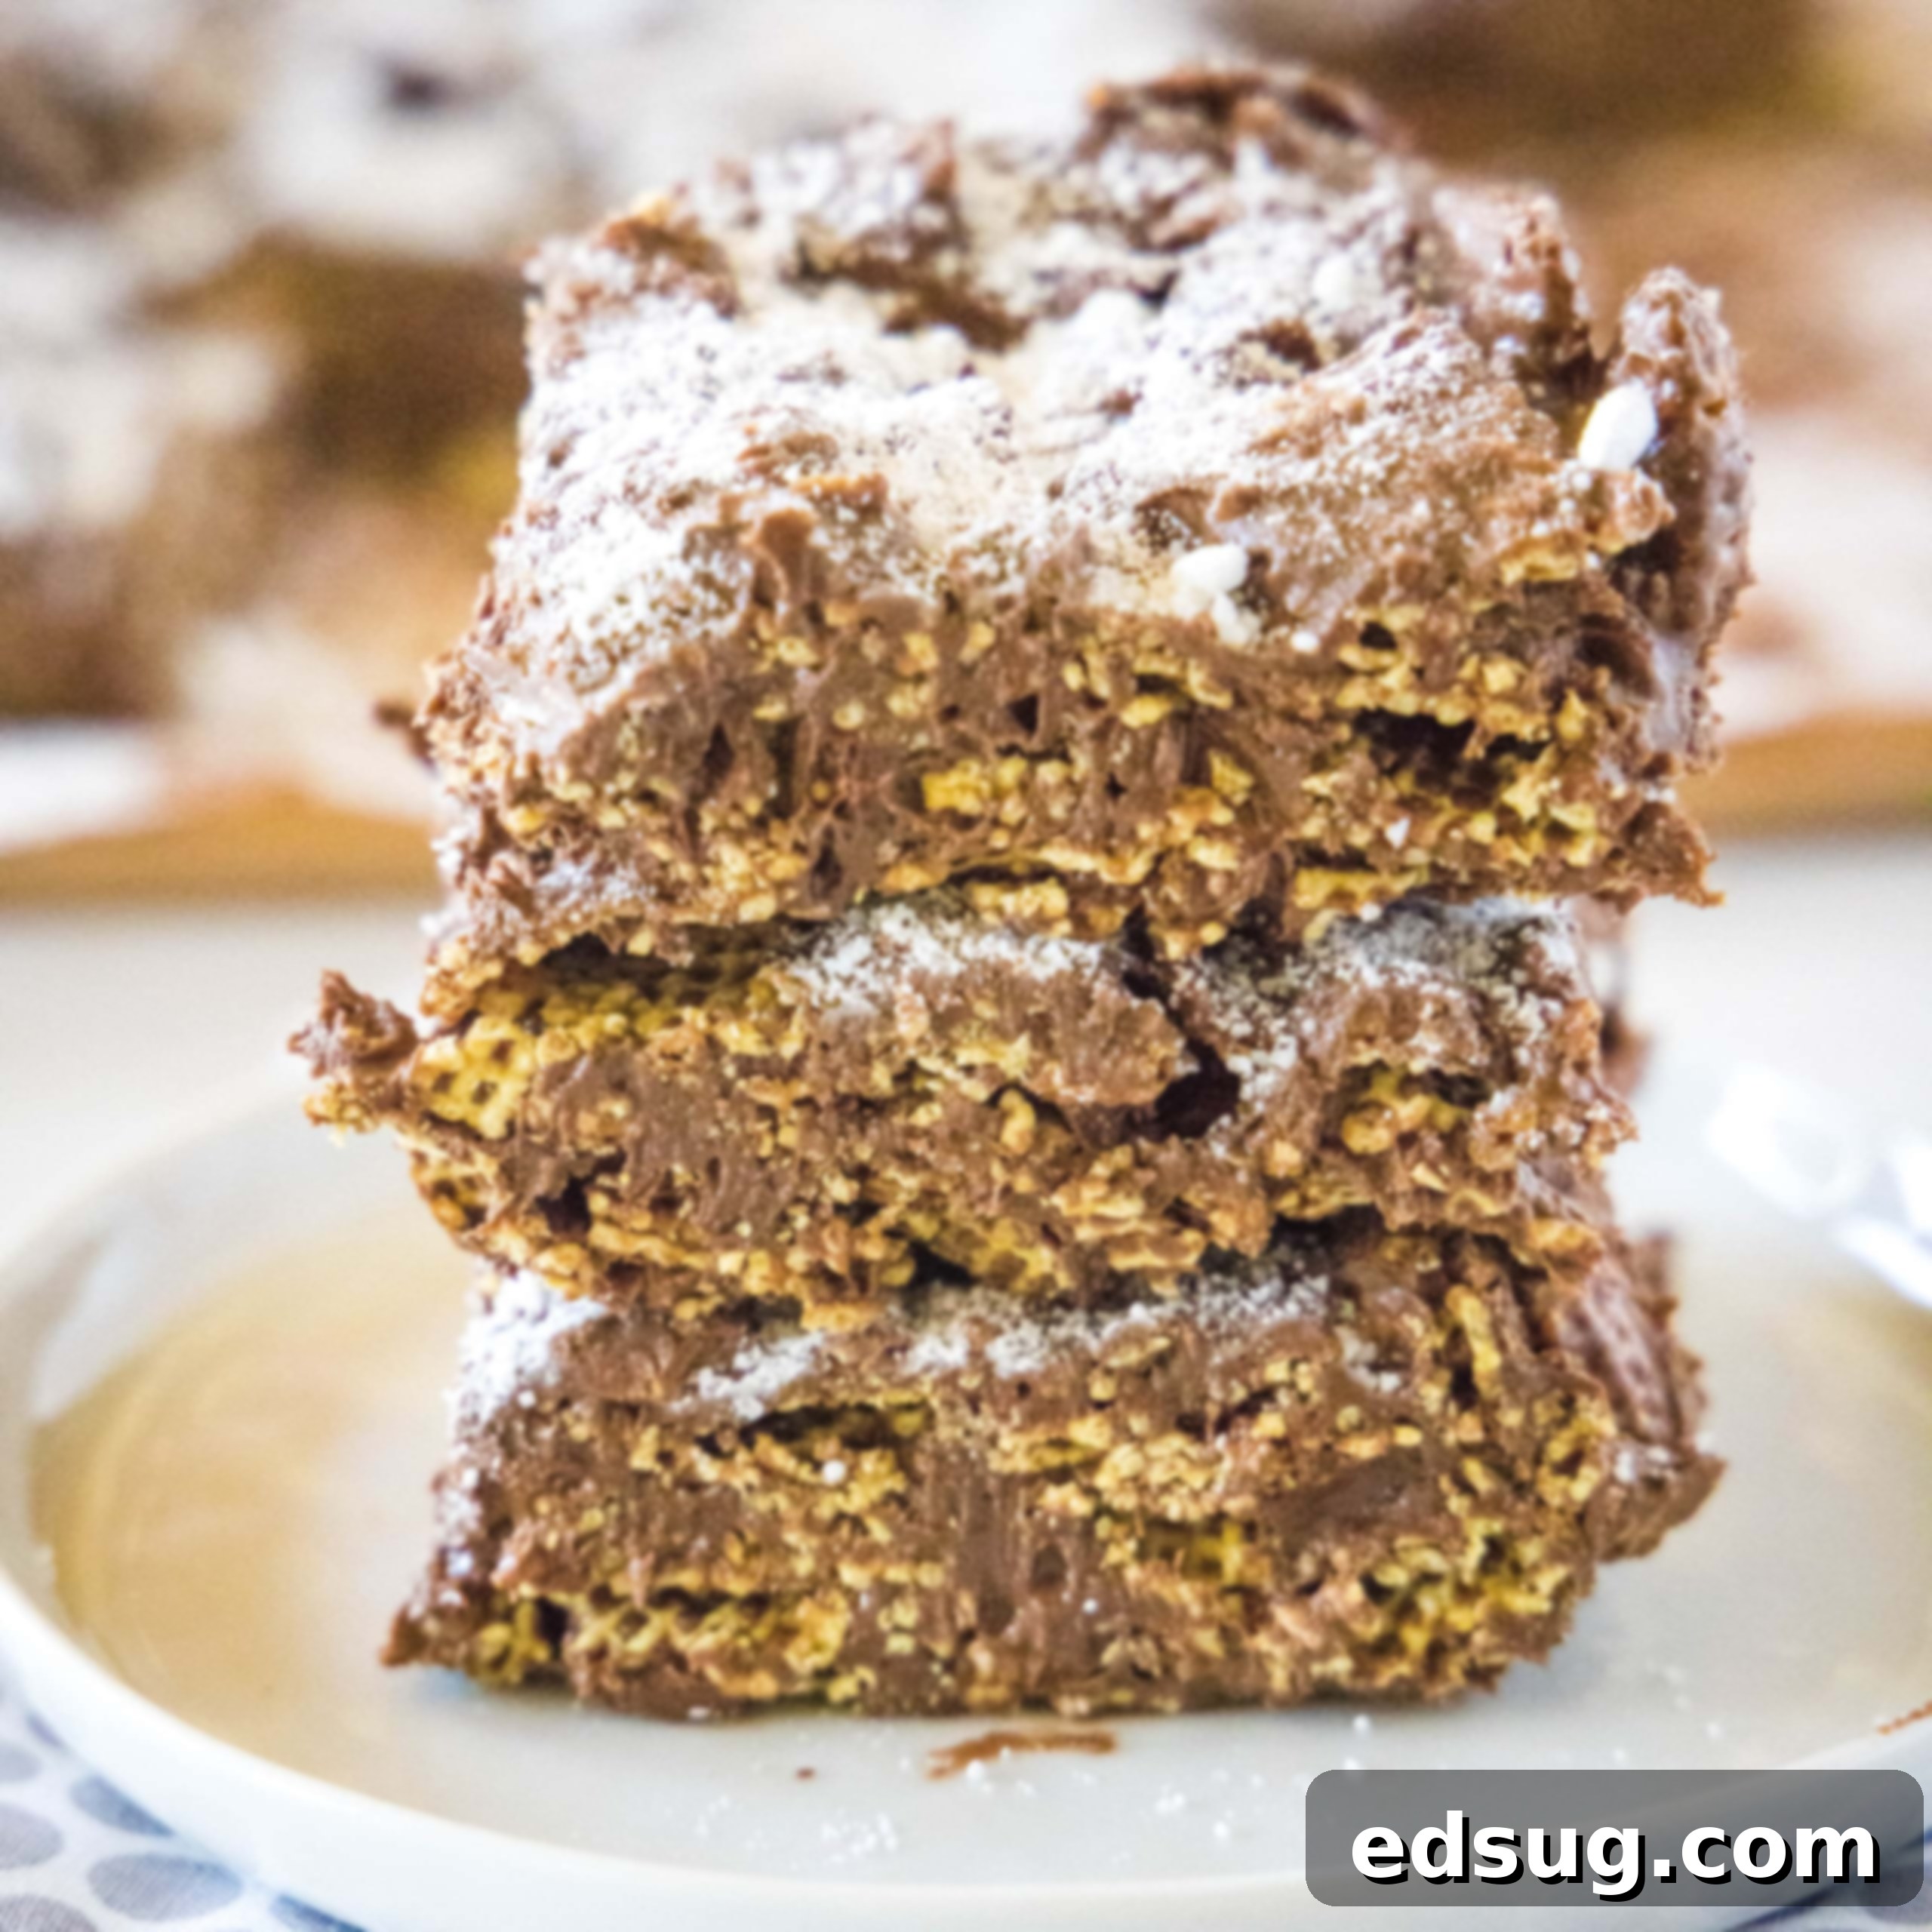
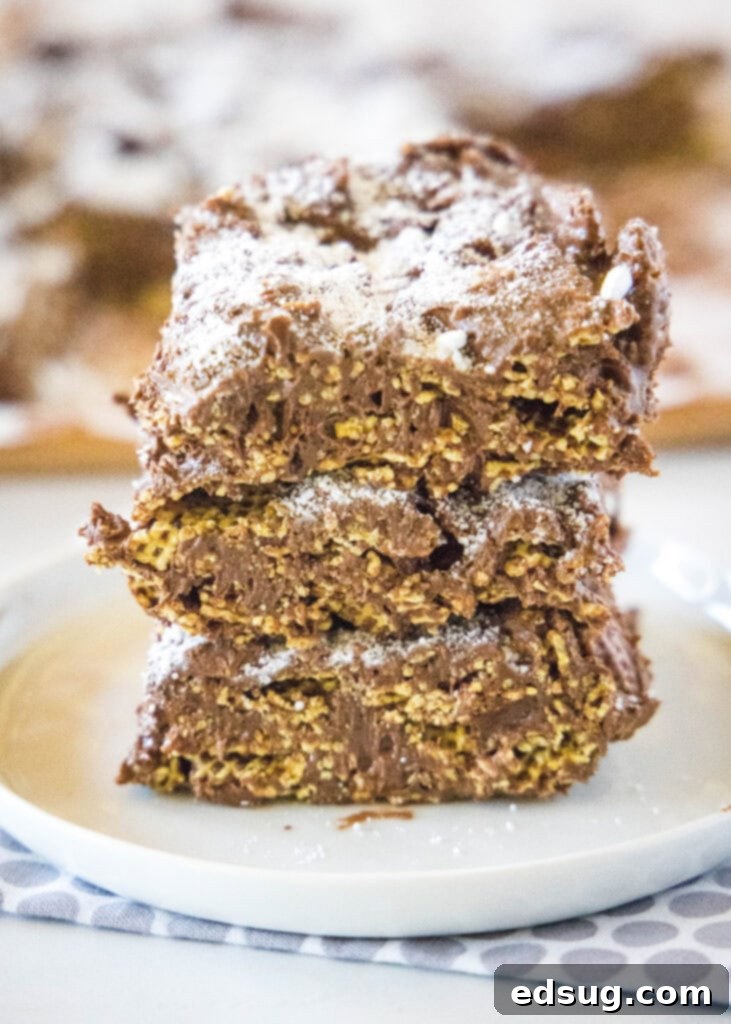
Ultimate No-Bake Puppy Chow Bars: The Easiest Muddy Buddies Treat!
Transform classic Muddy Buddies (Puppy Chow) into these incredibly thick, fudgy, and utterly irresistible no-bake bars! Perfect for sharing, these (For Humans Only) bars are guaranteed to vanish in a flash.
A Timeless Treat: From Puppy Chow to Muddy Buddies
Growing up, one of my absolute favorite, and easiest, treats to whip up was the classic Puppy Chow recipe found on the back of Crispix cereal boxes. This simple yet addictive combination of cereal, peanut butter, chocolate, and powdered sugar was a staple in many households, often appearing at holiday gatherings, school events, and casual get-togethers. The joy of making it was almost as great as the joy of eating it, primarily due to its no-bake simplicity and delicious outcome. As time evolved, Chex cereal introduced their own version, affectionately naming it “Muddy Buddies,” further cementing this snack’s place in American culture.
Regardless of what you call it – Puppy Chow or Muddy Buddies – the core concept remains the same: a delightful, crunchy, and sweet snack that brings back a flood of childhood memories with every bite. My personal Puppy Chow recipe even takes it a step further, enhancing the rich flavors with extra peanut butter and chocolate for an even more decadent experience. Today, we’re taking this beloved classic and reimagining it into an even more convenient and delightful form: no-bake bars!
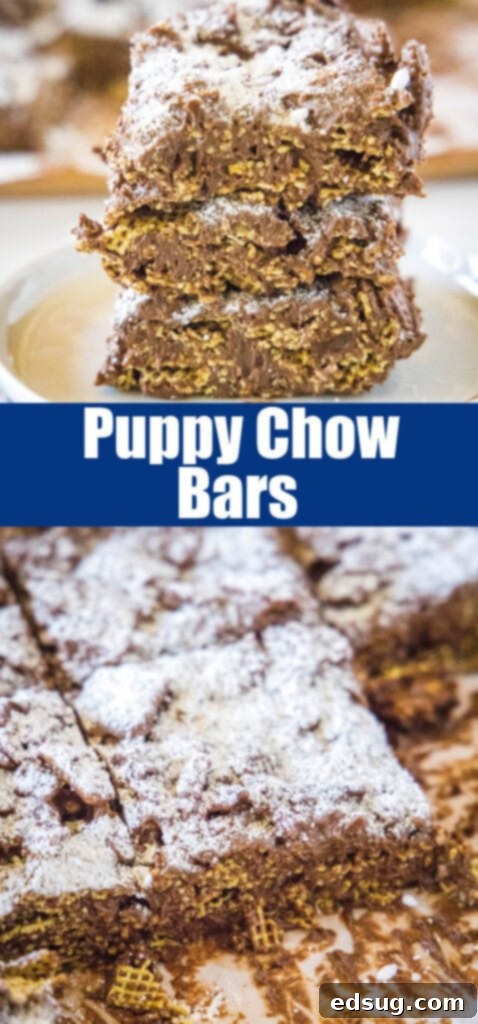
These Puppy Chow Bars offer all the nostalgic flavor of the traditional snack but in a dense, chewy, and easy-to-handle bar format. No more messy individual pieces or powdered sugar falling everywhere – just slice and serve! They are incredibly versatile, making them perfect for parties, lunchboxes, road trips, or simply as a quick sweet fix when you’re craving something truly special without turning on the oven. The fudgy texture and intense flavor profile make them an instant hit with both kids and adults.
Essential Ingredients for Your No-Bake Puppy Chow Bars
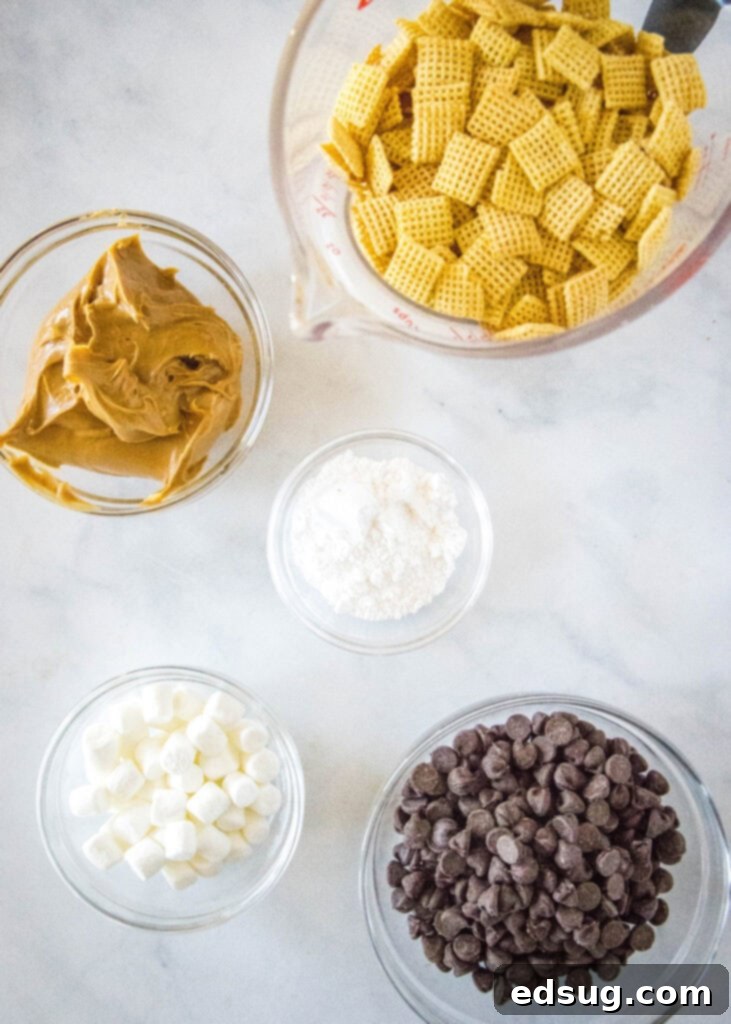
What makes these No-Bake Puppy Chow Bars truly remarkable isn’t just their incredible taste, but also their appealing simplicity. You only need five basic ingredients, many of which you likely already have stashed away in your pantry! This minimal ingredient list makes them an ideal last-minute dessert, a fantastic option for impromptu guests, or a fun, safe project for aspiring young chefs in the kitchen. Here’s a detailed look at what you’ll need to gather to create these utterly irresistible no-bake treats:
- Creamy Peanut Butter: This is the undeniable star ingredient, providing the rich, nutty flavor that forms the backbone of these bars, and crucially, acting as a primary binder to hold everything together. For the smoothest and most consistent texture in your bars, opt for a creamy, processed peanut butter (like Jif or Skippy) rather than natural varieties, which can sometimes be too oily or separated.
- Marshmallows: Contrary to many marshmallow-based treats, only a small quantity is used here. These aren’t meant to be super gooey like traditional Rice Krispie Treats. Instead, the marshmallows act as a subtle binder, contributing just enough softness and fudginess without creating an overly sticky confection. You’ll need about 5 regular-sized marshmallows or, for easier measurement and melting, approximately 50 mini marshmallows for the entire batch. They melt down beautifully with the chocolate and peanut butter.
- Chocolate Chips: Semi-sweet chocolate chips are the classic choice and are typically used, offering a perfect balance of sweetness and rich cocoa flavor that harmonizes wonderfully with the peanut butter. However, don’t limit yourself! You can easily experiment with milk chocolate chips for a sweeter, creamier bar, or opt for dark chocolate chips if you prefer a less sweet, more intense cocoa experience. Quality chocolate makes a difference!
- Chex Cereal: This light, crispy, and uniquely shaped cereal forms the essential crunchy base of our bars. Corn Chex or Rice Chex are excellent choices because they have a neutral flavor that allows the dominant peanut butter and chocolate flavors to shine without competition. However, feel free to use any Chex variety you prefer or happen to have on hand – Wheat Chex also works well if you enjoy its slightly heartier texture. The textured surface of the cereal is ideal for holding the melted coating.
- Powdered Sugar: Also known as confectioners’ sugar, this fine powder is absolutely essential for coating the finished bars. It gives them that iconic, snowy “Puppy Chow” look and adds a delicate, melt-in-your-mouth sweetness that balances the rich chocolate and peanut butter. It also helps prevent the bars from sticking to each other, making them easier to handle.
The beauty of this minimal ingredient list is that each component plays a vital role. The small amount of marshmallow is specifically chosen to create that signature soft and fudgy consistency that holds the bars together beautifully, ensuring they are not excessively sticky but still deliver that delightful chewiness that makes Puppy Chow (or Muddy Buddies) so beloved.
Step-by-Step Guide: Crafting Your Own Puppy Chow Bars
Making these Puppy Chow Bars is incredibly straightforward, requiring minimal effort and absolutely no baking! This means you can enjoy these delicious treats without heating up your kitchen, making them perfect for any season. Follow these simple steps for a batch of perfectly fudgy, chewy, and utterly irresistible treats:
- Melt the Gooey Base: Begin by combining the semi-sweet chocolate chips, marshmallows (either regular or mini), and creamy peanut butter in a large, microwave-safe bowl. It’s important to use a bowl large enough to accommodate the cereal later. Microwave the mixture at 50% power in short, 45-second intervals. After each interval, remove the bowl and stir the mixture thoroughly with a spatula. This gentle approach helps to prevent the chocolate from scorching and ensures an even melt. It usually takes 2-3 intervals to achieve a wonderfully smooth, completely melted, and homogenous consistency. The goal is a glossy, well-combined mixture, not a boiling one.
- Combine with Cereal: Once your chocolate-peanut butter-marshmallow mixture is perfectly smooth and free of lumps, it’s time to add the Chex cereal. Pour the measured amount of Chex cereal directly into the bowl with the melted mixture. Gently but thoroughly fold the cereal into the melted goodness. Use a rubber spatula to carefully scrape the sides and bottom of the bowl, ensuring every single piece of cereal is evenly and completely coated. Take your time with this step – a good, even coating means every bite will be packed with that classic Puppy Chow flavor and texture. Avoid over-mixing, which can crush the cereal.
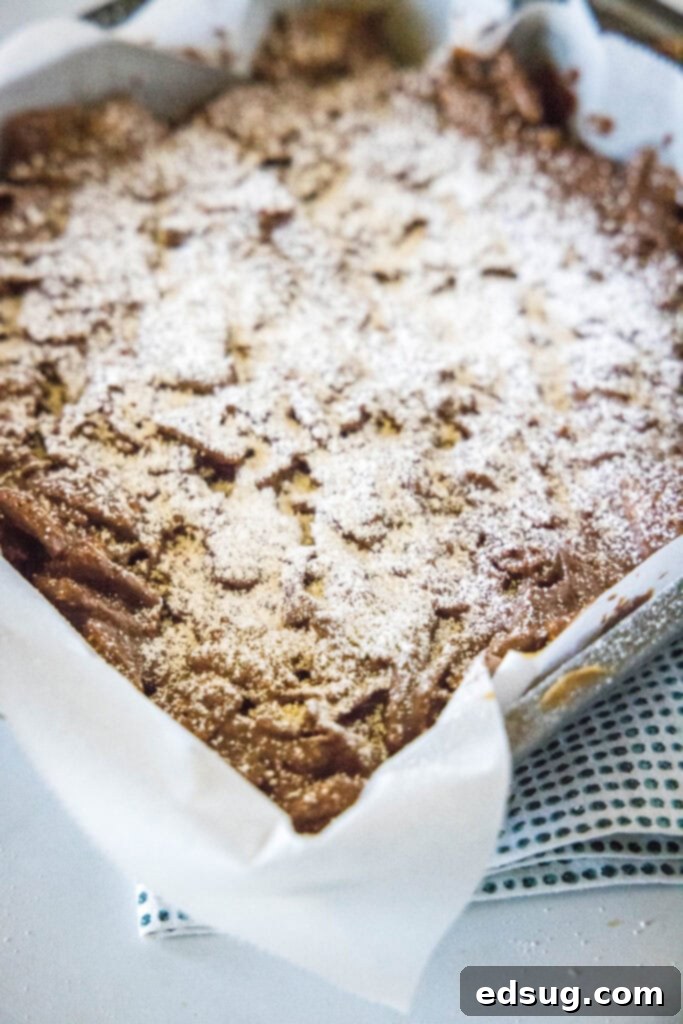
- Press into a Pan: Prepare an 8-inch square pan before you start mixing. You can either lightly grease the pan with butter or cooking spray, or for the easiest removal and cleanup, line it with parchment paper, allowing an overhang on the sides. This parchment “sling” will make lifting the set bars out a breeze. Pour the entire coated cereal mixture into the prepared pan. Using a rubber spatula or the back of a spoon, firmly and evenly press the mixture into a compact, even layer across the bottom of the pan. Compacting it well is a crucial step to ensure your bars hold their shape beautifully when sliced and don’t crumble apart.
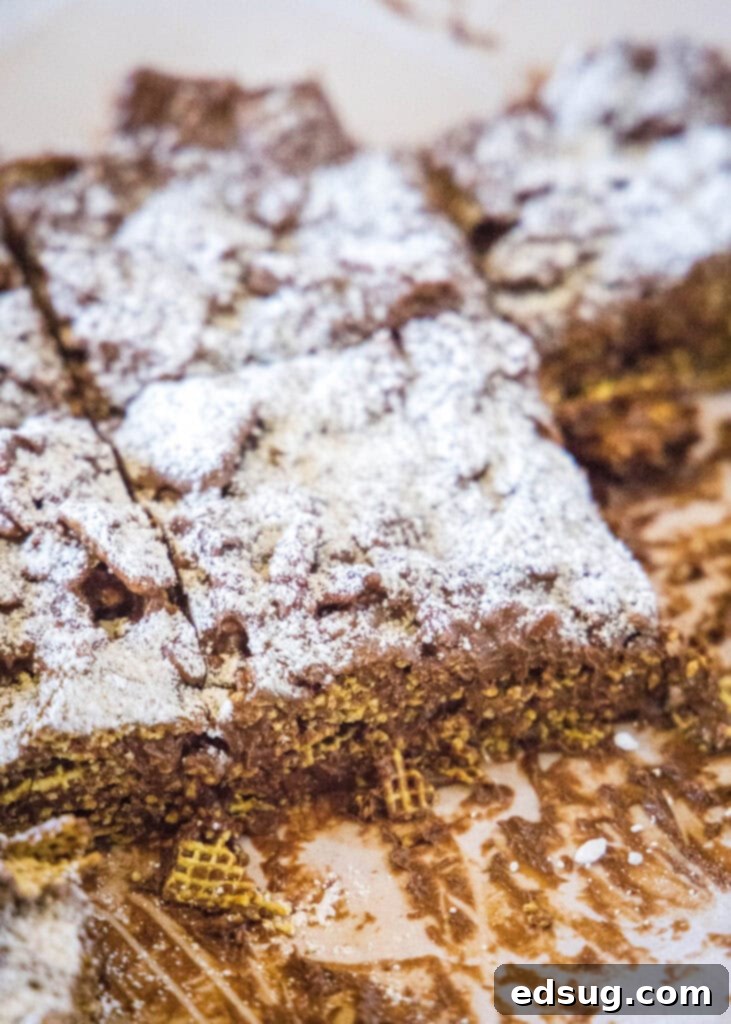
- Dust and Set: For that quintessential “Puppy Chow” finish, generously dust the top of the pressed bars with powdered sugar. You can use a fine-mesh sieve or sifter for an even coating. This step not only adds to the classic aesthetic but also provides an extra touch of delicate sweetness and helps prevent the bars from feeling sticky. Allow the bars to set completely before slicing them to serve. For the quickest setting, you can place them in the refrigerator for about 30-60 minutes, or simply leave them at room temperature for 1-2 hours. Once firm, use the parchment paper overhang to lift the entire slab out, place it on a cutting board, and slice into your desired bar size. A warm, sharp knife can help create cleaner cuts.
The entire process, from gathering your ingredients to having the bars ready to set, takes only about 10 minutes of active preparation time, making it an ideal recipe for busy schedules, impromptu dessert needs, or when those sweet cravings strike. The hardest part will genuinely be waiting patiently for them to set before you can indulge!
Storage and Shelf Life: Keeping Your Puppy Chow Bars Fresh
Proper storage is essential to maintain the delicious texture and freshness of your homemade Puppy Chow Bars. Whether you prefer them soft and chewy or a bit firmer, knowing how to store them correctly will ensure they stay delightful for days. Here’s a comprehensive guide to keeping your no-bake treats at their best:
Once your bars have completely cooled and been sliced, the best way to store them is in an airtight container. This helps to prevent them from drying out or absorbing external odors. At room temperature, these bars will remain wonderfully fresh and delightfully soft for approximately 4-5 days. This is often the preferred way to store them for that classic, softer, fudgy texture. However, if your kitchen tends to be warm, especially during warmer months, or if you simply prefer a firmer, chewier bar, refrigeration is highly recommended.
Chilled bars will maintain their structure and chewiness even better, and they will last for up to 7 days in the refrigerator. If you choose to refrigerate your bars, it’s often best to take them out about 15-20 minutes before serving. This allows them to come closer to room temperature, softening slightly and allowing their full spectrum of flavors and that signature fudgy texture to truly shine. Eating them straight from the fridge can make them quite firm, which some people enjoy, but for optimal flavor and texture, a slight warm-up is key.
For longer-term storage, Puppy Chow Bars can also be successfully frozen! To do so, first, ensure the bars are completely set and cooled. Then, wrap individual bars tightly in plastic wrap to protect them from freezer burn. Once wrapped, place them in a freezer-safe zip-top bag or an airtight container. They can be stored in the freezer for up to 2-3 months without significant loss of quality. When you’re ready to enjoy a frozen treat, you can thaw them at room temperature for about 30 minutes for a quick snack, or surprisingly, some people enjoy them straight from the freezer for a different kind of delightfully chewy experience. Just be mindful that they will be very firm when frozen solid.
Recipe Tips and Delicious Variations to Try
While these Puppy Chow Bars are fantastic as is, their simple base recipe makes them an excellent canvas for culinary creativity and customization. Don’t be afraid to experiment and make them uniquely yours! Here are some invaluable tips and delicious variations to consider:
- Peanut Butter Alternatives: If you or someone you’re serving has a peanut allergy, or if you simply want to explore different flavor profiles, there are many excellent alternatives to traditional peanut butter. SunButter (made from sunflower seeds) works wonderfully for a safe, nut-free option, offering a similar texture and richness. Other nut butters like almond butter or cashew butter can also be used, though they might impart a slightly different, often milder, nutty flavor. For a truly unique and delicious twist, consider using Biscoff spread or another brand of cookie butter; it provides a delightful spiced cookie taste that pairs surprisingly well with chocolate. The key is to use a spread with a similar creamy consistency for optimal binding.
- Chocolate Choices: While semi-sweet chocolate chips are the gold standard for this recipe, offering a balanced sweetness, your choice of chocolate can significantly alter the final taste. If you prefer a less sweet dessert, opt for dark chocolate chips (60% cocoa or higher) for a more intense and sophisticated cocoa flavor. For an extra rich and creamy bar that melts in your mouth, milk chocolate chips are a fantastic choice, especially popular with children. You could even use white chocolate chips for a distinct, creamy flavor profile, perhaps adding a touch of food coloring (like green or red for holidays) for a fun visual element. A combination of chocolates can also be incredibly delightful!
- Cereal Variety: My personal go-to choices are Corn Chex or Rice Chex because their subtle, almost neutral flavor allows the robust chocolate and peanut butter to truly dominate the taste experience. However, feel free to use Wheat Chex for a slightly heartier, nuttier base, or even a combination of different Chex cereals for added complexity. The primary goal is to have a sturdy, crunchy base that can hold up to the rich, melted binding mixture without becoming soggy too quickly.
- Exciting Add-Ins for Extra Flair: Elevate your Puppy Chow Bars by mixing in some exciting extras! These can be stirred into the cereal mixture just before pressing it into the pan. Consider adding mini M&Ms for a pop of color and chocolatey crunch, chopped Reese’s Peanut Butter Cups for an extra layer of peanut butter goodness, colorful sprinkles for a festive touch, or even a handful of crushed pretzels for an irresistible sweet and salty crunch that provides a wonderful textural contrast. Chopped nuts (if no allergies) like pecans or walnuts can also add richness.
- Flavor Boosts and Enhancements: A tiny splash of pure vanilla extract (about half a teaspoon) added to the melted peanut butter and chocolate mixture can significantly enhance and round out the overall flavor profile. For a more sophisticated and flavor-forward treat, a small pinch of flaky sea salt sprinkled over the top of the bars before the powdered sugar can really make the sweet and savory notes pop, creating a gourmet touch. Espresso powder (a quarter teaspoon) can also deepen the chocolate flavor without adding a coffee taste.
These simple adjustments and additions can transform your Puppy Chow Bars into an entirely new experience, catering to different tastes and occasions!
Why You’ll Love These No-Bake Puppy Chow Bars
Beyond their ease of preparation and undeniably delicious taste, these Puppy Chow Bars offer a multitude of reasons why they are destined to become a beloved staple in your dessert repertoire. They are more than just a sweet treat; they’re a convenient, versatile, and universally appealing option for nearly any situation:
- Effortlessly Easy: The biggest draw is that no oven is required! This makes the recipe absolutely perfect for sweltering summer days when turning on the oven is unthinkable, or for those times when you simply want a quick, impressive dessert without the fuss of baking. It’s truly a beginner-friendly recipe.
- Minimal Ingredients: With just five core ingredients, you can whip up a fresh batch of these bars without needing a special trip to the grocery store. Most of these items are pantry staples, making it a go-to recipe for last-minute cravings or unexpected guests.
- Guaranteed Crowd-Pleaser: The classic and beloved combination of peanut butter and chocolate is universally adored. This makes these bars a guaranteed hit at parties, potlucks, school events, family gatherings, or any occasion where a delicious, shareable dessert is appreciated.
- Infinitely Customizable: As highlighted in our recipe tips section, these bars are a fantastic canvas for your creativity. Feel free to experiment with different types of nut butters, various chocolates, or a wide array of fun mix-ins like candies, sprinkles, or pretzels to tailor them to your personal preferences or specific events.
- Make-Ahead Friendly: These bars store exceptionally well, whether at room temperature or in the refrigerator. This characteristic makes them an excellent option for preparing in advance for upcoming events, saving you precious time on the day of.
- Kid-Friendly Fun: This is a wonderful recipe for involving younger chefs in the kitchen. It requires no sharp tools (with adult supervision for cutting bars) or hot ovens (beyond microwave supervision for melting), making it a safe and engaging activity for children who love to help.
From their simple preparation to their irresistible flavor and versatility, these No-Bake Puppy Chow Bars are truly a dessert dream come true.
Frequently Asked Questions About Puppy Chow Bars
Here are some common questions and helpful answers to ensure your Puppy Chow Bars turn out perfectly every time:
- Can I use crunchy peanut butter instead of creamy?
- While creamy peanut butter is generally recommended for the smoothest and most uniform base, crunchy peanut butter can certainly be used! If you prefer an extra textural element and a bit more bite in your bars, crunchy peanut butter will work just fine. Just be aware that the overall texture of the bar will be a bit chunkier.
- How do I prevent the bars from sticking to the pan?
- The easiest and most effective way to ensure clean removal is to line your 8×8 inch baking pan with parchment paper. Make sure to leave an overhang on two opposite sides; these can act as handles to lift the entire slab of bars out of the pan once they’ve set. Alternatively, you can lightly grease the pan with butter or cooking spray, but parchment paper offers the cleanest results.
- My melted mixture seems too thick or too dry after combining. What should I do?
- If your chocolate, peanut butter, and marshmallow mixture appears too thick or difficult to work with after melting and stirring, you can return it to the microwave for another very short 15-20 second burst at 50% power. Stir it vigorously again. If it’s still too dry or not coming together, you might need to add a tiny bit more creamy peanut butter (1-2 tablespoons) or a tablespoon of melted unsalted butter to help achieve the right consistency. The goal is a mixture that is thick but still manageable and glossy enough to coat the cereal.
- Can I make a larger batch of these Puppy Chow Bars?
- Absolutely! This recipe can easily be doubled or even tripled to feed a larger crowd. For a doubled batch, I recommend using a standard 9×13 inch baking pan. Just ensure you have a sufficiently large mixing bowl to accommodate all the cereal and melted mixture, and remember to adjust microwave melting times accordingly, stirring frequently, as larger quantities may take slightly longer to melt evenly.
- What’s the best way to slice the bars cleanly?
- For clean, neat slices, ensure the bars are completely set and firm. If refrigerated, let them sit out for 5-10 minutes to soften slightly. Use a large, sharp knife. You can also lightly grease the knife with a bit of cooking spray or wipe it with a damp cloth between cuts to prevent sticking, especially with the powdered sugar.
More Tasty Dessert Recipes to Explore
If you’re a fan of easy, delightful desserts, and loved making these no-bake Puppy Chow Bars, then you’re in for a treat! Be sure to check out these other fantastic recipes from our collection. They’re perfect for satisfying any sweet tooth and range from classic comforts to exciting new creations:
- Cookie Dough Frosting
- Cosmic Brownie Cookies
- Ding Dong Cake
- No Bake Monster Cookie Bars
- Homemade Milky Way
- Star Crunch Cookies
- Biscoff Rice Krispie Treats
Puppy Chow Bars Recipe
Traditional Muddy Buddies (Puppy Chow) transformed into thick, fudgy, and incredibly easy no-bake bars! Perfect for any occasion.
Prep Time: 10 minutes
Total Time: 10 minutes (plus minimum 30-60 minutes setting time)
Servings: 16 bars
Author: Erin Sellin
Course: Dessert Recipes
Cuisine: American
Ingredients
- 4 cups Chex cereal (Corn or Rice Chex recommended for neutral flavor)
- 5 regular size marshmallows (or approximately 50 mini marshmallows)
- 1 1/2 cups semi-sweet chocolate chips
- 3/4 cup creamy peanut butter
- 1 Tablespoon powdered sugar (for dusting, adjust to preference)
Instructions
- In a large microwave-safe bowl, combine the marshmallows, chocolate chips, and creamy peanut butter.
- Microwave at 50% power for 45-second intervals, stirring thoroughly after each interval, until the mixture is smooth and completely melted. This typically takes 2-3 intervals. Be careful not to overheat.
- Once the mixture is smooth, add the Chex cereal to the bowl. Gently fold and stir until all the cereal pieces are evenly coated with the chocolate-peanut butter mixture.
- Press the coated cereal mixture firmly and evenly into an 8×8 inch baking dish. For easy removal, line the dish with parchment paper, leaving an overhang on the sides.
- Using a fine-mesh sieve, generously sift powdered sugar over the top of the pressed bars for that classic Puppy Chow finish.
- Allow the bars to cool completely and set before slicing. For quicker setting, place them in the refrigerator for about 30-60 minutes. Once firm, lift the parchment paper to remove the slab and cut into 16 squares or desired bar size.
- Store in an airtight container at room temperature for softer bars, or in the refrigerator for firmer bars.
Nutrition Information (Approximate per serving)
- Calories: 215 kcal
- Carbohydrates: 29g
- Protein: 4g
- Fat: 11g
- Saturated Fat: 4g
- Polyunsaturated Fat: 6g
- Sodium: 117mg
- Fiber: 2g
- Sugar: 19g
Nutrition information is automatically calculated and should only be used as an approximation. Variations in ingredients and serving sizes may affect accuracy.
Love this recipe? Share your thoughts below!
Join Our Community! I’ve created a fun group on Facebook, and I would absolutely love for you to join us! It’s a fantastic space where you can share YOUR favorite recipes, ask questions, and stay updated on all the exciting new recipes from Dinners, Dishes and Desserts (ensuring you never miss out on a delicious update)!
Be sure to follow me on Instagram and tag #dinnersdishes so I can see all the wonderful DINNERS, DISHES, AND DESSERTS recipes YOU create!
Don’t forget to follow me on my social media channels to stay connected and never miss a post!
Facebook | Twitter | Pinterest | Instagram
.
