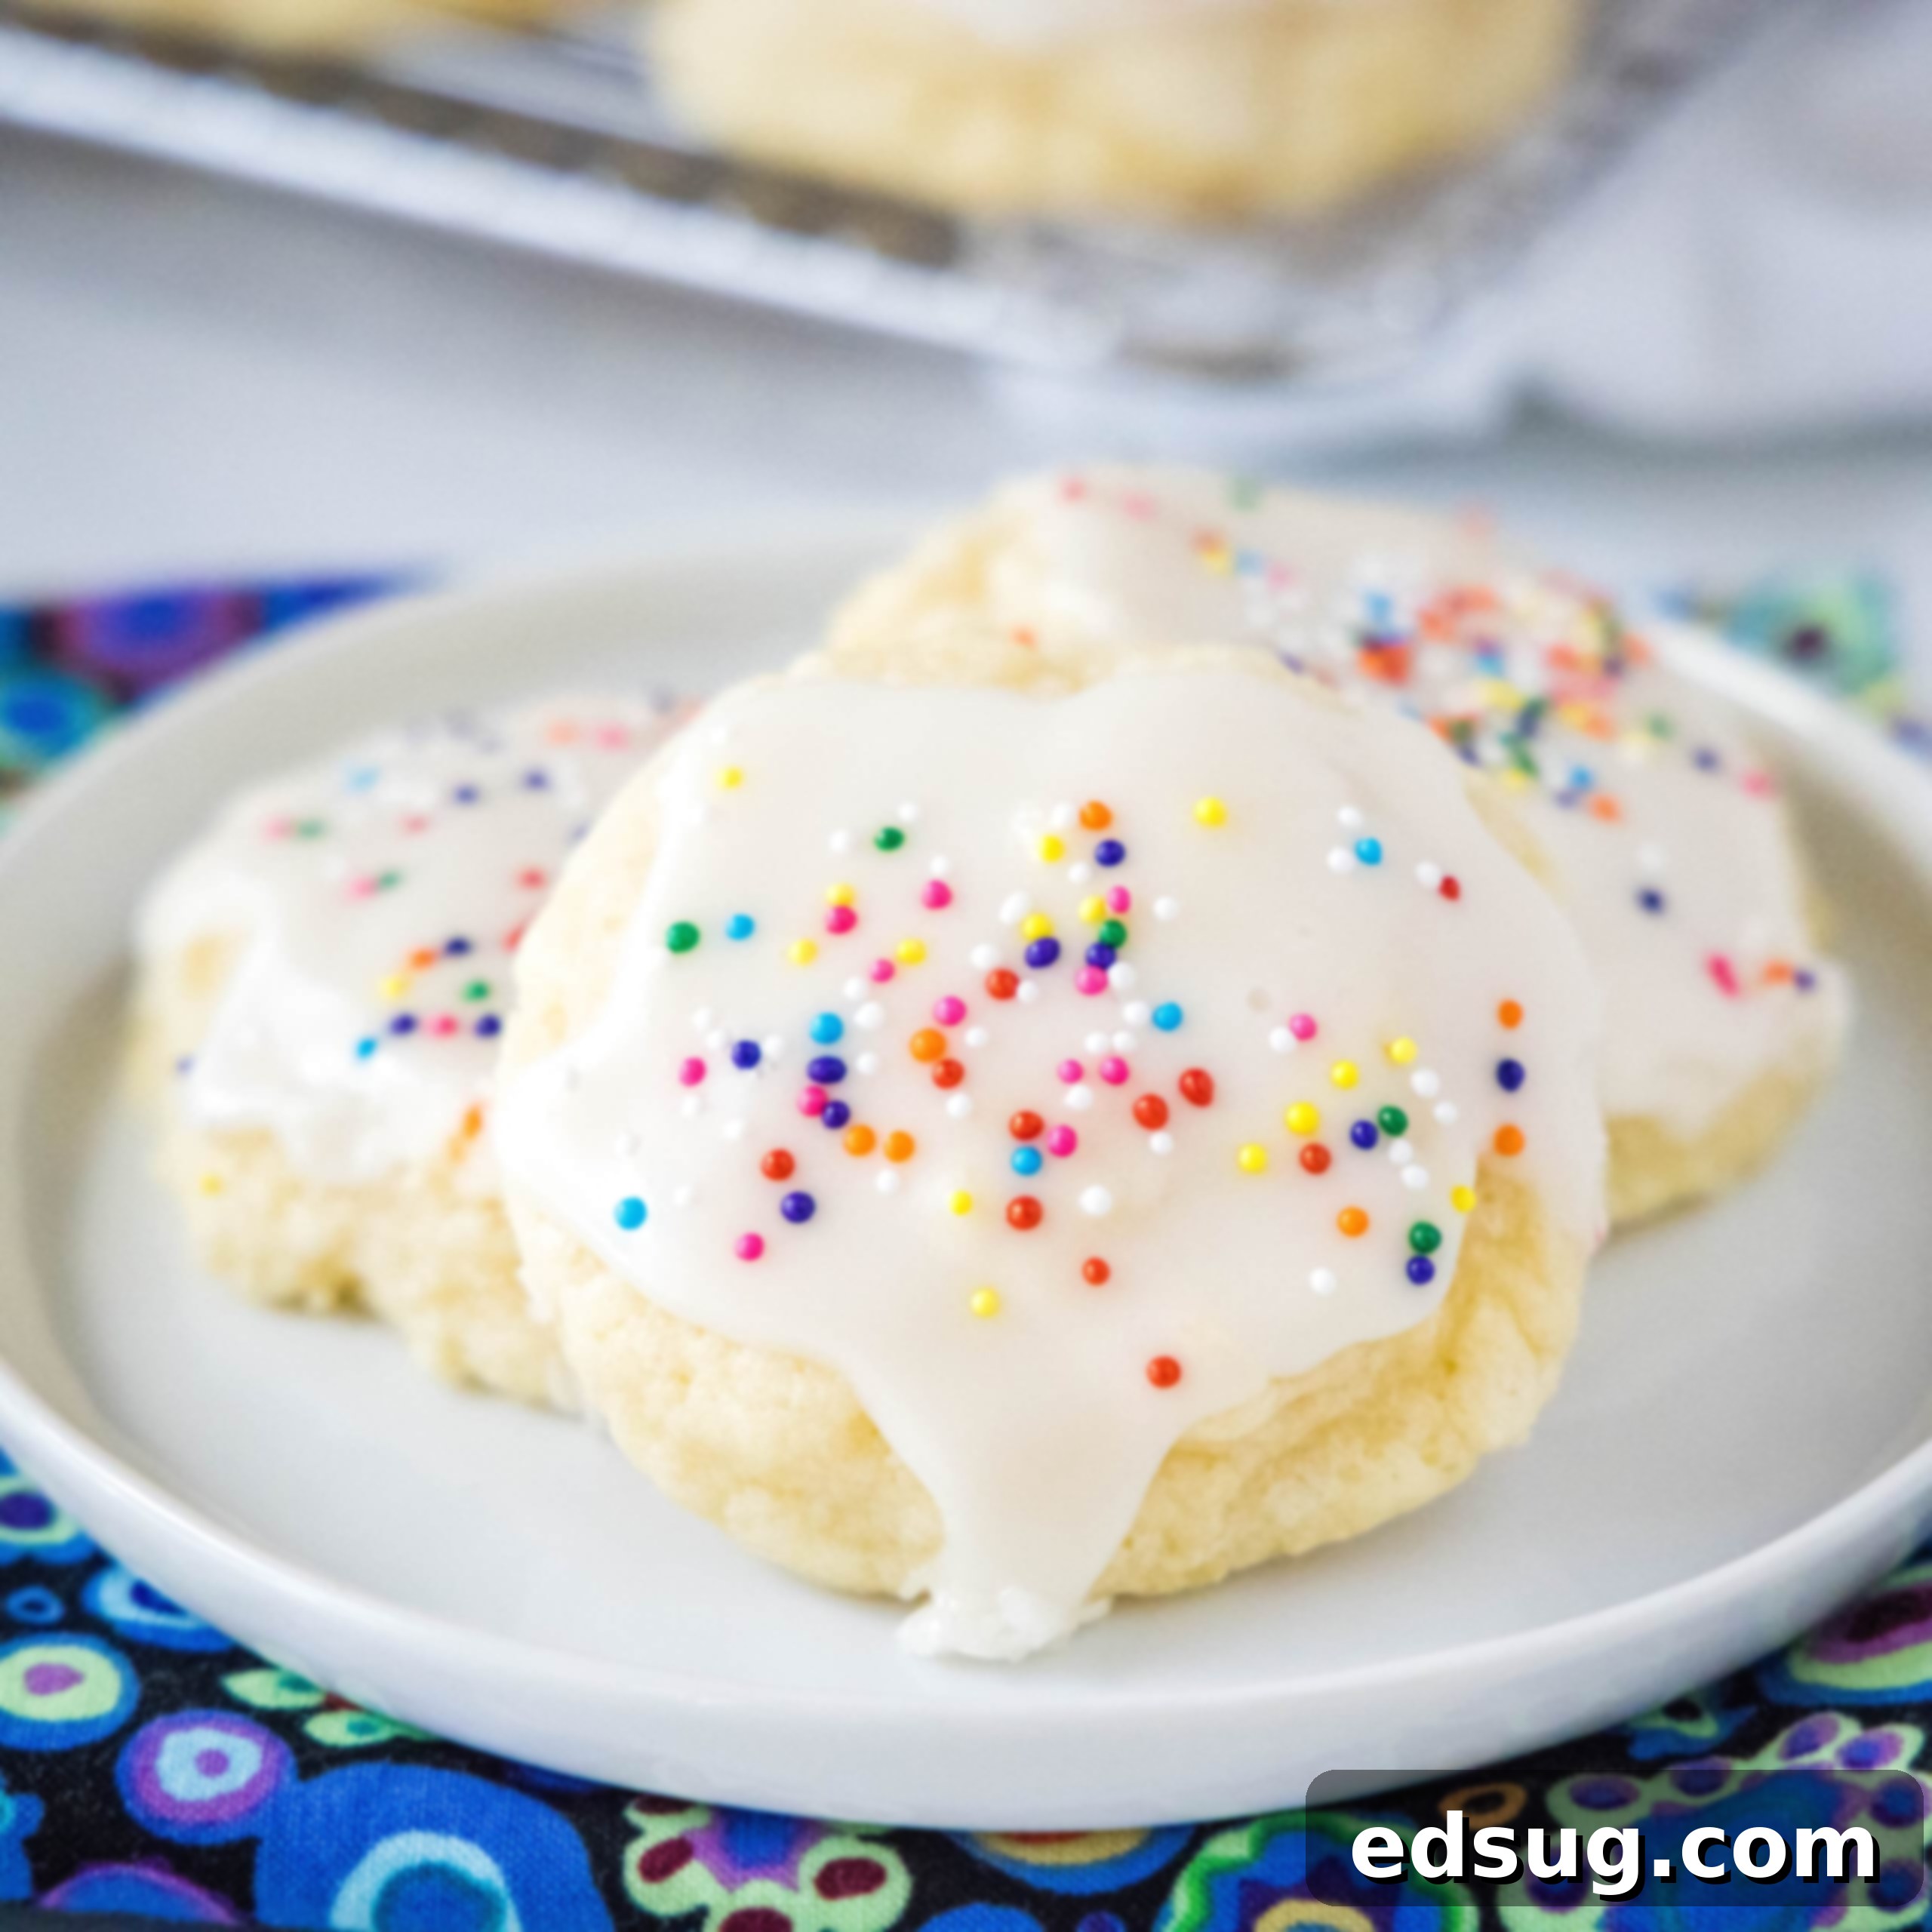
Irresistibly Soft & Fluffy Old-Fashioned Sour Cream Cookies with Vanilla Glaze
Step back in time to your grandmother’s kitchen with these truly irresistible old-fashioned sour cream cookies. Imagine a cookie that’s incredibly soft, wonderfully fluffy, and boasts a melt-in-your-mouth texture, all crowned with a luscious vanilla glaze and a festive sprinkle of your favorite decorations. These aren’t just cookies; they’re a warm hug in edible form, guaranteed to evoke cherished memories and create new ones. Perfect for holiday cookie exchanges, cozy evenings, or any time you crave a comforting treat, these cookies are surprisingly easy to make and universally loved.
At every Christmas cookie exchange, these tender sour cream sugar cookies are always the first to disappear. Don’t let the “sour cream” in the name fool you – even skeptics (like my son!) will never guess its presence. Instead, this secret ingredient works wonders, lending an unparalleled moistness and delicate crumb that sets these cookies apart from any other sugar cookie you’ve tried. They’re thick, pillowy, and utterly delicious, making them a year-round family favorite.
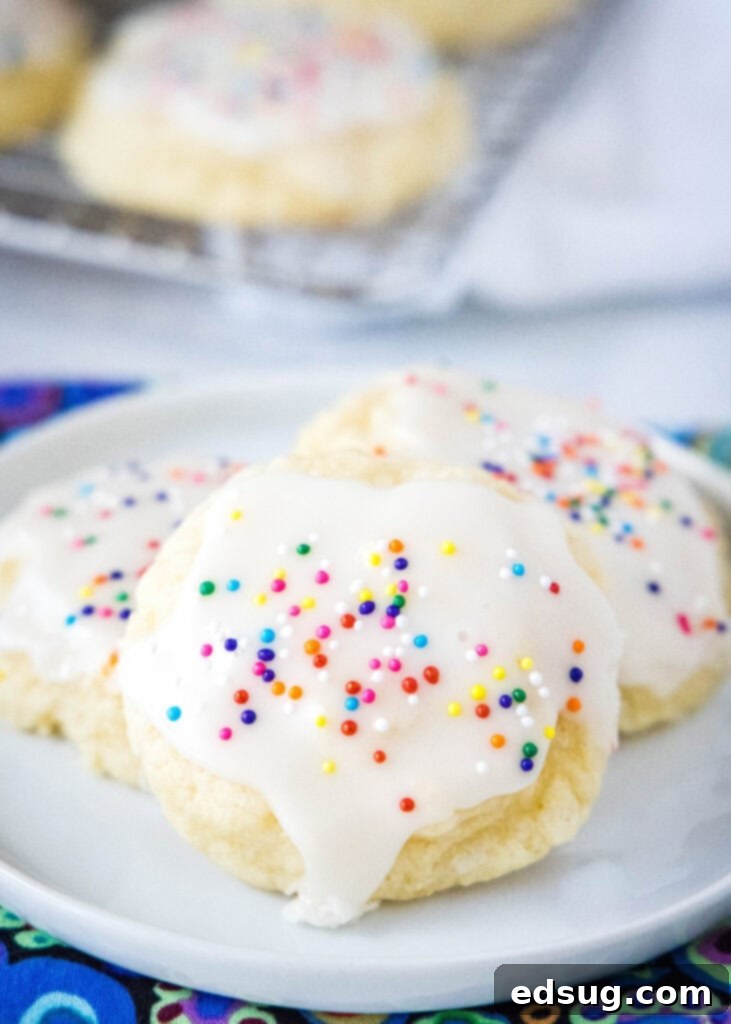
The Secret to Their Supreme Softness: Sour Cream
You might be wondering, “Sour cream in cookies?” It’s the magical ingredient that transforms ordinary sugar cookies into something extraordinary. Sour cream is naturally acidic and high in fat, which contributes significantly to the cookies’ incredible texture. The acidity reacts with the baking soda, creating a lighter, fluffier crumb. Meanwhile, the fat content ensures a moistness that lasts for days, preventing the cookies from drying out and giving them that desirable tender chew. It adds a subtle richness that enhances the overall flavor without any noticeable “sour” taste, only pure, comforting sweetness. If you’ve never baked with sour cream before, prepare to be amazed by the depth and softness it brings to these classic treats.
Essential Ingredients for Your Sour Cream Cookies
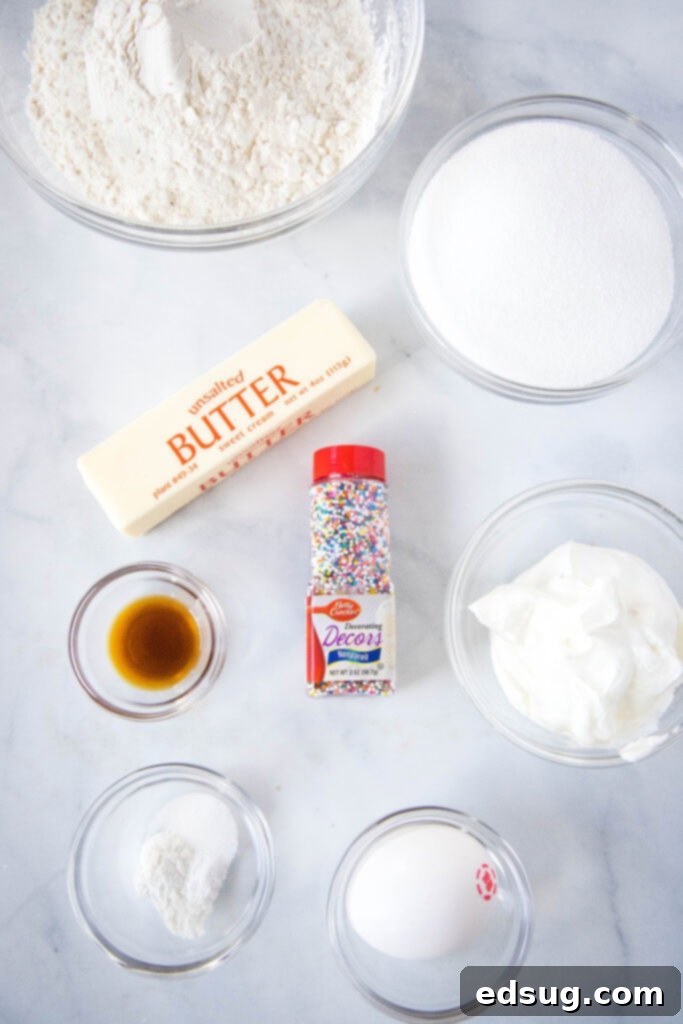
Creating these delightful sour cream cookies requires a few pantry staples, each playing a vital role in achieving their signature taste and texture. Starting with quality ingredients is always the first step toward baking success. Here’s what you’ll need to gather:
- Butter: Softened to room temperature, butter is crucial for creaming with sugar, creating air pockets that contribute to the cookies’ light texture.
- Sour Cream: The star ingredient, providing moisture, tenderness, and a subtle richness.
- Granulated Sugar: Sweetens the dough and aids in crisping the edges while keeping the centers soft.
- Egg: Acts as a binder, adding structure and moisture.
- Vanilla Extract: Enhances all the other flavors, giving the cookies their classic sweet aroma.
- All-Purpose Flour: The primary structural component of the cookies.
- Baking Powder & Baking Soda: These leavening agents work together with the sour cream to ensure a soft, fluffy rise.
- Salt: Balances the sweetness and brings out the flavors of the other ingredients.
- Powdered Sugar: The base for our smooth, sweet vanilla glaze.
- Milk: Used to thin the glaze to the perfect consistency.
- Sprinkles: For a pop of color and festive fun! While nonpareils (the tiny balls) are traditional for a nostalgic touch, feel free to use any type or color of sprinkles, colored sugar, or even edible glitter to match your occasion or mood.
How To Make Irresistibly Soft Sour Cream Cookies
Making these old-fashioned sour cream cookies is a straightforward process, but paying attention to a few key steps will ensure you achieve the softest, most delicious results every time. Follow these instructions carefully, and you’ll be enjoying warm, homemade cookies in no time.
- Preheat your oven to 350°F (175°C). Line a baking sheet with parchment paper or a silicone baking mat for easy cleanup and to prevent sticking.
- In a large bowl, using an electric stand mixer fitted with the paddle attachment, cream the softened butter and granulated sugar together. This step is crucial; beat them on medium-high speed for 2-3 minutes until the mixture is truly light, fluffy, and pale in color. This process incorporates air, which contributes to the cookies’ tender texture.
- Add the egg and vanilla extract to the creamed butter and sugar. Beat again until these wet ingredients are fully incorporated, scraping down the sides of the bowl as needed to ensure everything is well combined.
- Stir in the sour cream until the mixture is smooth and completely combined.
- In a separate medium bowl, whisk together the all-purpose flour, baking powder, baking soda, and salt. Gradually add the dry ingredients to the wet ingredients in the mixer, mixing on low speed until just combined. Be careful not to overmix; overmixing can develop the gluten in the flour, leading to tough cookies. The dough will be noticeably sticky – this is perfectly normal and a sign of its future moistness!
- Cover the sticky dough and place it in the fridge for at least one hour. This chilling time is essential, as it helps the butter solidify, preventing the cookies from spreading too much during baking and ensuring they hold their delightful shape.
- Once chilled, scoop balls of dough (about 1.5 to 2 tablespoons each) onto your prepared baking sheet, leaving about 2 inches between them. Bake for 11-13 minutes. You’re looking for edges that are just set and tops that appear dry and slightly puffed. Do not wait for the cookies to turn golden brown, as this indicates they are overcooked and will result in a drier, tougher cookie. They should still look pale in the center.
- Remove the baking sheet from the oven and let the cookies cool on the sheet for about 10 minutes. This allows them to finish setting up. Then, carefully transfer them to a wire rack to cool completely before glazing.
Crafting the Perfect Vanilla Cookie Glaze
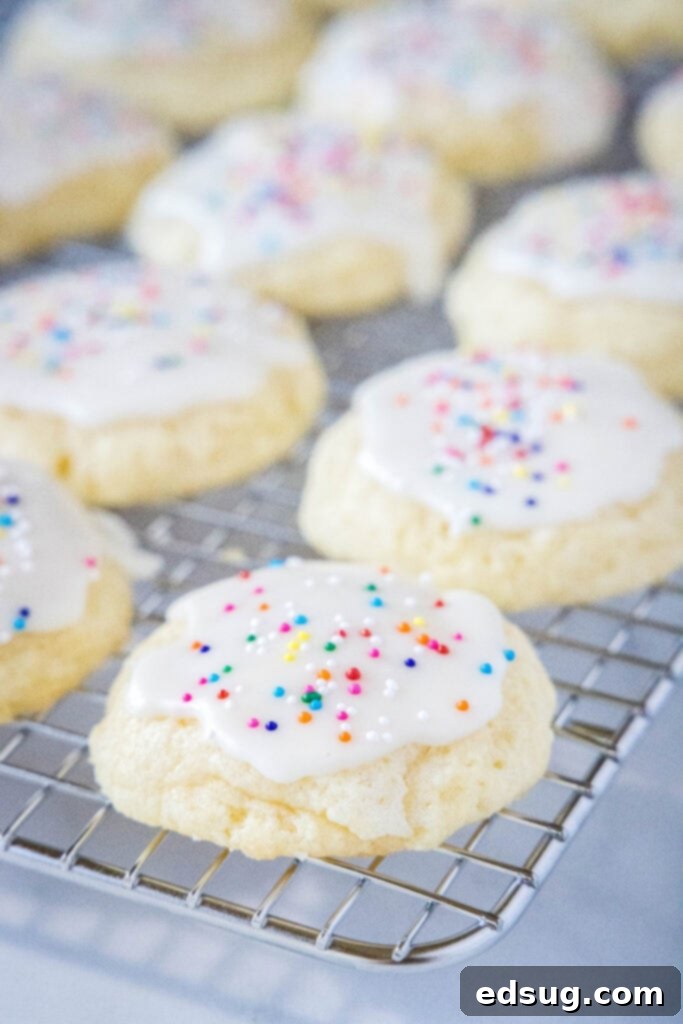
The vanilla glaze is the crowning glory of these sour cream cookies, adding an extra layer of sweetness and a beautiful sheen. It’s incredibly simple to prepare, requiring just a few ingredients and minimal effort. The key is to achieve the right consistency – you want it thick enough to coat the cookies evenly without being runny, but thin enough to spread smoothly.
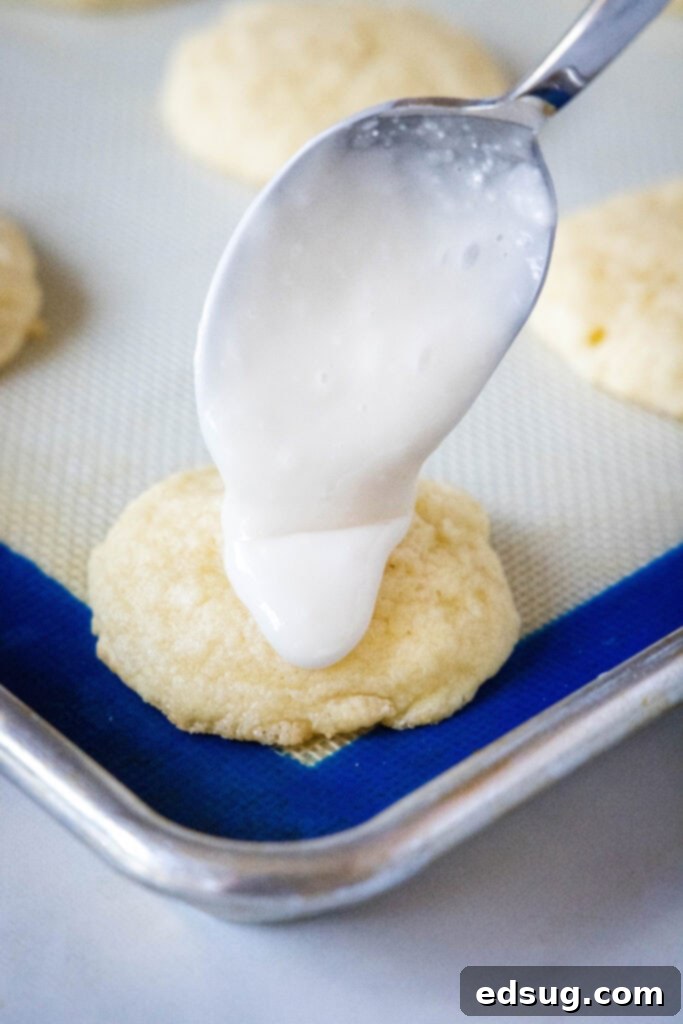
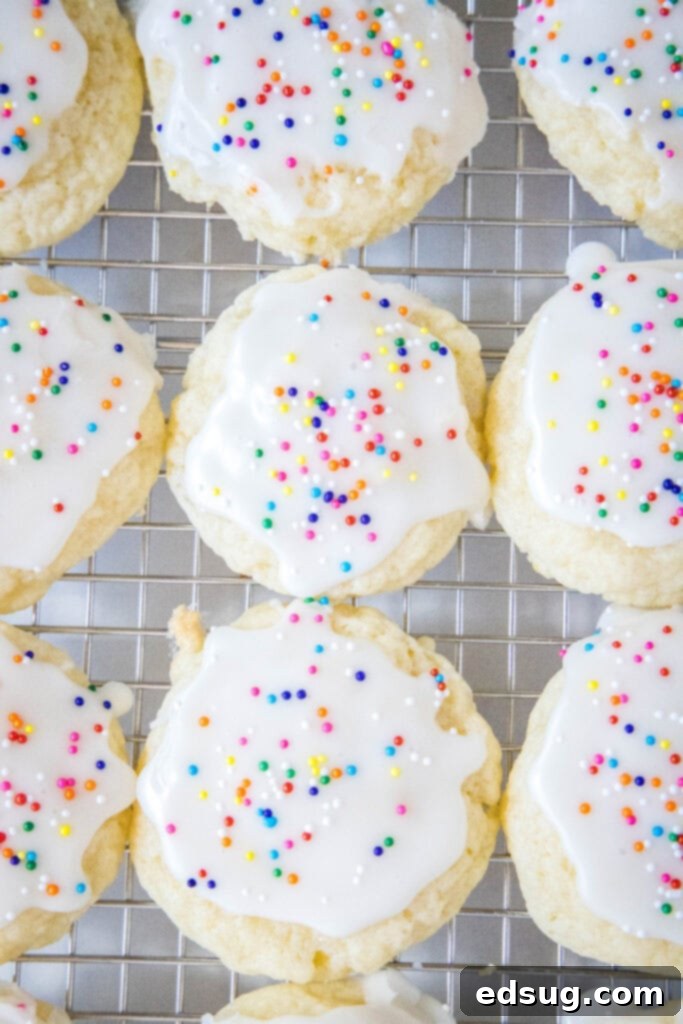
To make the glaze, simply combine the powdered sugar, milk, and vanilla extract in a medium bowl. Whisk vigorously until the mixture is smooth, glossy, and free of lumps. If the glaze is too thick, add milk a teaspoon at a time until the desired consistency is reached. If it’s too thin, stir in a little more powdered sugar. Once your cookies are completely cool (this is crucial to prevent the glaze from melting and becoming a sticky mess), use a spoon or a small offset spatula to spread a generous layer of glaze over each cookie. Immediately adorn them with your favorite sprinkles while the glaze is still wet to ensure they adhere beautifully. Let the glaze set for about 30 minutes to an hour before stacking or storing.
Storage & Freezing Tips for Freshness
These soft sour cream cookies are best enjoyed fresh, but they also store wonderfully, retaining their tender texture for several days. To keep them at their peak, store your glazed and decorated cookies in an airtight container at room temperature. They will remain beautifully soft and tender for 4-5 days. For best results, place a layer of wax paper or parchment paper between stacked cookies to prevent the glaze from sticking or smudging.
Freezing: Sour cream cookies are excellent for freezing, allowing you to prepare them in advance for holidays or unexpected cravings. Once the cookies are completely cooled and the glaze has fully set, arrange them in a single layer on a baking sheet and flash freeze for about 30 minutes. This prevents them from sticking together. Then, transfer them to an airtight freezer-safe container, placing wax or parchment paper between layers. They will maintain their quality in the freezer for 3-4 months. When ready to enjoy, simply thaw them at room temperature. The texture will remain surprisingly fresh and tender!
Expert Recipe Tips for Baking Success
Achieving bakery-quality sour cream cookies is easier than you think with these simple yet effective tips:
- Room Temperature Ingredients are Key: This is a golden rule in baking! Ensure your butter, egg, and sour cream are at room temperature. Room temperature ingredients emulsify better, meaning they blend together more smoothly and evenly, creating a more uniform dough and a superior texture in the final baked good. Take them out of the fridge at least an hour before you plan to start baking; for butter, you can even leave it out overnight if your kitchen isn’t too warm.
- Don’t Overbake Them: This is arguably the most common mistake when baking cookies. Many people wait until cookies look fully cooked in the oven, leading to dry, hard results. Remember the concept of “carry-over cooking.” Cookies continue to bake on the hot pan even after they’ve been removed from the oven. For these sour cream cookies, you want to take them out when the edges are just set and barely golden, and the centers still look slightly pale and soft. They will firm up as they cool. If they look golden brown all over, they’re likely already overdone.
- Measure Flour Correctly: For accurate results, use the “spoon and level” method. Fluff up the flour in its container, then spoon it into your measuring cup until it overflows. Level off the excess with the straight edge of a knife. Never scoop flour directly from the bag, as this compacts it, leading to too much flour and a dry, dense cookie.
- Embrace Creative Decorating: These cookies are a blank canvas for your creativity! While classic colorful sprinkles are always a hit, feel free to get artistic. You can use different colored sprinkles for various holidays (e.g., orange and black for Halloween, red and green for Christmas, pastels for Easter). You can also color your vanilla glaze with a few drops of food coloring to match any theme or occasion – imagine vibrant pink cookies for Valentine’s Day or bright blue ones for a baby shower!
- Ensure Cookies Are Completely Cool Before Glazing: Patience is a virtue, especially when it comes to glazing. If you apply the glaze to warm or even slightly warm cookies, it will melt, seep into the cookie, and create a soggy, messy result instead of a beautiful, set topping. Allow your cookies to cool fully on a wire rack, usually for at least an hour, before even thinking about the glaze.
- Uniform Cookie Size: Use a cookie scoop to ensure all your cookie dough balls are roughly the same size. This promotes even baking, so all your cookies are perfectly cooked at the same time.
More Delightful Cookie Recipes to Try
If you’ve fallen in love with these sour cream cookies, you’ll surely enjoy exploring more fantastic cookie recipes that are perfect for any occasion. Here are some other tried-and-true favorites that are always a hit:
- Cosmic Brownie Cookies
- Chocolate Peanut Butter Cookies
- Snickerdoodles
- Bakery Style Sugar Cookies
- Cornflake Cookies
- Chocolate Crinkle Cookies
- Peanut Butter Chocolate Chip Cookies

Sour Cream Cookies
By Erin Sellin
Sour Cream Cookies – soft and fluffy old fashioned sour cream sugar cookies topped with a vanilla glaze. Great for the holidays or anytime, just decorate with your favorite sprinkles.
Prep Time: 10 mins
Cook Time: 11 mins
Additional Time: 1 hr (chilling)
Total Time: 1 hr 21 mins
Servings: 26 cookies
Rate Recipe
Print Recipe
Ingredients
Cookies
- 1/2 cup softened butter
- 1 cup granulated sugar
- 1 large egg
- 1 teaspoon vanilla extract
- 1/2 cup sour cream
- 2 cups all-purpose flour
- 1/2 teaspoon baking powder
- 1/2 teaspoon salt
- 1/4 teaspoon baking soda
Glaze
- 2 cups powdered sugar
- 2 Tablespoons milk
- 1/2 teaspoon vanilla extract
- Sprinkles (for decoration)
Instructions
- Preheat oven to 350º F (175°C). Line a baking sheet with parchment paper.
- Using an electric stand mixer, cream the butter and sugar together until light and fluffy, about 2-3 minutes.
- Add the egg and vanilla extract; beat until fully incorporated.
- Stir in the sour cream until the mixture is smooth and combined.
- In a separate bowl, mix all the dry ingredients (flour, baking powder, salt, baking soda). Gradually add them to the wet mixture and mix until just combined. The dough will be sticky.
- Place the dough in the fridge for at least one hour to chill. This helps the cookies hold their shape while baking.
- Scoop balls of dough (approximately 1.5-2 tablespoons) onto the prepared baking sheet.
- Bake for 11 minutes, or until the edges are set and the tops are just dry. Do not let them get golden brown to avoid overcooking.
- Remove from the oven and let cool on the baking sheet for 10 minutes, then transfer to a wire rack to cool completely.
- Prepare the glaze by mixing powdered sugar, milk, and vanilla extract until smooth and drizzle-able.
- Once cookies are completely cooled, spread the glaze over each cookie using a spoon or small spatula, and decorate with sprinkles.
Nutrition
Serving: 1 cookie | Calories: 142kcal | Carbohydrates: 24g | Protein: 1g | Fat: 5g | Saturated Fat: 3g | Polyunsaturated Fat: 1g | Cholesterol: 19mg | Sodium: 95mg | Sugar: 16g
Nutrition information is automatically calculated, so should only be used as an approximation.
I created a fun group on Facebook, and I would love for you to join us! It’s a place where you can share YOUR favorite recipes, ask questions, and see what’s new at Dinners, Dishes and Desserts (so that you never miss a new recipe)!
Be sure to follow me on Instagram and tag #dinnersdishes so I can see all the wonderful DINNERS, DISHES, AND DESSERTS recipes YOU make!
Be sure to follow me on my social media, so you never miss a post!
Facebook | Twitter | Pinterest | Instagram
