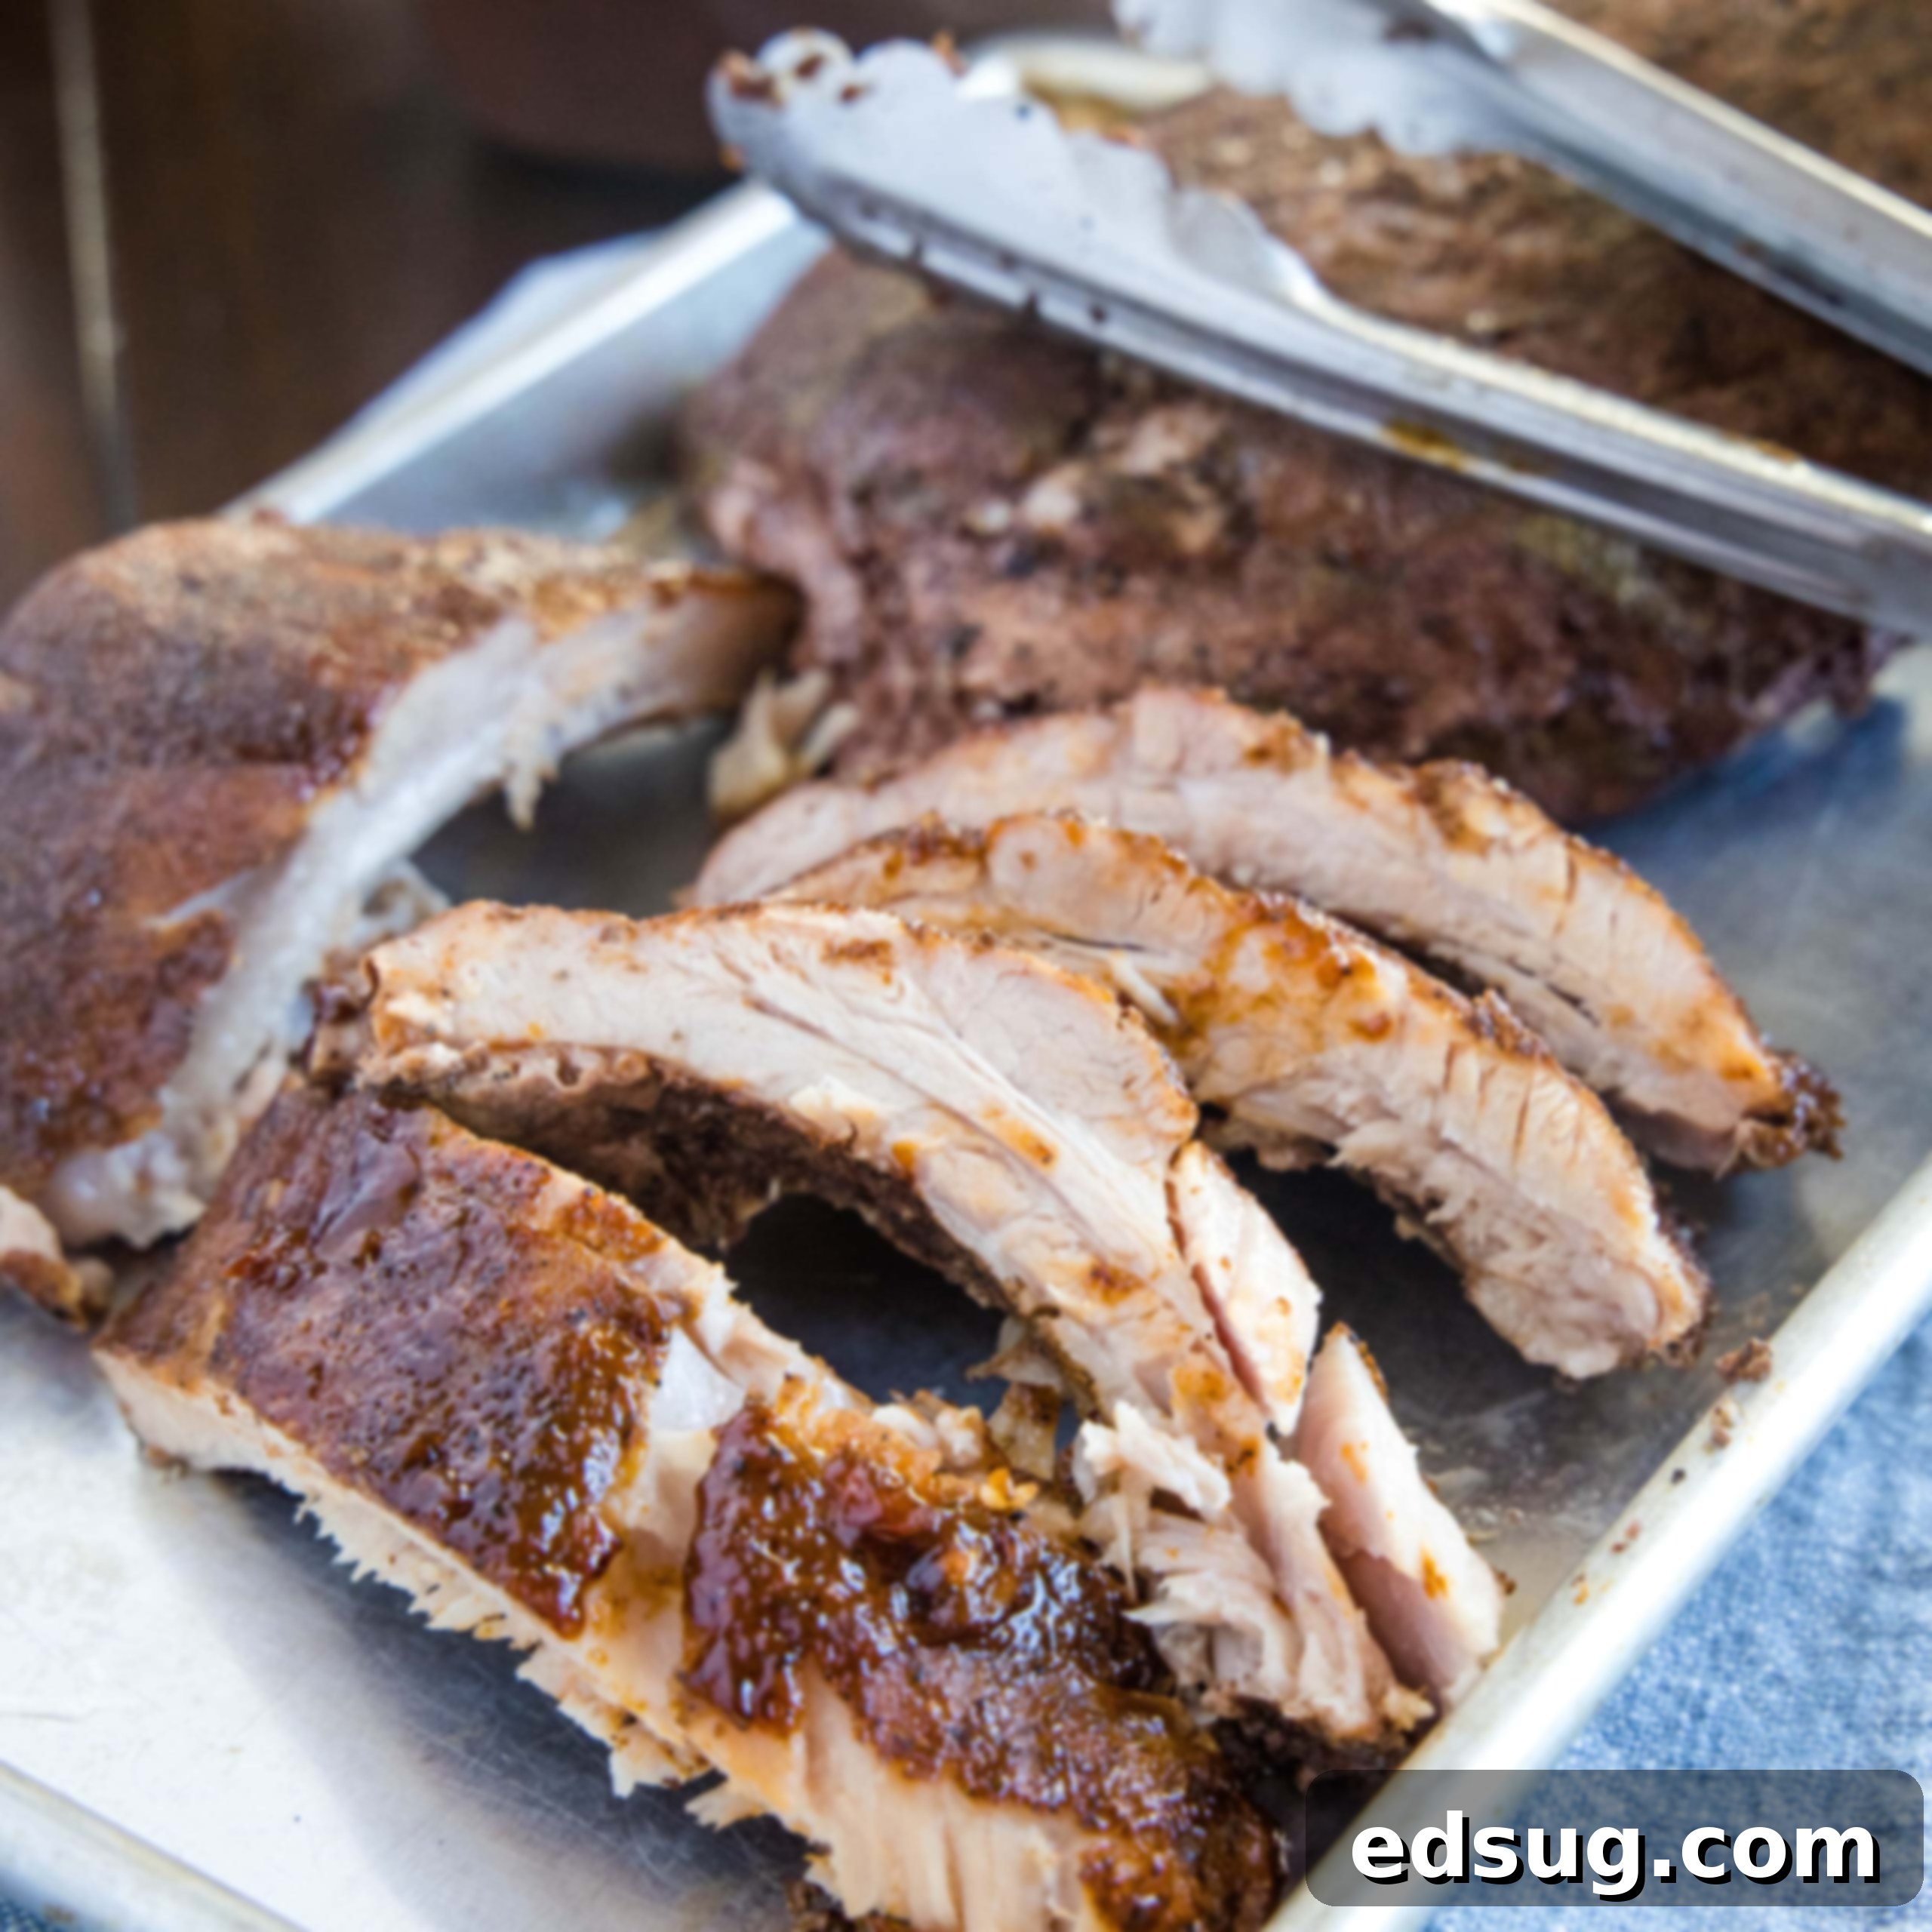
Ultimate Guide to Sous Vide Ribs: Achieve Fall-Off-The-Bone Perfection Indoors
Imagine biting into ribs so tender they practically melt in your mouth, effortlessly sliding off the bone, bursting with rich, savory flavor. While many associate such perfection with long hours over a smoker or grill, the truth is, you can achieve this culinary dream right in your kitchen, any time of year. Welcome to the world of Sous Vide Ribs!
Baby back ribs are a beloved classic in our household, a staple for gatherings and weekend feasts. There’s truly nothing quite like the satisfaction of perfectly cooked, succulent ribs. Traditionally, our go-to method for this delightful dish involves firing up the smoker to make Smoked Baby Back Ribs, a process that yields incredible results but is largely reserved for warmer weather. As delightful as outdoor smoking is, braving the cold to tend to a smoker in the dead of winter isn’t exactly appealing.
For those colder months, we’ve often turned to convenient alternatives like Instant Pot Ribs, which offer a quicker path to tender meat. However, once you discover the magic of sous vide cooking, it quickly becomes an indispensable tool in your kitchen arsenal. My journey into sous vide began about five years ago when my husband surprised me with an immersion circulator. At first, I was unsure what this peculiar device was capable of, but it has rapidly transformed into my absolute favorite kitchen appliance. Now, I find myself wanting to cook almost everything using this precise and foolproof method!
Sous vide cooking elevates the humble rib to an entirely new level of tenderness and flavor. It allows us to bypass the weather dependency of smoking while still delivering an unparalleled culinary experience. This guide will walk you through everything you need to know to make incredible, fall-off-the-bone sous vide ribs that will impress even the most discerning BBQ connoisseur, no matter the season.
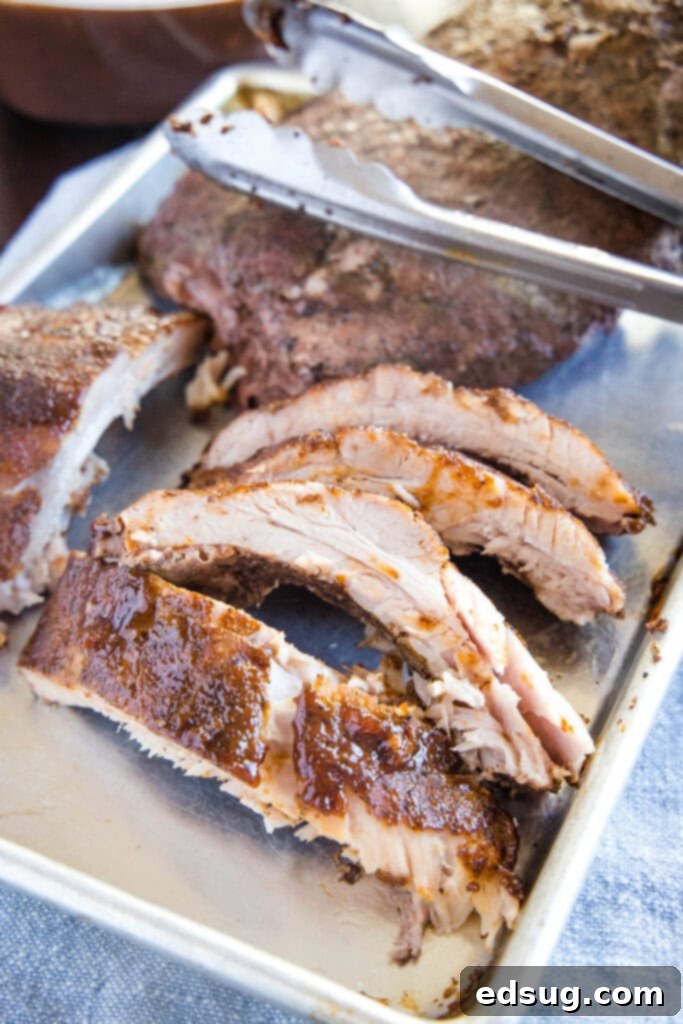
What Is Sous Vide Cooking and Why Is It Perfect for Ribs?
Sous vide, which translates from French to “under vacuum,” is a cooking method that involves placing food in a vacuum-sealed bag and then cooking it in a precisely temperature-controlled water bath. An immersion circulator heats and circulates the water, maintaining an exact temperature for an extended period. This precision is what makes sous vide truly revolutionary, especially for meats like ribs.
Here’s why sous vide is the secret to the most perfectly tender, fall-off-the-bone ribs:
- Unmatched Precision: Unlike conventional cooking methods where temperatures can fluctuate, sous vide ensures your ribs are cooked to an exact, consistent temperature from edge to edge. This eliminates overcooking and guarantees uniform tenderness throughout the entire rack.
- Maximum Moisture Retention: Because the ribs are sealed in a bag, all their natural juices and added seasonings are locked in. There’s no evaporation, resulting in incredibly moist and flavorful meat that would be hard to achieve with other methods.
- Tenderization Power: Ribs are tough cuts of meat, rich in collagen. Cooking them at a low, consistent temperature for an extended period, as with sous vide, allows this collagen to slowly break down into gelatin. This transformation is what creates that desirable melt-in-your-mouth, fall-off-the-bone texture that every rib lover craves.
- Flavor Infusion: Sealing the ribs with your chosen dry rub or marinade allows the flavors to deeply penetrate the meat over the long cooking process, resulting in a more intense and complex taste profile.
- Flexibility and Convenience: Once the ribs are in the water bath, you can essentially “set it and forget it” for hours, even overnight. This frees you up to attend to other tasks, making it an incredibly convenient method for entertaining or meal prepping.
In essence, sous vide takes the guesswork out of cooking ribs, delivering consistently perfect results with minimal effort, transforming a traditionally challenging dish into a simple, enjoyable process.
Selecting the Best Ribs for Your Sous Vide Experience
For this recipe, you’ll want a full rack of pork ribs. The beauty of sous vide is its versatility, making it suitable for different popular cuts of ribs. Both Baby Back Ribs and St. Louis Style Ribs will yield fantastic, tender results with this method, cooked in exactly the same way.
- Baby Back Ribs: These ribs are cut from the top of the rib cage between the spine and the sparerib, below the loin muscle. They are shorter, meatier, and generally more tender than spareribs, with a curved shape (hence “baby back”). They cook beautifully sous vide, becoming incredibly succulent. Look for racks that are well-marbled with an even distribution of meat.
- St. Louis Style Ribs: These are spareribs that have been trimmed to a more uniform, rectangular shape by removing the sternum bone, cartilage, and often the skirt meat. They are flatter and contain more fat and connective tissue than baby back ribs, which translates to a richer flavor when cooked low and slow. The sous vide method is particularly adept at breaking down these tougher tissues, making St. Louis style ribs exceptionally tender and juicy.
When selecting your ribs, aim for racks that have a good amount of meat on the bone, with some visible marbling (streaks of fat) but not excessively thick fat caps. Freshness is key, so choose ribs with a bright, consistent color.
If you plan to cook more than one full rack of ribs, the process remains the same; you’ll simply need additional vacuum-sealable bags to accommodate them. Crucially, the time and temperature settings for sous vide will remain consistent regardless of how many racks you are cooking, as the cooking is determined by the water bath temperature, not the mass of the food.
How To Make Perfect Sous Vide Ribs: A Step-by-Step Guide
Achieving truly magnificent sous vide ribs is straightforward, requiring just a few key steps to ensure maximum flavor and tenderness. Follow these instructions for ribs that will impress every time:
- Prepare Your Ribs: Remove the Membrane. This is perhaps the most crucial preparatory step for any rib recipe. The tough, silver-skin-like membrane on the bone side of the ribs becomes leathery and unpleasant when cooked, preventing seasonings from penetrating properly. To remove it, place the ribs bone-side up on a clean cutting board. Use a butter knife or the handle of a spoon to gently slide under the membrane at one end, lifting a corner. Once you have a good grip, use a paper towel to firmly grasp the membrane and pull it off in one smooth motion. If it tears, simply find another edge and continue pulling. This step ensures an unbeatably tender eating experience.
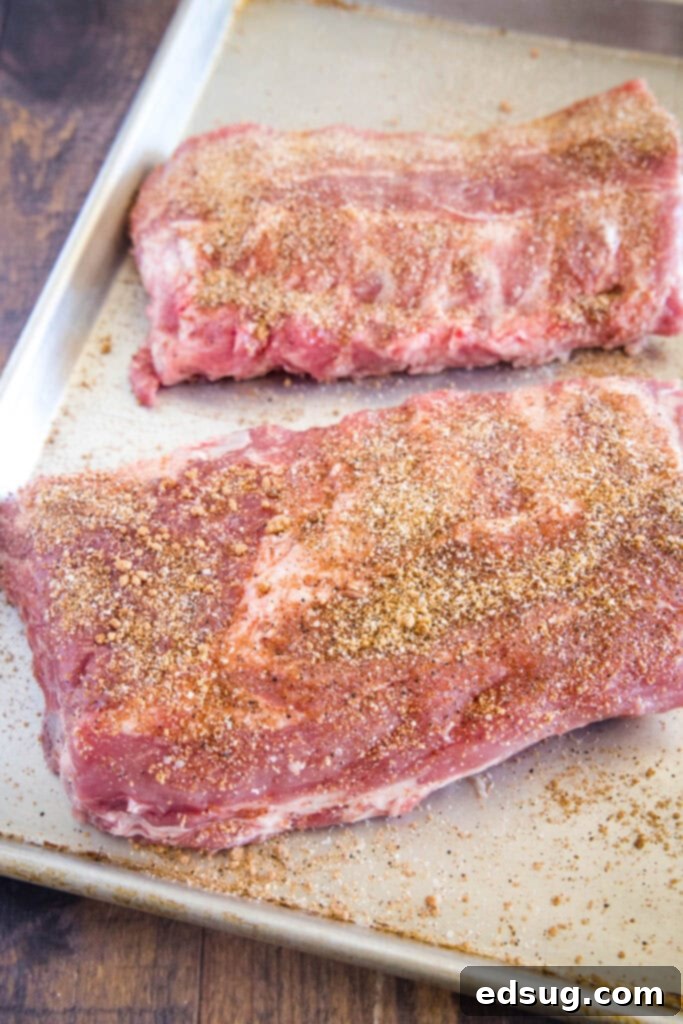
- Season Liberally with Your Favorite Rub. Once the membrane is removed, it’s time to infuse your ribs with flavor. A good dry rub is essential. While you can certainly use your favorite store-bought rub, I highly recommend my Best Dry Rub For Ribs for an ideal balance of sweet, savory, and a hint of spice. Don’t be shy – generously sprinkle the rub over all sides of the ribs, gently pressing it into the meat to ensure good adhesion. This rub will work its magic during the long, slow sous vide process.
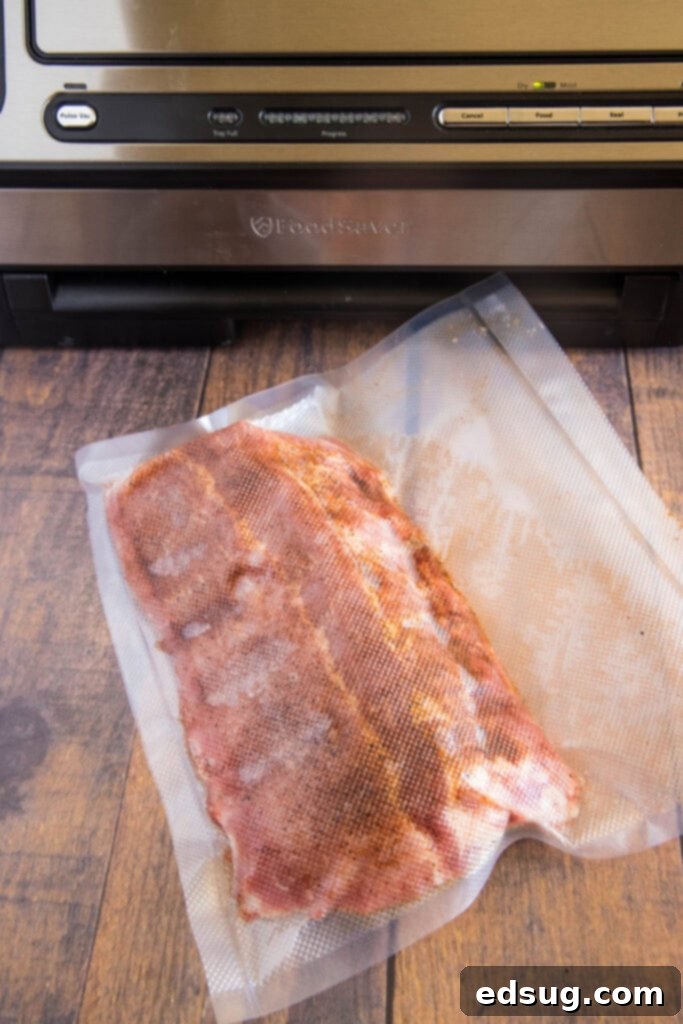
- Seal the Ribs for the Water Bath. After seasoning, it’s time to seal your ribs. I find it easiest to cut a full rack in half, placing each half-rack into its own vacuum-sealable bag. If you own a Food Saver or similar vacuum sealer, this is the ideal method for removing all air and creating a tight seal. If you don’t have a vacuum sealer, you can use high-quality Stasher Bags or other heavy-duty freezer bags with the water displacement method: place the ribs in the bag, leaving a small corner unsealed. Slowly lower the bag into the water bath, allowing the water pressure to push the air out. Once the food is submerged and most air is expelled, seal the remaining corner of the bag. Ensuring all air is removed is critical for even cooking and safety.
- Sous Vide Cook to Perfection. Now for the main event! Set your sous vide immersion circulator to 155º F (68º C). Once the water bath reaches temperature, carefully place the sealed rib bags into the water. Ensure the ribs are fully submerged to cook evenly. For long cooking times, especially overnight, covering your water bath is crucial to prevent excessive water evaporation. A cooler works exceptionally well for insulation and maintaining water levels. Alternatively, you can use aluminum foil, a baking sheet, or even ping-pong balls floating on the surface to create a lid and reduce heat loss. Cook the ribs for a full 24 hours at this temperature.
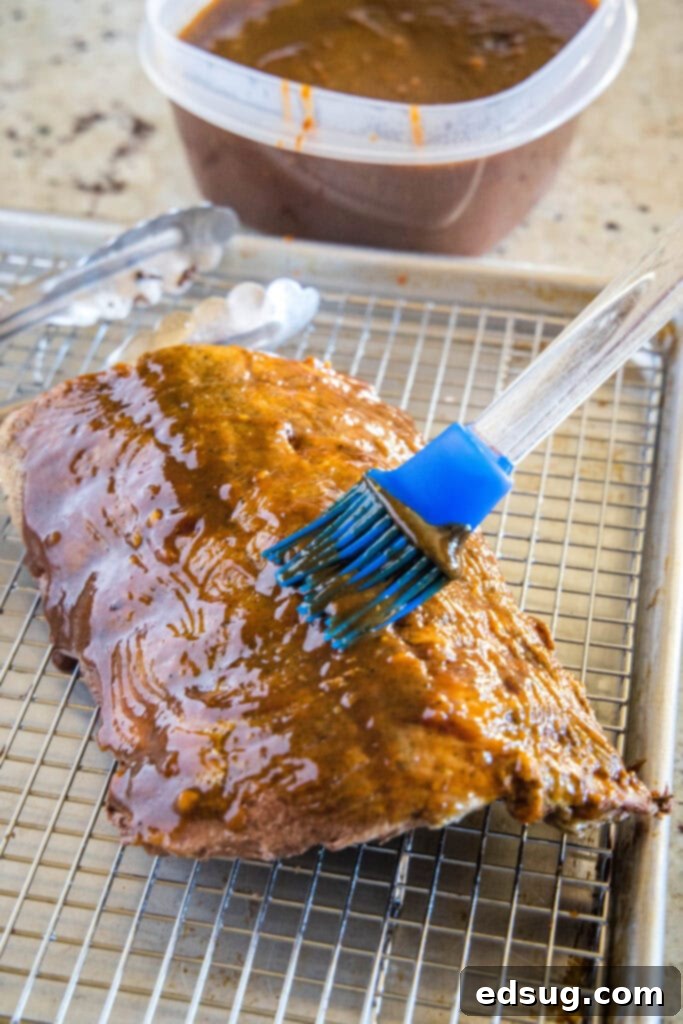
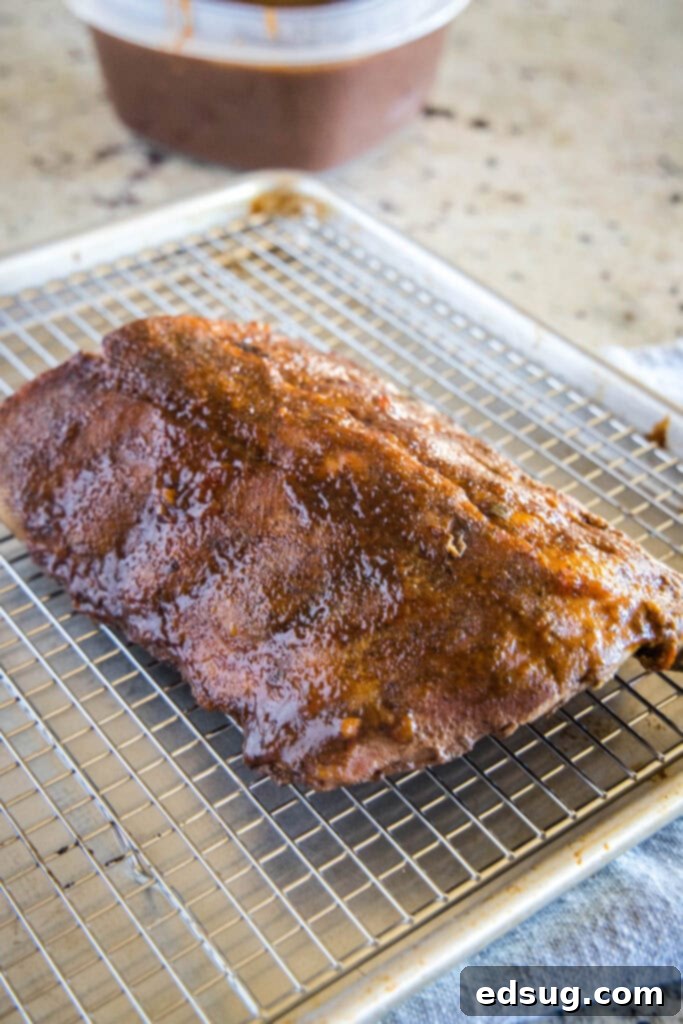
- Finish for That Irresistible Crust. After 24 hours, your ribs will be incredibly tender, but they’ll lack the caramelized, savory crust that makes ribs truly exceptional. This finishing step adds texture and flavor. Carefully remove the ribs from their bags, pat them dry with paper towels to remove excess moisture (this helps achieve a better crust), and prepare them for one of the following methods, depending on your preference:
- Smoker: For that authentic BBQ flavor, place the sauced ribs on a preheated smoker at 180º F (82º C) for about 90 minutes. This will impart a wonderful smoky aroma and create a beautiful bark.
- Broiler: Preheat your oven’s broiler to high. Brush the ribs generously with your favorite barbecue sauce. Place them on a baking sheet and broil for 2-4 minutes, watching carefully, until the sauce caramelizes and the ribs achieve a nice char.
- Grill: Preheat your grill to high heat. Brush the ribs with BBQ sauce and grill for just a few minutes per side, turning frequently, until browned and the sauce is sticky and caramelized.
- Oven (Convection): For a crispy finish without a grill or smoker, preheat your oven to 450°F (230°C), preferably on convection if available. Brush ribs with sauce and bake for 10-15 minutes, flipping once, until the sauce is bubbly and caramelized.
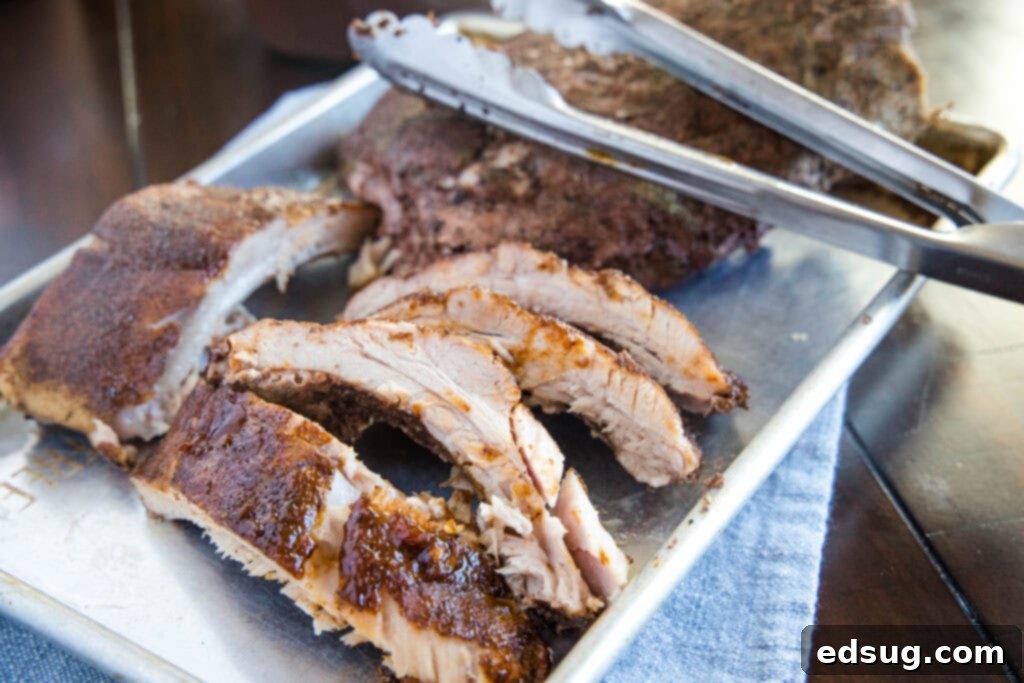
Once finished, let the ribs rest for a few minutes before slicing and serving. The waiting will be the hardest part!
How Long to Sous Vide Ribs: The Magic of 24 Hours
To truly achieve that legendary fall-off-the-bone tenderness, sous vide ribs require a full 24 hours in the water bath. While the ribs will be safely cooked much sooner than that, the extended cooking time at a precise low temperature is essential for breaking down the tough connective tissues and fat within the pork. This slow process transforms the meat’s structure, rendering it incredibly succulent and allowing it to practically detach from the bone with ease.
Sous vide cooking is often referred to as “low-temperature, long-time” cooking for a reason, and ribs are a perfect example of where this method shines. The prolonged exposure to gentle heat provides ample time for the collagen to convert into gelatin, which is the key to their amazing texture.
I understand that 24 hours might seem like an eternity, especially when you’re craving those delicious ribs! However, rest assured, it is almost impossible to overcook food when using the sous vide method. Because the water bath maintains a constant temperature, the ribs will never exceed that temperature. If you were to cook them for significantly longer (e.g., 48-72 hours), the texture might eventually become mushy or overly soft, but they wouldn’t truly be “overcooked” in the traditional sense of being dry or tough. The 24-hour mark hits the sweet spot for maximum tenderness without compromising the integrity of the meat.
What Temperature to Sous Vide Ribs for Optimal Tenderness
For ribs, the ideal sous vide temperature is 155º F (68º C). You might encounter recipes suggesting a range between 152º F (67º C) and 165º F (74º C), but through extensive testing, I’ve found that 155º F consistently delivers the most tender and delicious ribs that truly fall off the bone – exactly how I love them.
Let’s delve a little deeper into why this temperature works best:
- The Science of Tenderness: Technically, pork is safe to eat once it reaches an internal temperature of 145º F (63º C). However, simply being “safe” doesn’t equate to “tender.” The magic of sous vide at 155º F lies in its ability to slowly break down the tough connective tissues and collagen in the ribs. At this specific temperature, over an extended period, collagen begins to dissolve and convert into gelatin, resulting in that incredibly tender, melt-in-your-mouth texture.
- Avoiding Toughness: Cooking at lower temperatures (e.g., 140-150°F) for too short a time might leave the ribs a bit chewier, while cooking at higher temperatures (e.g., 160-165°F) for too long can sometimes result in a slightly drier texture, as more moisture is forced out of the muscle fibers. The 155º F mark strikes the perfect balance, ensuring the fat renders beautifully and the muscle fibers relax without drying out, giving you a luscious, not chewy or tough, bite.
By precisely controlling the water temperature to 155º F, you are actively guiding the fat and connective tissue breakdown, ensuring every bite of your sous vide ribs is a testament to perfect tenderness and rich flavor.
Essential Recipe Tips for Perfect Sous Vide Ribs
- Monitor and Refill Your Water Bath: A 24-hour cook time means water will inevitably evaporate, especially if your bath isn’t perfectly sealed. Regularly check your water level, especially if using an uncovered pot, and refill with hot water as necessary to ensure your ribs remain fully submerged throughout the entire cooking process. If part of the bag is exposed to air, it won’t cook correctly.
- Embrace the Smoker Finish for Authentic Flavor: If you’re a fan of the traditional smoky flavor that ribs are famous for, do not skip the smoker finishing method. Placing the ribs on a smoker for approximately 90 minutes at 180º F (82º C) after the sous vide bath will infuse them with a delicious smoke ring and a depth of flavor that can’t be replicated by other finishing techniques.
- The Power of a Good Dry Rub: A well-balanced dry rub is absolutely critical for flavorful ribs. The blend of spices and seasonings penetrates the meat during the long sous vide bath, enhancing the natural pork flavors. Don’t skip this step! Feel free to use your personal favorite, or try my recommended Best Dry Rub For Ribs for exceptional results.
- Choose Your Favorite Barbecue Sauce: The finishing glaze is just as important as the rub. When browning your ribs at the end, be sure to use your absolute favorite barbecue sauce. Whether it’s sweet, tangy, spicy, or smoky, a good quality sauce will caramelize beautifully and add that quintessential sticky, finger-licking finish.
- Consider Your Equipment: While any reliable immersion circulator will work, I personally use and highly recommend the Joule by Breville Sous Vide. It’s known for its accurate temperature control and durability, which are key for long cooks.
Frequently Asked Questions About Sous Vide Ribs
Here are answers to some common questions you might have about making sous vide ribs:
- Can I cook sous vide ribs for less than 24 hours?
- While you can cook ribs for a shorter duration (e.g., 12-18 hours), they may not achieve the same “fall-off-the-bone” tenderness. The 24-hour mark is ideal for the collagen to break down sufficiently for that signature texture.
- Can I prepare sous vide ribs in advance?
- Absolutely! After the sous vide bath, you can cool the ribs in an ice bath (while still in their sealed bags) and then refrigerate them for up to 3-4 days. When ready to serve, simply reheat them in a 140°F (60°C) sous vide bath for about 1-2 hours, then proceed with the finishing step (grill, broiler, or smoker).
- Can I freeze cooked sous vide ribs?
- Yes, you can! After the sous vide bath, cool the sealed ribs in an ice bath and then transfer them to the freezer. They can be frozen for several months. To reheat, thaw in the refrigerator overnight, then place them back in a 140°F (60°C) sous vide bath for 2-3 hours before finishing.
- What side dishes pair well with sous vide ribs?
- Classic BBQ sides are perfect! Think creamy coleslaw, potato salad, baked beans, cornbread, macaroni and cheese, or grilled corn on the cob. The rich flavor of the ribs makes them highly versatile.
- My ribs weren’t fall-off-the-bone tender. What went wrong?
- The most common reasons for ribs not being tender enough are insufficient cooking time or incorrect temperature. Ensure your sous vide circulator is accurately calibrated and that the ribs were in the bath for the full 24 hours at 155°F (68°C). Also, always ensure the ribs are fully submerged in the water bath.
Discover More Great Sous Vide Recipes
If you’ve fallen in love with the precision and ease of sous vide cooking, there’s a whole world of culinary possibilities waiting for you to explore! Here are some other fantastic sous vide recipes that are sure to become new favorites:
- Sous Vide Steak: Achieve perfectly cooked steak, every single time, with a beautiful edge-to-edge medium-rare.
- Sous Vide Tri Tip: Transform this often-tough cut into a juicy, tender masterpiece.
- Sous Vide Pork Tenderloin: Say goodbye to dry pork with this foolproof method for succulent results.
- Sous Vide Pork Chops: Enjoy incredibly moist and flavorful pork chops that are never overcooked.
- Sous Vide Lamb Chops: Cook lamb to your desired doneness with unmatched precision and tenderness.
- Sous Vide Mashed Potatoes: A surprisingly simple way to achieve ultra-creamy, perfectly seasoned mashed potatoes.
- Sous Vide Pork Loin: A fantastic option for a larger roast, ensuring even cooking and incredible juiciness.
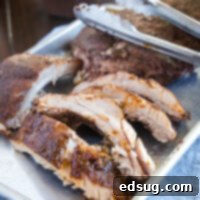
Sous Vide Ribs
Pin Recipe
Rate Recipe
Print Recipe
Ingredients
- 1 rack baby back ribs
- 1/4 cup dry rub
- 1/2 cup barbecue sauce
Instructions
-
Fill a cooler or large pot with water. Preheat sous vide to 155º F.
-
Place the ribs so the meat side is down. Use a butter knife get under the membrane that coats the bone side of the ribs. Use a paper towel or something that helps you get a grip in the membrane and remove it.
-
Cut the rack of ribs in half, and generously season all sides with the dry rub.
-
Transfer each half rack of ribs to a plastic bag and if using a vacuum sealer, seal the bag. If you do not have a vacuum sealer, you can use a zip top bag that you seal almost all the way. Slowly add the bag to the water bath until just below the top is submerged. Then seal the rest of the bag to ensure most of the air is out.
-
Cover the cooler or large pot with a lid, aluminum foil, cookie sheet, or table tennis balls.
-
Cook for 24 hours. Be sure to check the water level to make sure the pork is always fully submerged.
-
After 24 hours remove the ribs from the bag and place on a baking sheet. Use a paper towel and dab to remove the excess moisture.
-
Preheat grill or broiler to high heat. Or if using a smoker to finish the ribs, heat to 180º F.
-
Generously brush the ribs with barbecue sauce. Place on a hot grill or broiler and cook for just a few minutes to caramelize the sauce and brown the ribs. If you are using a smoker, place on the smoker for 90 minutes to.
-
Remove once the ribs are nicely browned and slice to serve.
Notes
**If you are used to the flavor of smoked ribs, you will want to finish them this way. The 90 minutes on the smoker really does impart a fair amount of smoke flavor.
Nutrition
Nutrition information is automatically calculated, so should only be used as an approximation.
Additional Info
Like this recipe? Leave a comment below!
I created a fun group on Facebook, and I would love for you to join us! It’s a place where you can share YOUR favorite recipes, ask questions, and see what’s new at Dinners, Dishes and Desserts (so that you never miss a new recipe)!
Be sure to follow me on Instagram and tag #dinnersdishes so I can see all the wonderful DINNERS, DISHES, AND DESSERTS recipes YOU make!
Be sure to follow me on my social media, so you never miss a post!
Facebook | Twitter | Pinterest | Instagram
