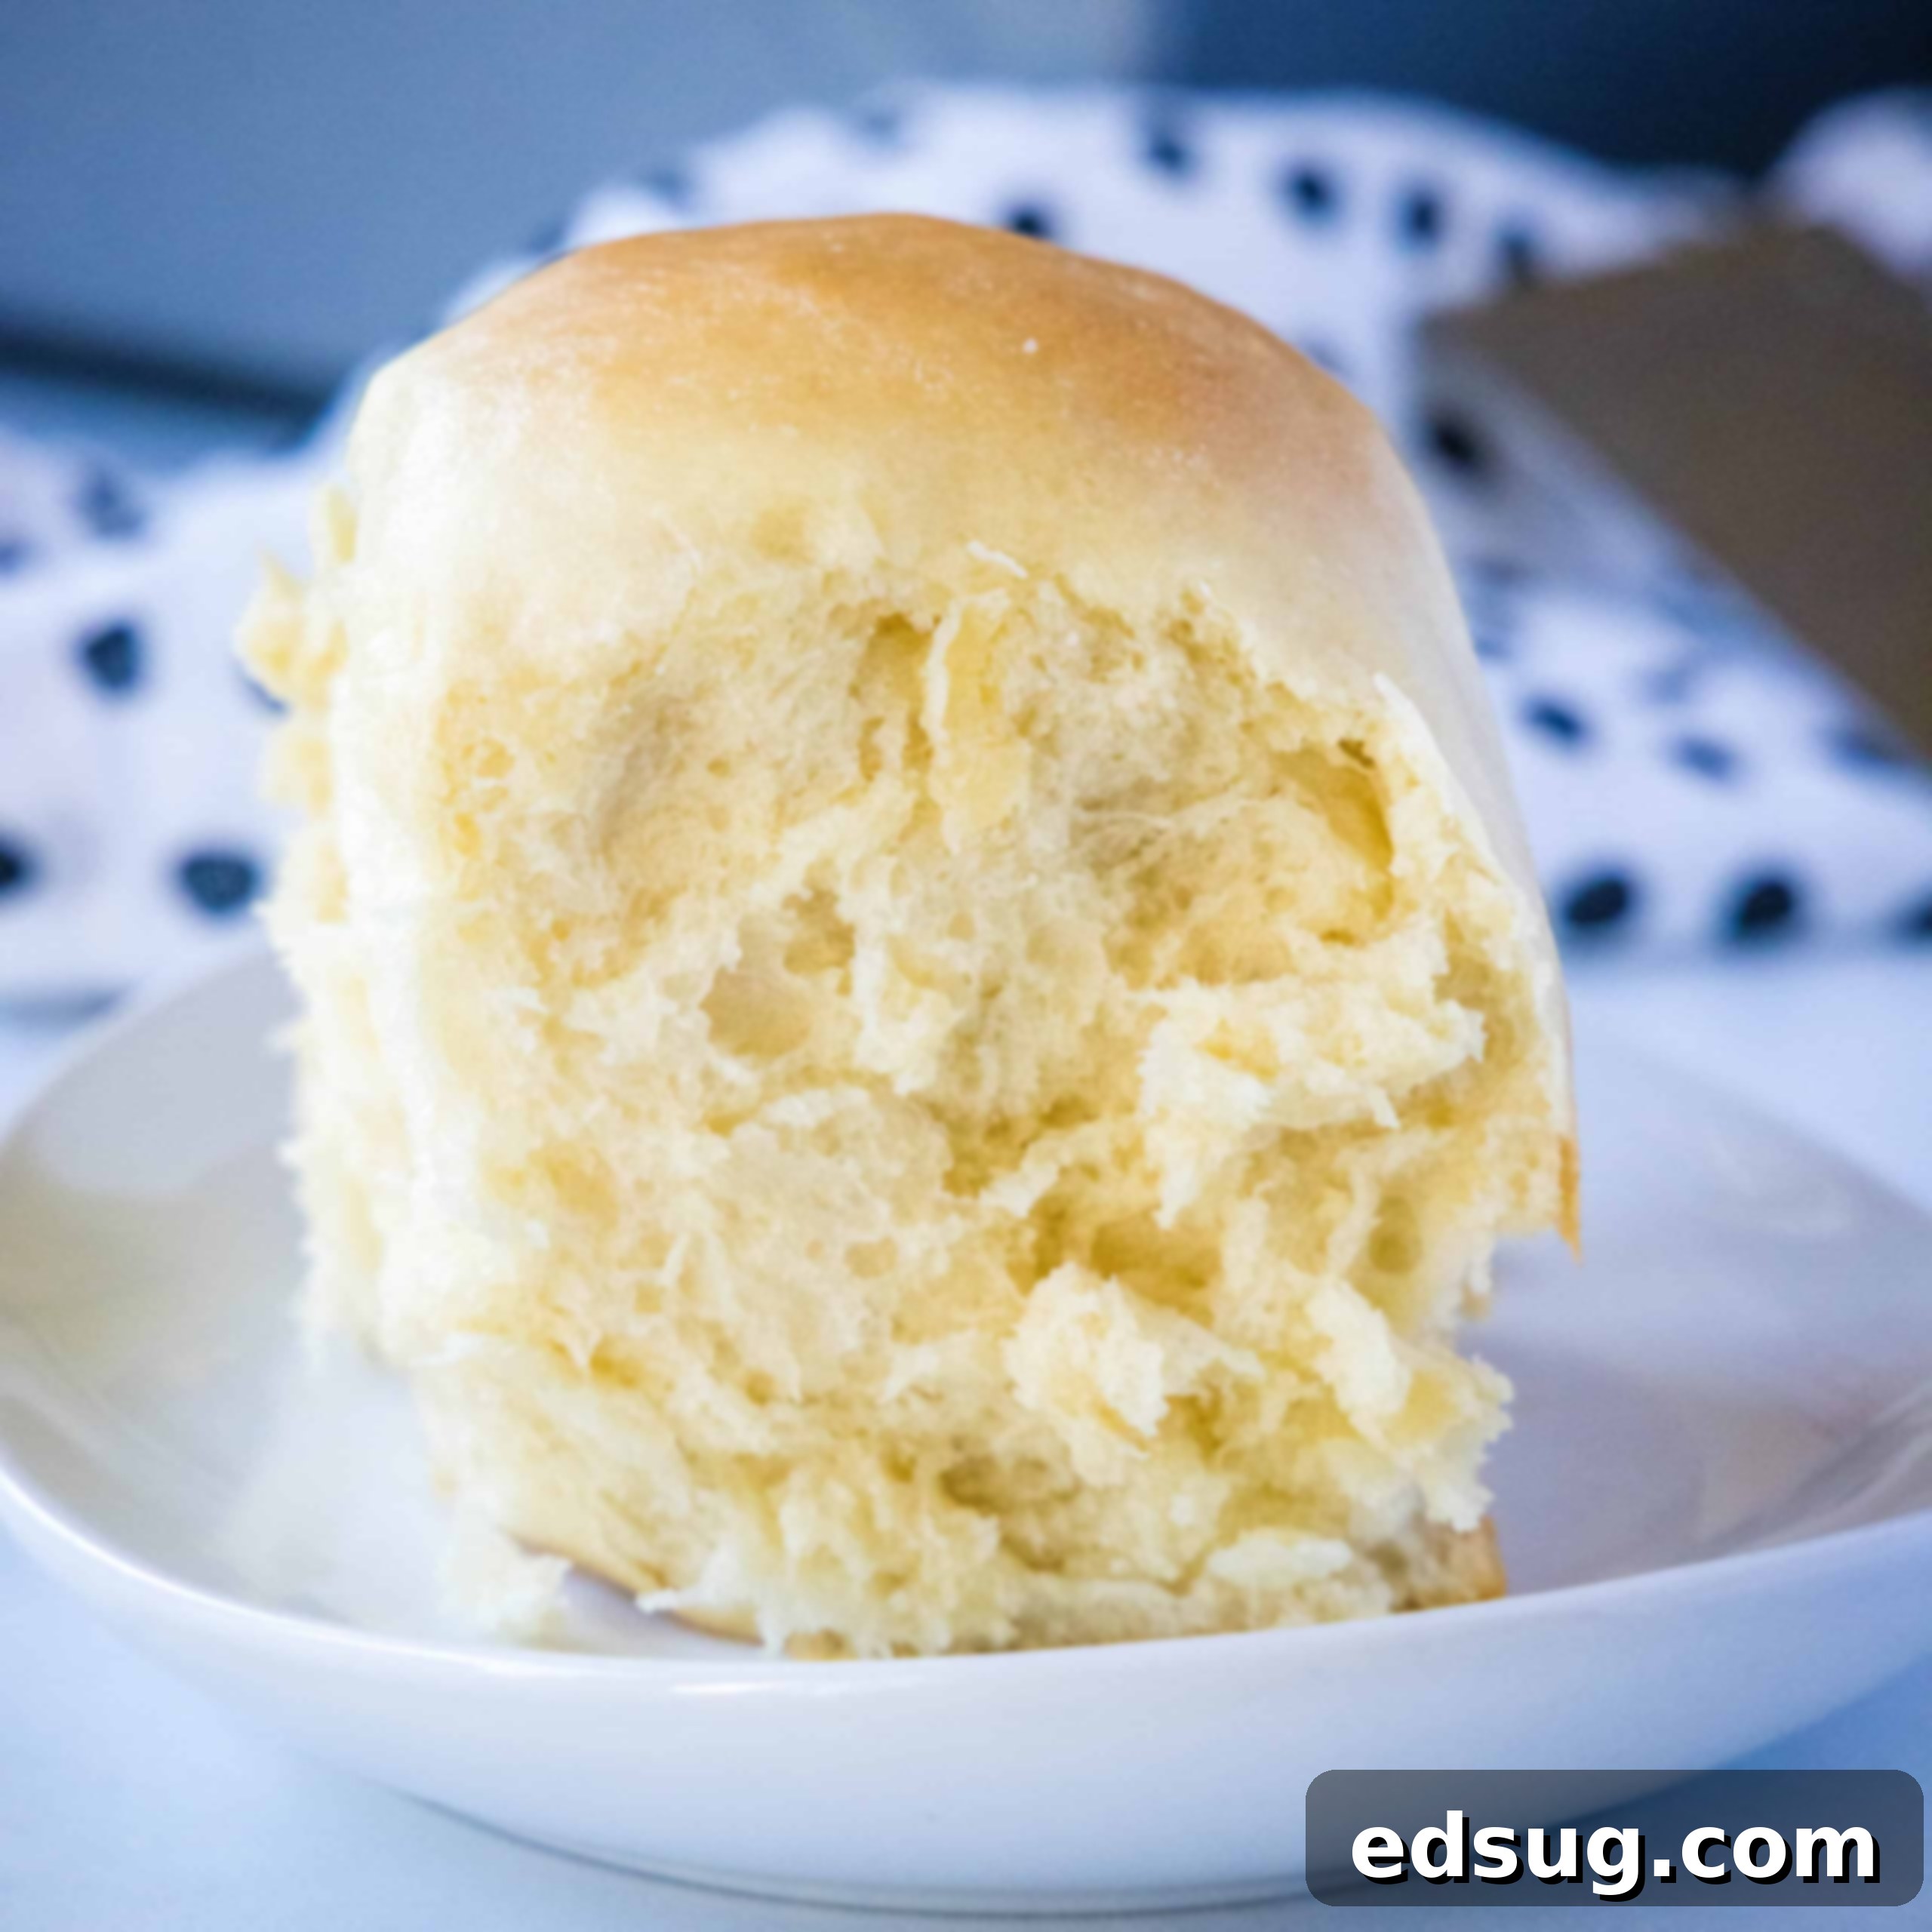
Homemade Hawaiian Rolls: The Ultimate Recipe for Soft, Sweet & Fluffy Bread
There’s an undeniable magic to the aroma of freshly baked bread filling your home, and these **Homemade Hawaiian Rolls** deliver that enchantment in spades. Soft, incredibly fluffy, and kissed with a delicate sweetness, these rolls are far more than just a side dish; they’re a delightful experience. Whether you’re planning a family dinner, hosting a barbecue, or simply craving a warm, buttery treat, this recipe promises to be a crowd-pleaser and a staple in your kitchen.
The unique flavor profile of Hawaiian rolls, with their hint of pineapple and rich, buttery texture, sets them apart from ordinary dinner rolls. They strike the perfect balance between sweet and savory, making them incredibly versatile. Imagine them as the foundation for gourmet sliders, complementing a hearty meal, or simply enjoyed warm with a smear of butter or jam. Opting for homemade not only guarantees an unbeatable fresh-baked taste but also offers the satisfaction of creating something truly special from scratch, surpassing any store-bought alternative.
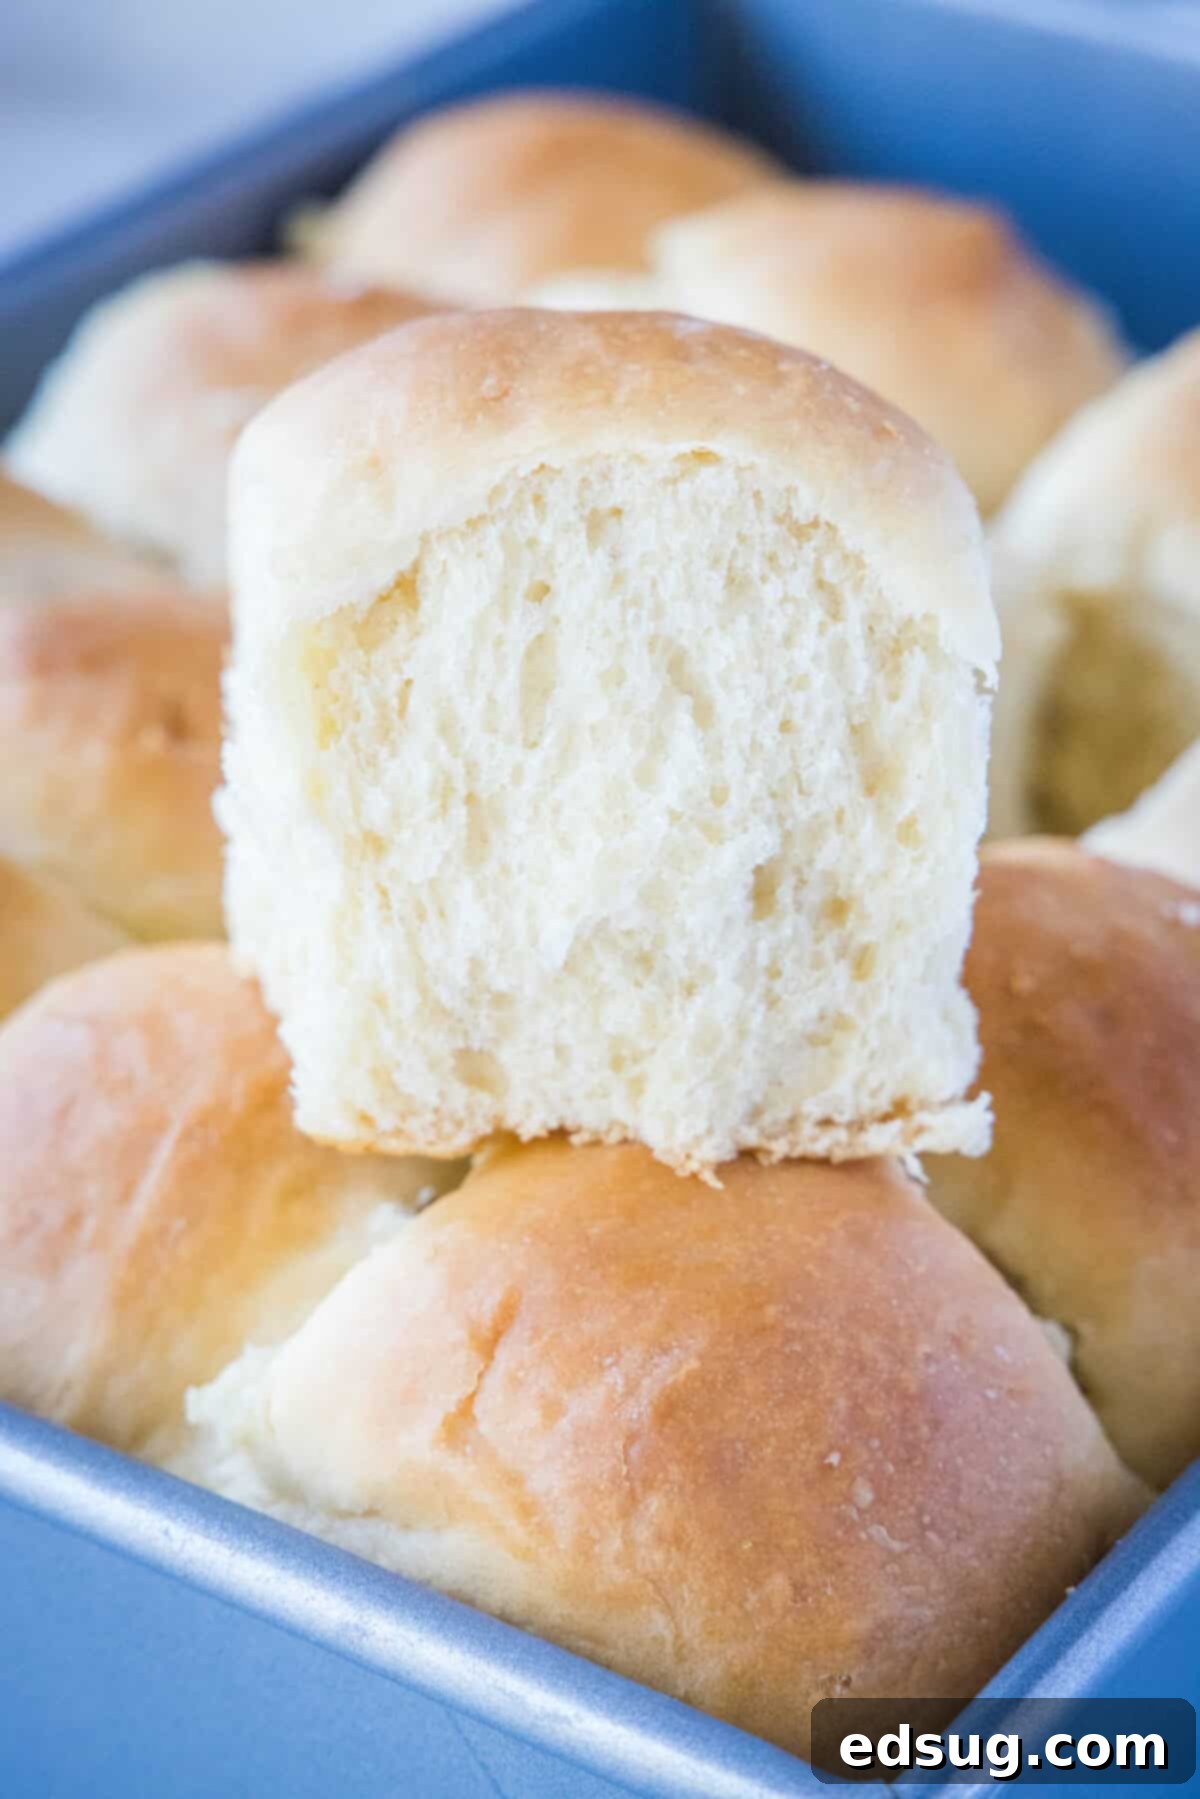
For many home bakers, working with yeast can seem daunting, conjuring images of deflated doughs and dense loaves. However, rest assured that making these Hawaiian buns is much simpler than you might think. The key lies in following the instructions carefully and ensuring your ingredients, especially the yeast, are fresh and active. Once you master this delightful recipe, you’ll discover the joy and ease of baking fresh bread regularly, transforming your kitchen into a personal bakery.
Demystifying Yeast: Your Baking Best Friend
Don’t let yeast intimidate you! It’s a living organism that thrives under specific conditions, and understanding those conditions is half the battle. Always check the expiration date on your yeast package to ensure it’s fresh. Active dry yeast needs to be “bloomed” or activated in warm liquid with a touch of sugar. This process proves the yeast is alive and ready to work, guaranteeing a light and airy texture for your rolls. With fresh yeast and precise temperatures, you’re well on your way to baking success.
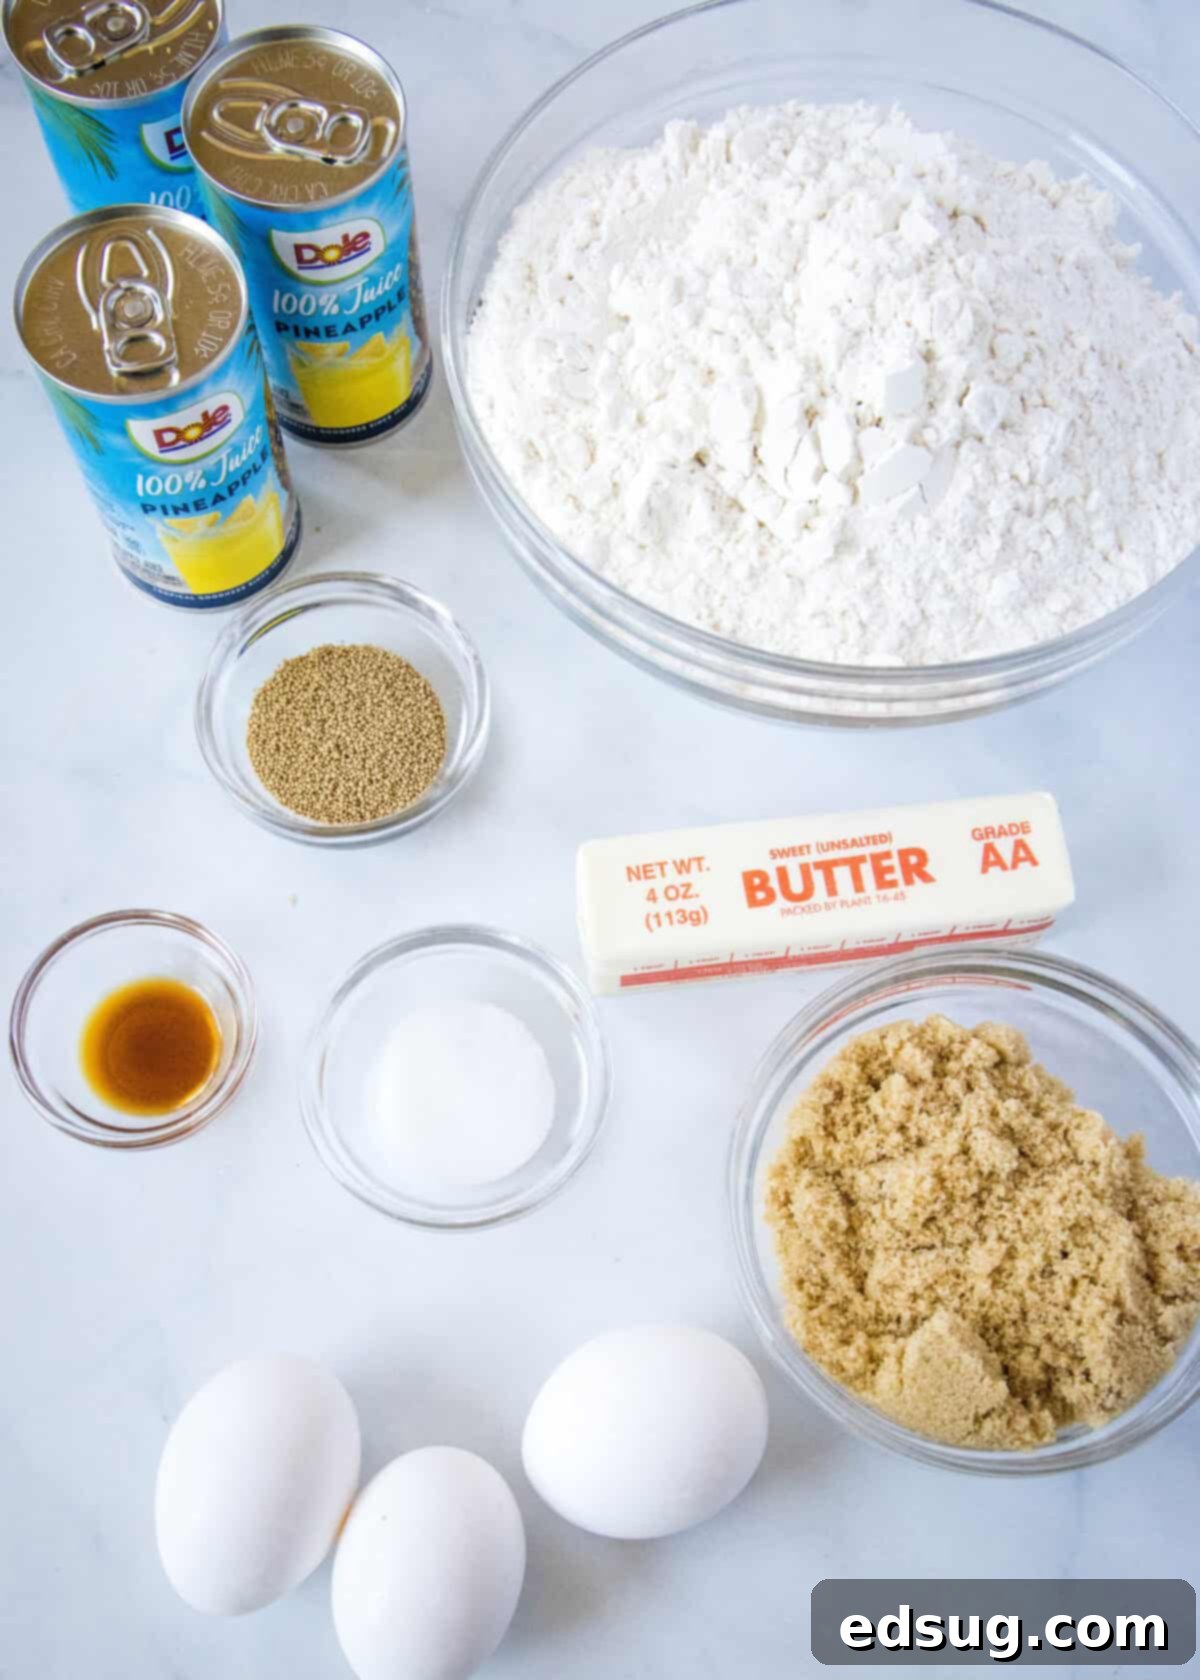
Essential Ingredients for Perfect Hawaiian Rolls
For the exact measurements and full recipe, please scroll to the bottom of the post for the COMPLETE PRINTABLE recipe card.
- Pineapple Juice: This is the star ingredient that gives Hawaiian rolls their signature tropical flavor and unique sweetness. Crucially, use canned pineapple juice, not fresh. Fresh pineapple contains enzymes that can interfere with yeast activity, preventing your dough from rising properly.
- Active Dry Yeast: The leavening agent responsible for those wonderfully fluffy rolls. Ensure your yeast is fresh and active for optimal results.
- Brown Sugar: Adds a deeper, molasses-rich sweetness and helps tenderize the dough, contributing to its soft texture. It also feeds the yeast, aiding in the rising process.
- Butter: Contributes to the rich flavor, moistness, and tender crumb of the rolls. Using room temperature butter ensures it blends smoothly into the dough.
- Vanilla Extract: While unconventional for bread, a touch of vanilla truly enhances the overall sweetness and complexity of the rolls, creating a more irresistible flavor profile. Trust the process on this one!
- Eggs: Both whole eggs and an extra egg yolk add richness, moisture, and help create a beautifully soft and tender crumb structure. They also contribute to the golden color of the baked rolls.
- Bread Flour: The preferred flour for this recipe, bread flour has a higher protein content than all-purpose flour. This extra protein helps develop stronger gluten, providing the necessary structure for lofty, airy, and fluffy rolls.
- Salt: Essential for balancing the sweetness, enhancing the overall flavor, and regulating yeast activity.
Step-by-Step Guide to Baking Homemade Hawaiian Rolls
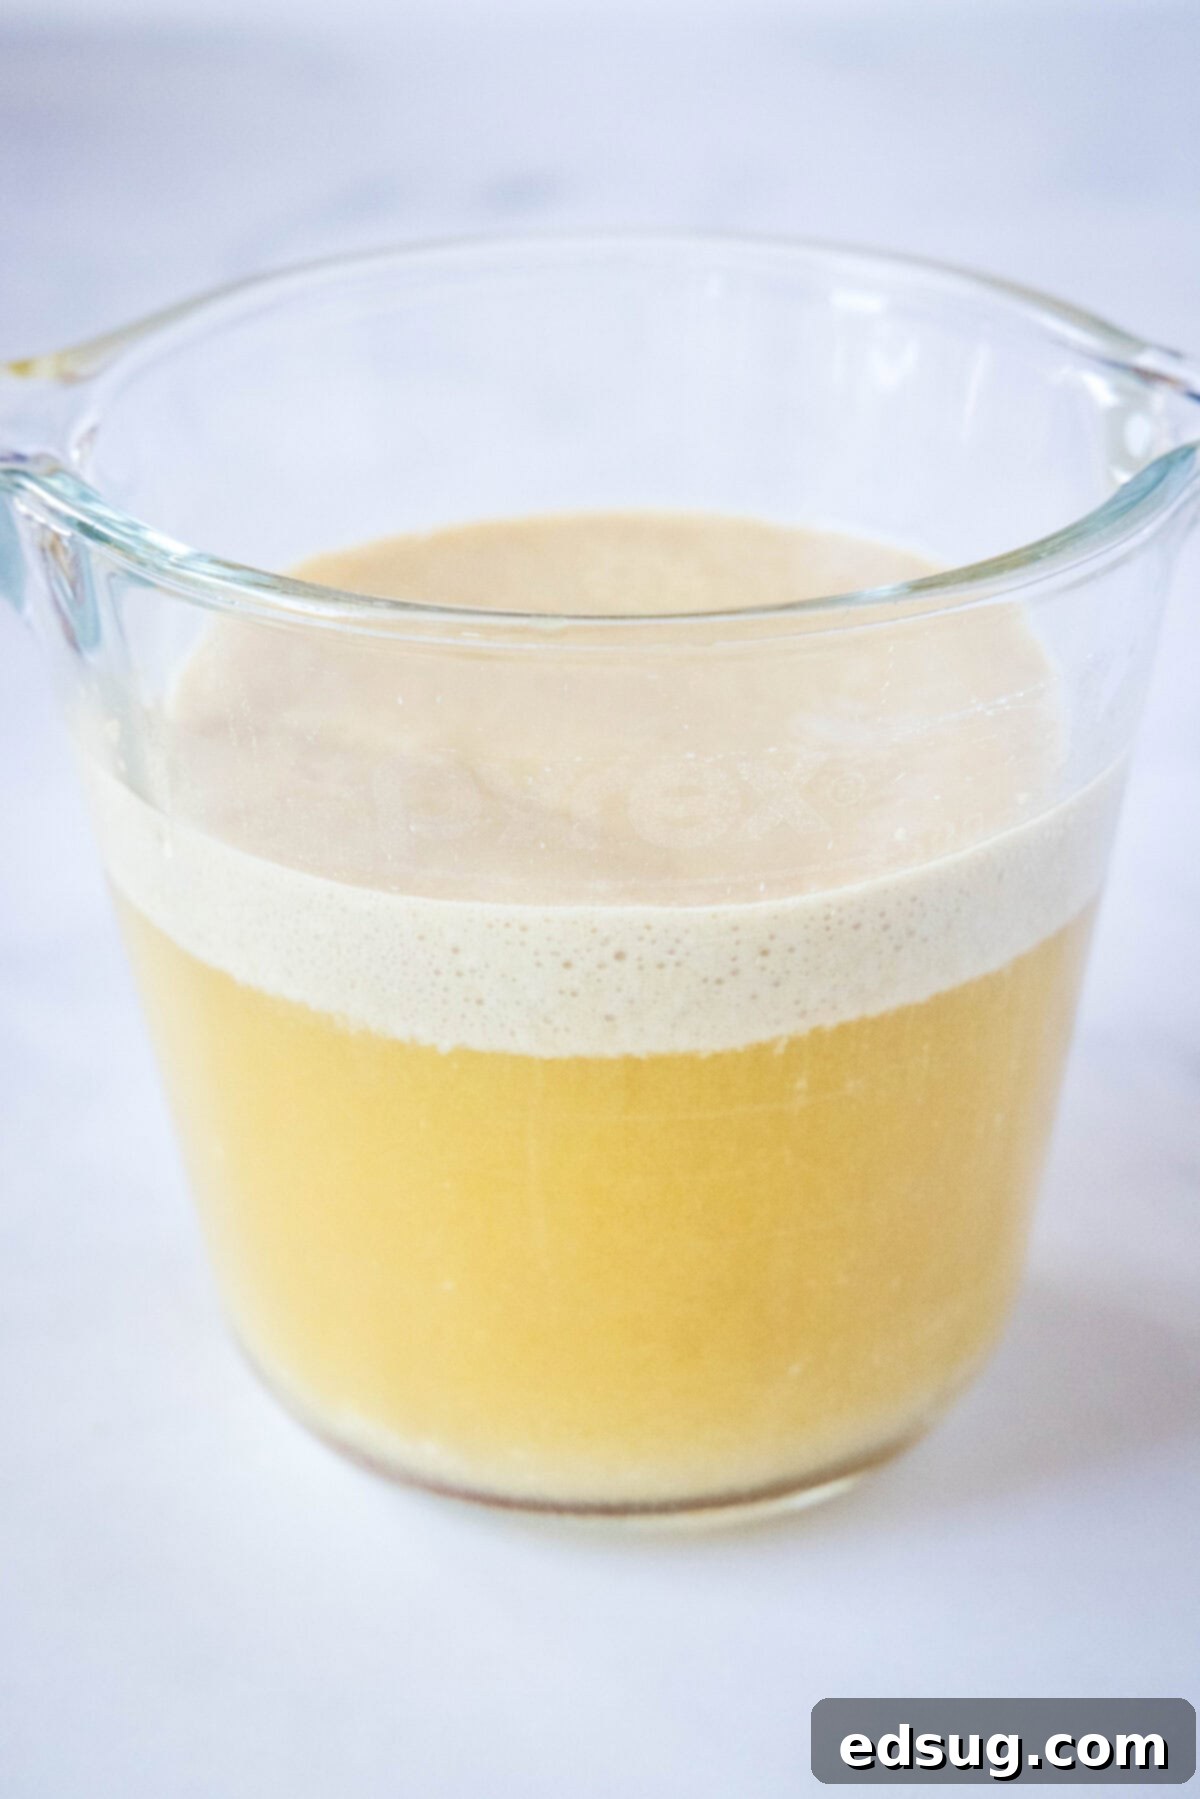
- Activate the Yeast (Bloom Yeast). The first crucial step when working with active dry yeast is to activate it. Gently warm your canned pineapple juice in a microwave-safe bowl for approximately 45 seconds, aiming for a temperature of 105ºF-115ºF (around 40ºC-46ºC). This temperature range is ideal for waking up the yeast without killing it. Stir in the active dry yeast along with 2 tablespoons of brown sugar. Let this mixture rest for 5-10 minutes. You’ll know your yeast is alive and well when the surface becomes visibly foamy and bubbly, indicating it’s ready to work its magic.
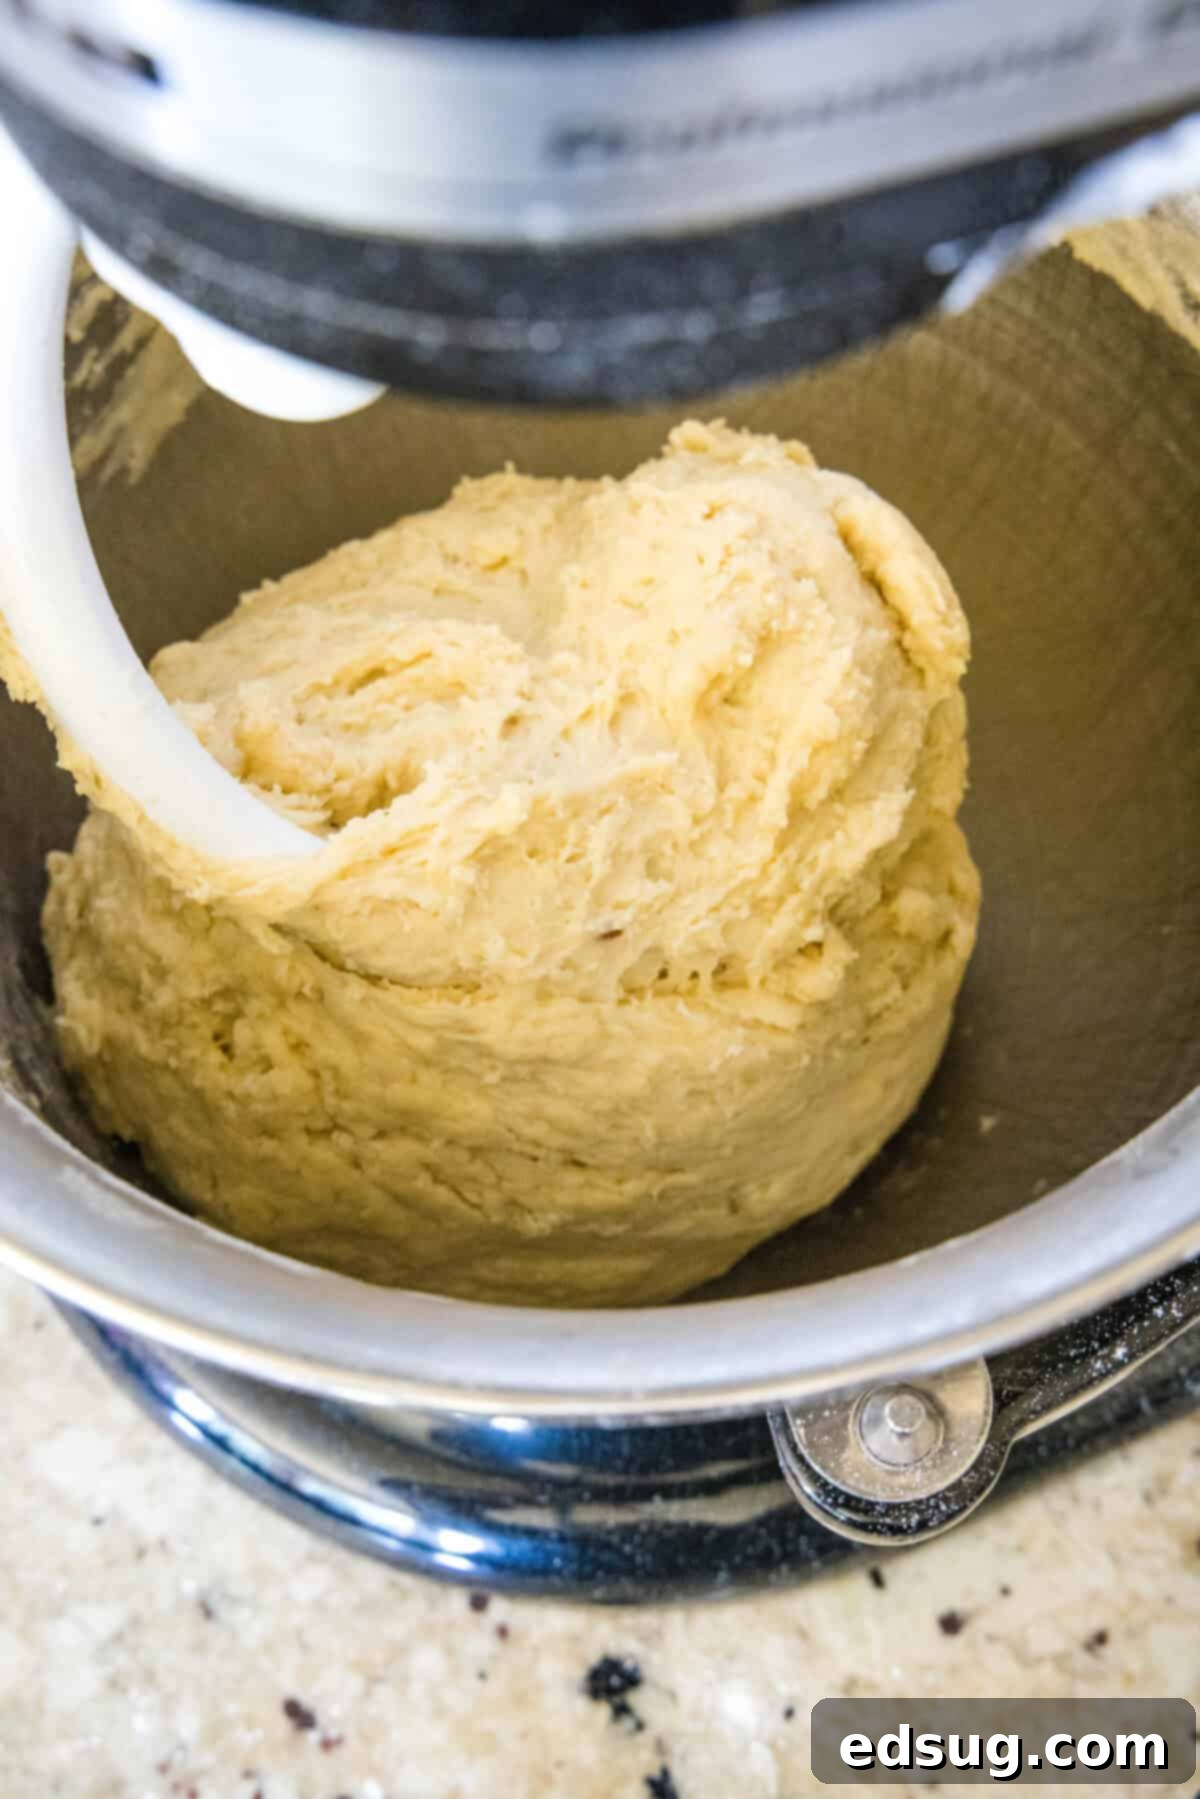
- Combine Wet Ingredients and First Flour Addition. In the bowl of an electric stand mixer fitted with the paddle attachment, combine the bloomed pineapple juice mixture, the remaining brown sugar, softened room-temperature butter, vanilla extract, both whole eggs, the extra egg yolk, and salt. Give these a quick mix on low speed to incorporate. Next, add the first cup of bread flour to the wet ingredients and begin mixing on low. Continue adding the remaining flour, one cup at a time, allowing each addition to be partially incorporated before adding the next. The dough will gradually come together and should start pulling away from the sides of the bowl as it mixes, though it will remain soft and quite sticky. Avoid the temptation to add too much flour at this stage, as it can lead to dry rolls.
- Knead the Dough for Gluten Development. Once the dough has formed a cohesive (though sticky) mass, switch from the paddle attachment to the dough hook attachment on your stand mixer. Knead the dough for 3-4 minutes on medium-low speed. This kneading process is vital for developing the gluten in the bread flour, which gives the rolls their structure and signature chewiness while maintaining their fluffiness. Watch for the dough to become smoother and more elastic.
- First Rise (Bulk Fermentation). Lightly grease a large bowl with a little oil. Transfer the kneaded dough into the oiled bowl, turning it once to coat all sides. Cover the bowl tightly with a clean kitchen towel or plastic wrap. Place the covered bowl in a warm, draft-free spot in your kitchen. Let the dough rise for 1 to 1 1/2 hours, or until it has approximately doubled in size. This first rise allows the yeast to work, producing carbon dioxide and developing flavor.
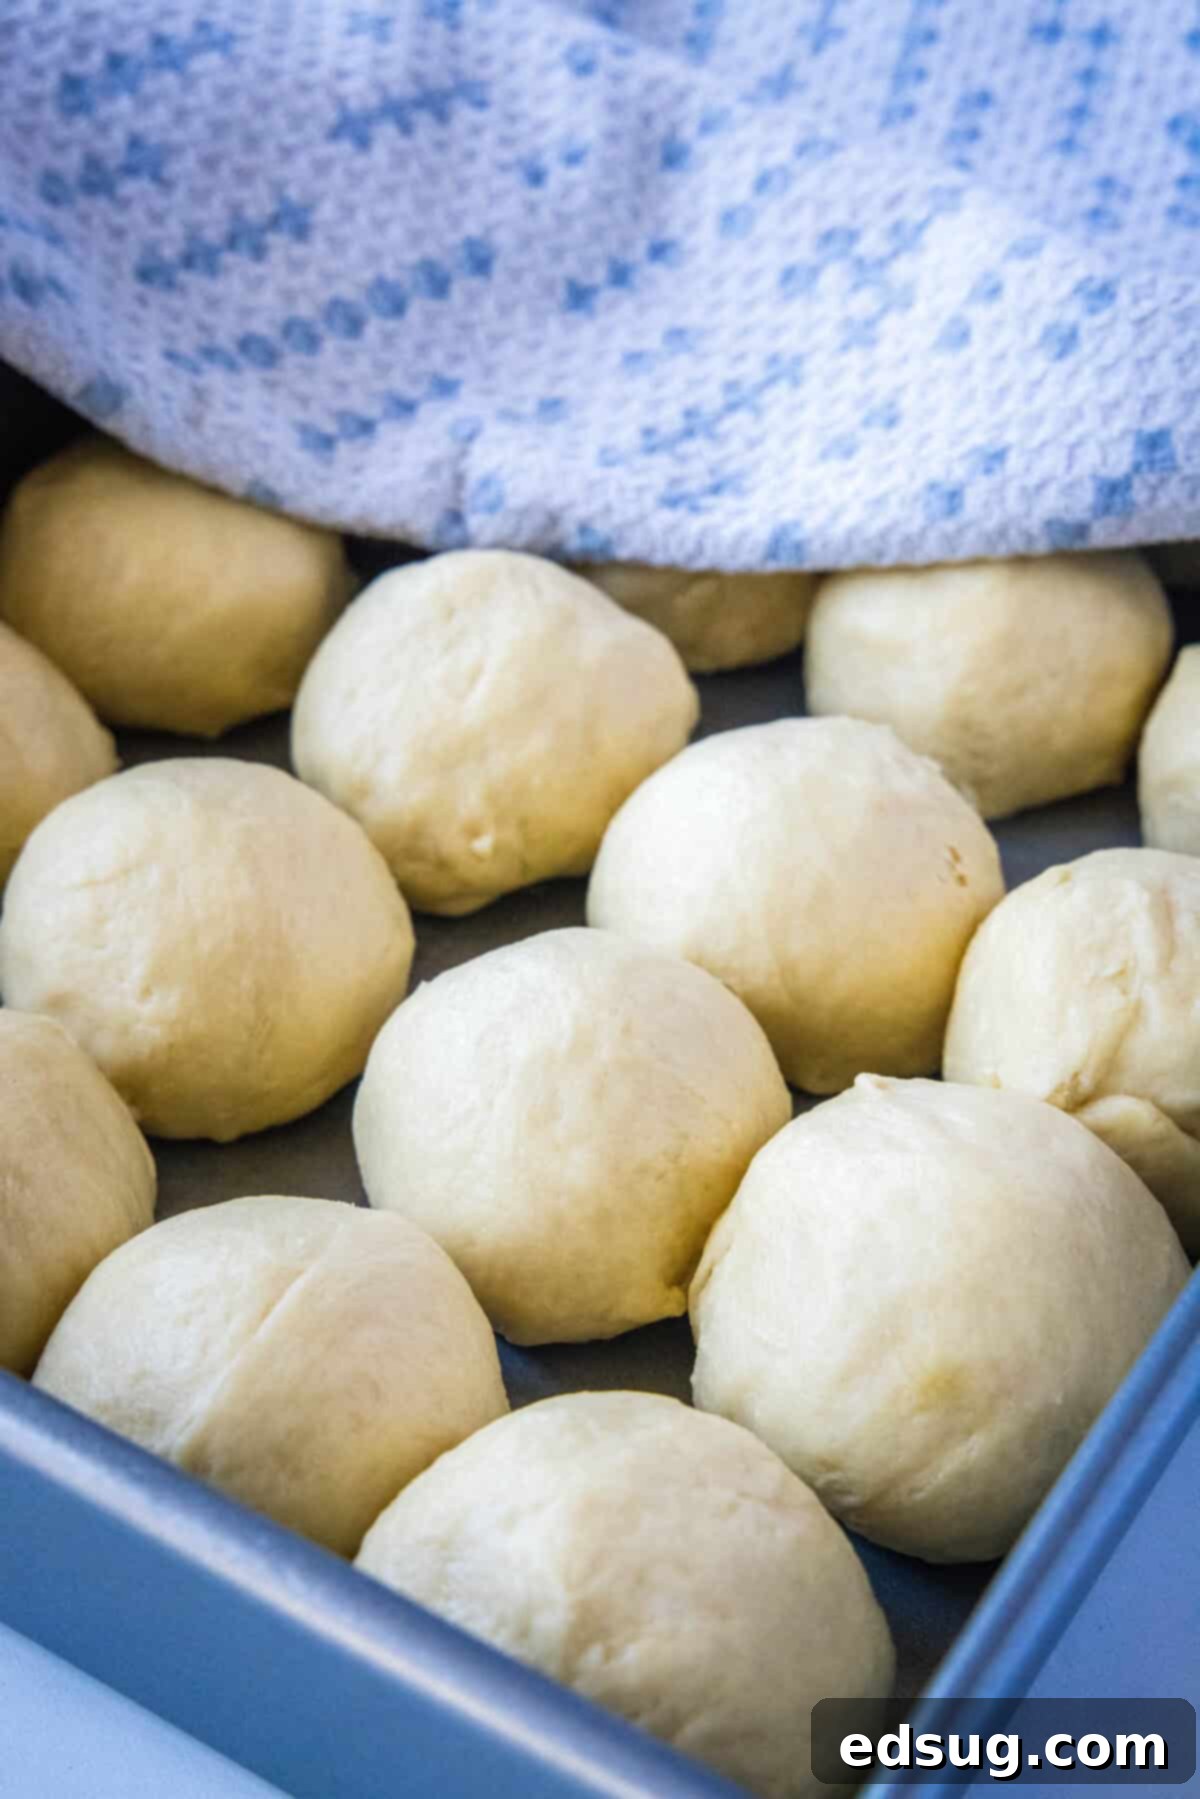
- Shape the Rolls. Once the dough has completed its first rise, gently turn it out onto a lightly floured surface. Avoid overworking it. Divide the dough into 16 to 24 equal pieces, depending on your desired roll size. For larger, hamburger bun-sized rolls, aim for 16 pieces. For classic dinner rolls, 20 pieces are ideal (as I made). For smaller, store-bought Hawaiian roll sizes, divide into 24 pieces. Gently roll each piece into a smooth, tight ball. Arrange the shaped dough balls snugly in a greased 9×13-inch baking pan, leaving a small gap between each roll, as they will expand significantly.
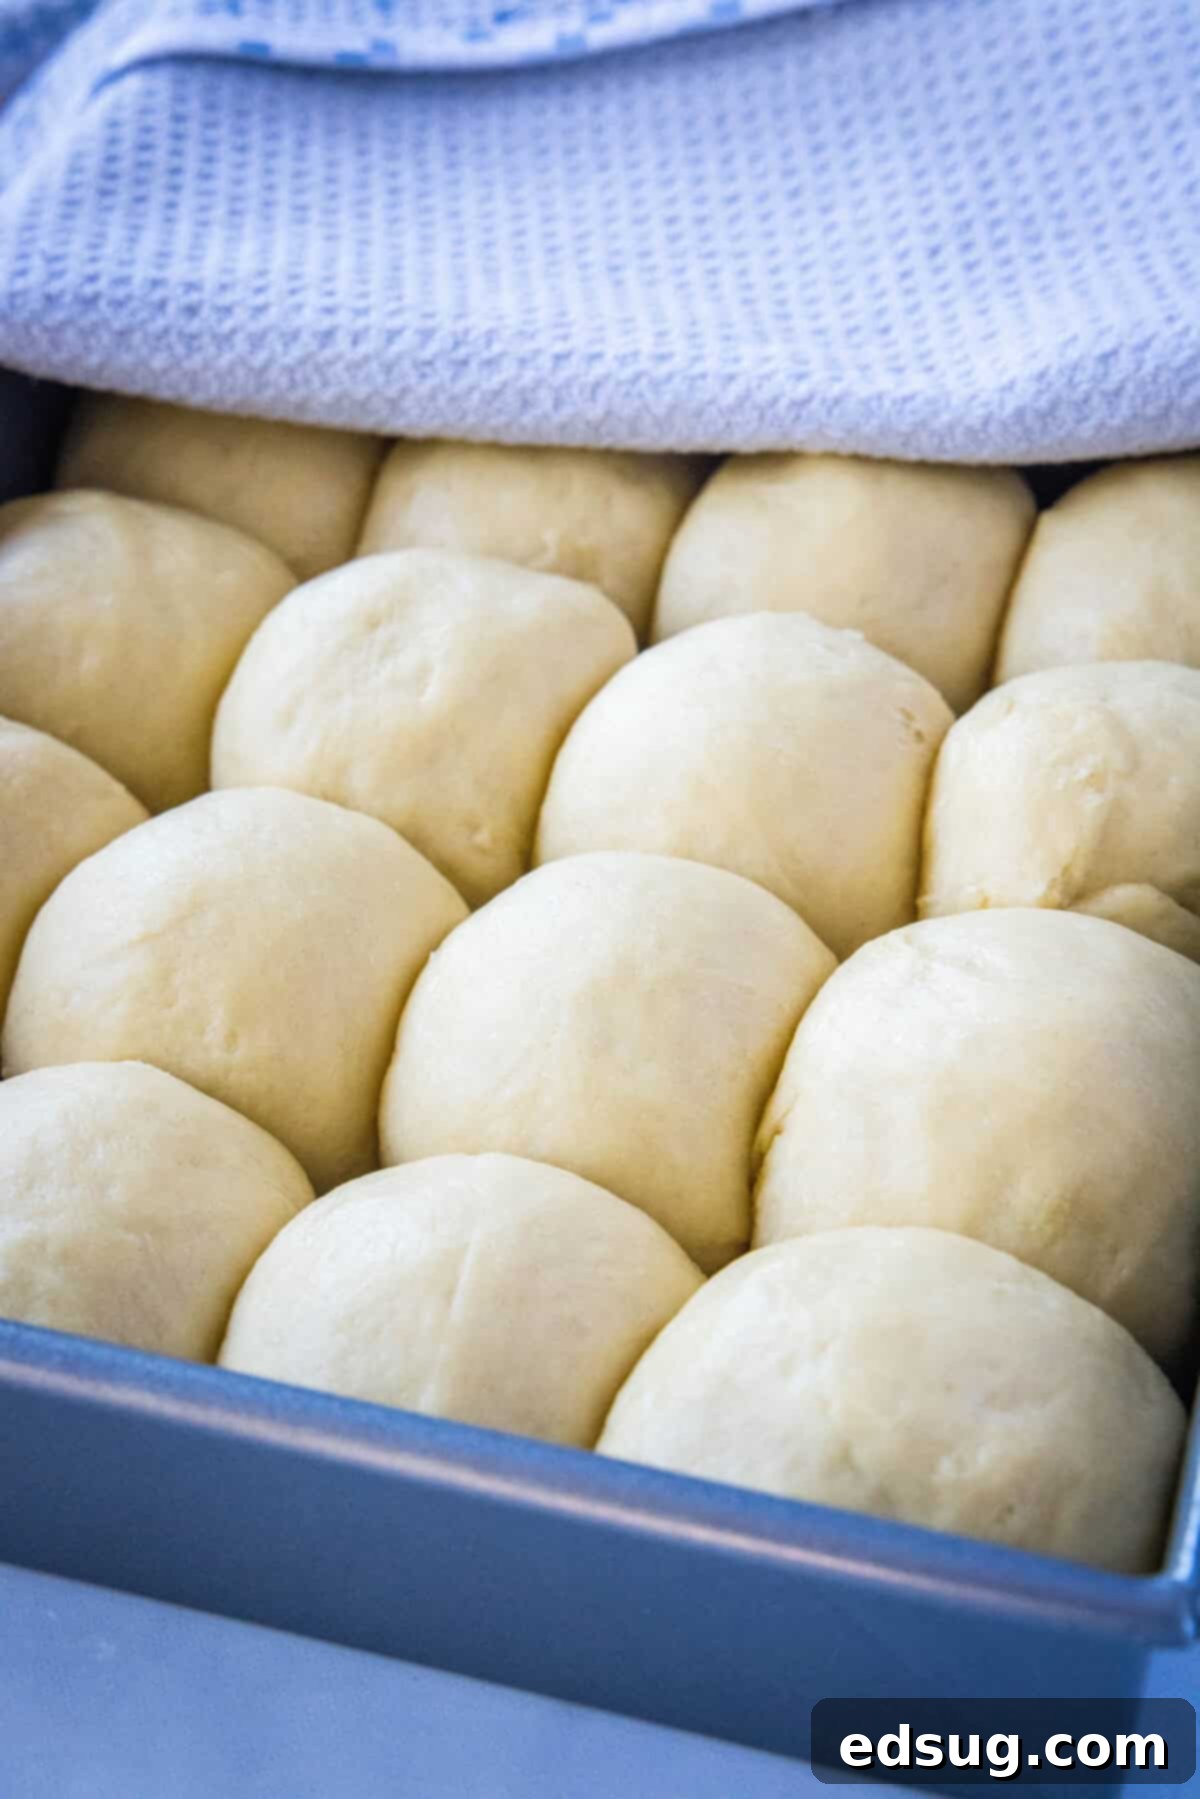
- Second Rise (Proofing). Cover the baking pan with a clean towel or plastic wrap. Return the pan to a warm, draft-free place for another 90 minutes. During this second rise, the rolls will expand further, becoming noticeably puffy and nearly doubled in size. This proofing stage is crucial for achieving that light, airy texture. Don’t rush it!
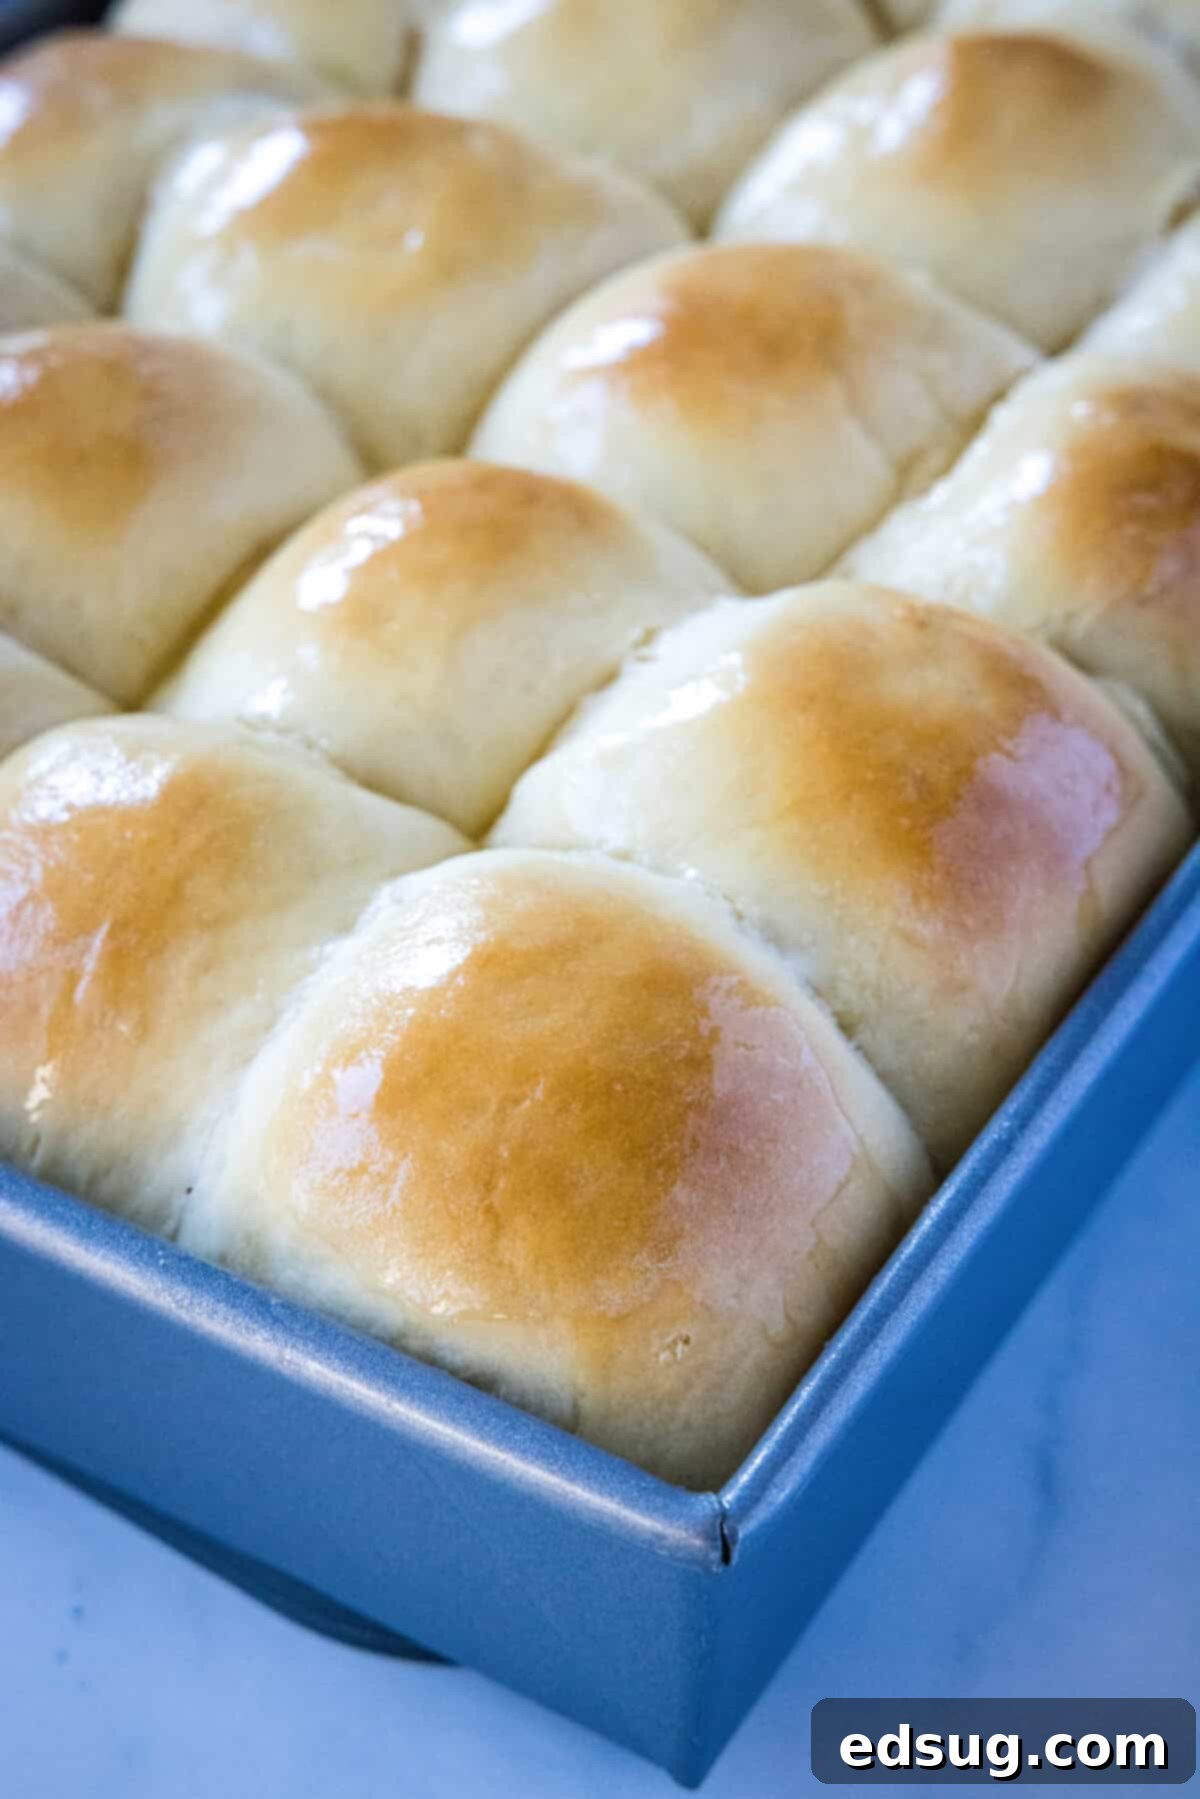
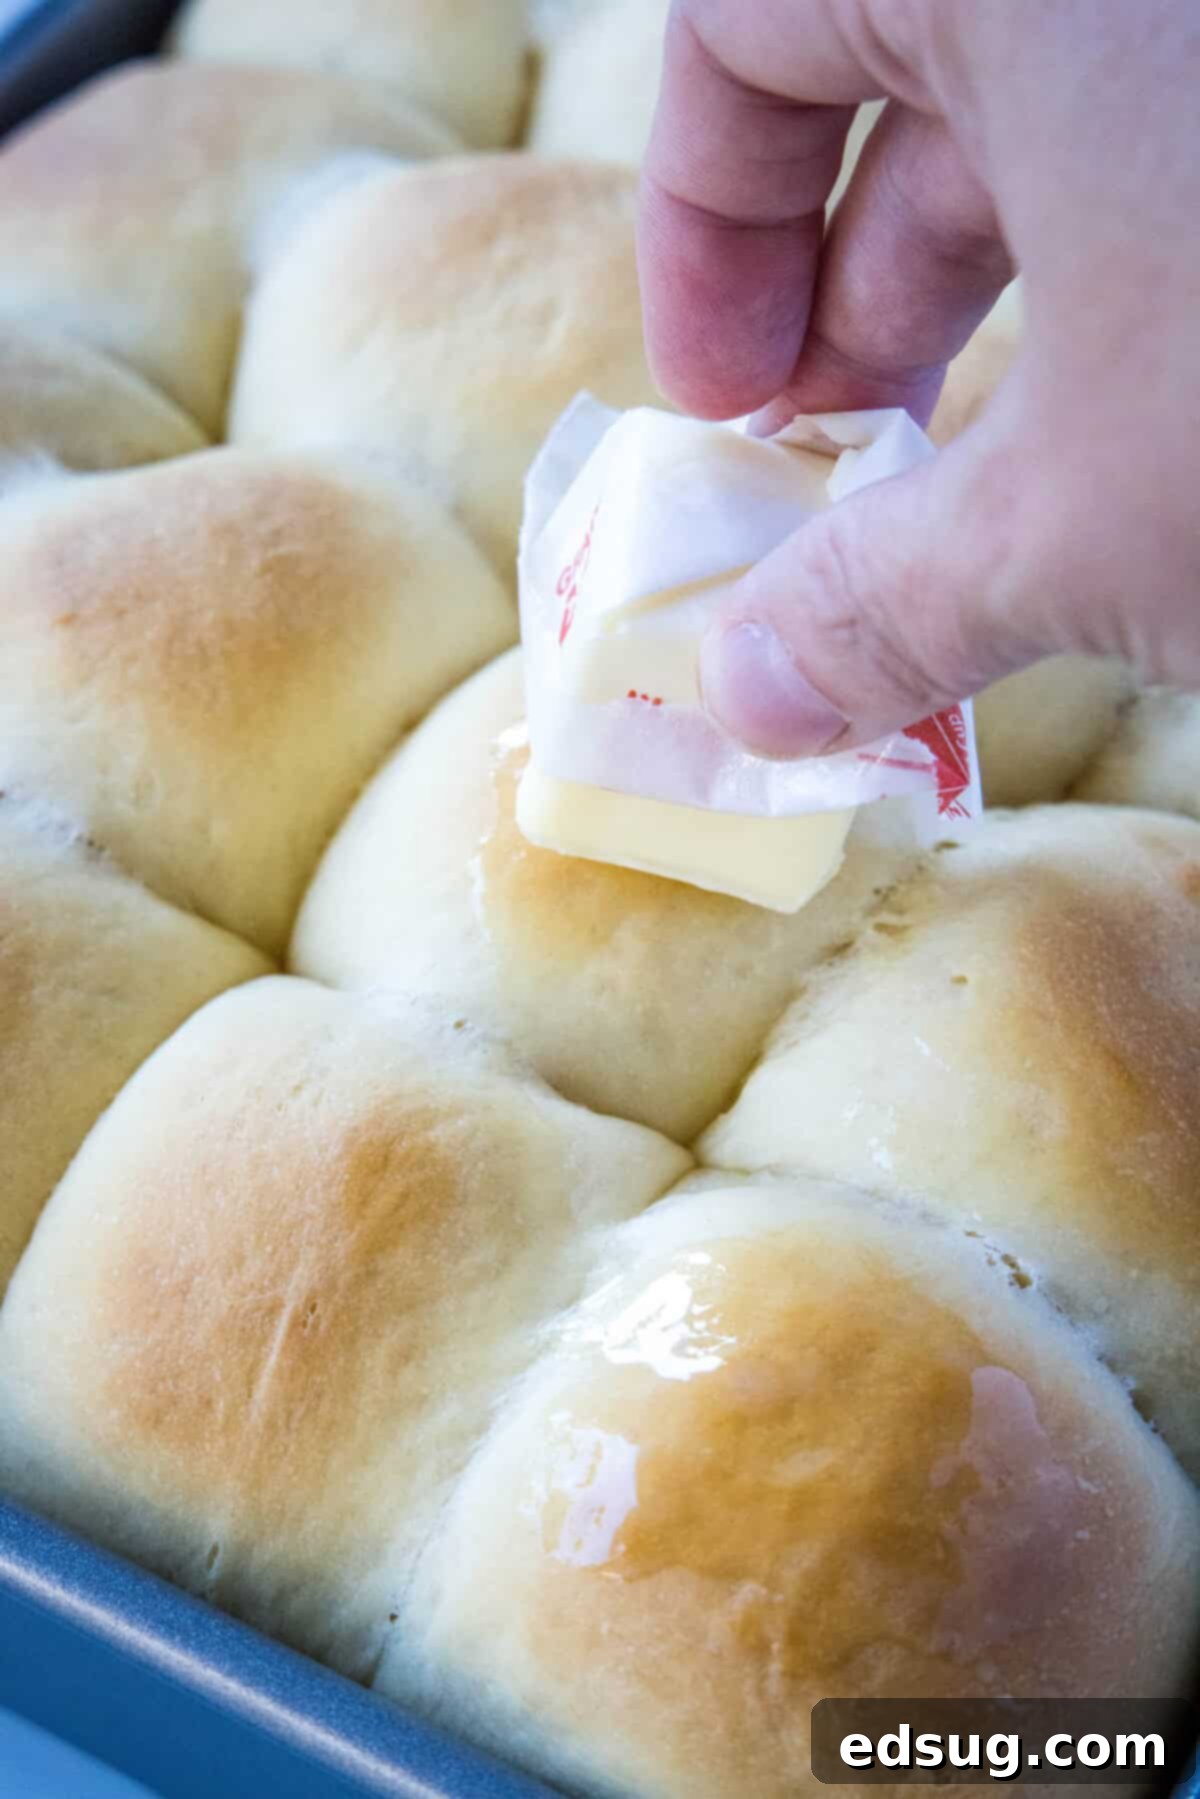
- Bake to Golden Perfection. While the rolls are completing their second rise, preheat your oven to 350ºF (175ºC). Once fully proofed, place the pan in the preheated oven. Bake for approximately 20-25 minutes, or until the rolls are beautifully golden brown on top and fluffy when lightly pressed. The exact baking time will vary based on the size of your rolls and your oven. As soon as they emerge from the oven, brush the tops generously with melted butter for an extra touch of richness and shine.
Storage & Freezing Tips for Freshness
To keep your homemade Hawaiian rolls tasting their best, store them in an airtight container at room temperature. They will remain wonderfully soft and fresh for 3-4 days. For extended enjoyment, consider these freezing methods.
Freezing Instructions
Hawaiian rolls freeze exceptionally well! Allow the freshly baked rolls to cool completely to room temperature before freezing. Once cool, wrap them tightly in plastic wrap, then place them in a freezer-safe bag or container to prevent freezer burn. Properly stored, they will maintain their quality for 1-2 months in the freezer. To serve, simply thaw them at room temperature or gently warm them in a low oven (around 300°F/150°C) until heated through and soft.
Pro Tips for Achieving the Fluffiest Hawaiian Rolls
- Mastering the Flour Amount for Fluffiest Rolls. The recipe specifies a range of 5-6 cups of flour because humidity and environment can affect dough consistency. The goal is a soft, slightly sticky dough that just clears the sides of the mixing bowl. It’s tempting to add more flour to make it less sticky, but resist! Excess flour results in dense, dry rolls. Stop adding flour as soon as the dough forms a ball and pulls away from the bowl’s edges during mixing. A slightly sticky dough is the secret to ultimate fluffiness.
- Patience is Key: Don’t Rush the Rise. These rolls require two separate rising periods, each lasting over an hour. These long rises are absolutely critical for the yeast to properly leaven the dough, producing the light, airy texture characteristic of Hawaiian rolls. Ensure the dough rests in a warm, draft-free place. If you move on to the next step before the dough has fully doubled in size after each rise, your rolls will likely turn out dense and hard. Let the yeast do its job!
- Yeast Confidence: Freshness and Activation. Overcoming yeast intimidation starts with simple steps. First, always confirm your active dry yeast is fresh and not expired. Old yeast won’t activate, leading to flat dough. Second, meticulously follow the temperature guidelines for blooming the yeast (105ºF-115ºF is ideal). Too cold, and the yeast won’t activate; too hot, and you’ll kill it. Observing the foamy activation process builds confidence for successful baking.
- The Power of Bread Flour. While all-purpose flour can be used in a pinch, bread flour is highly recommended for Hawaiian rolls. It contains a higher protein content, which is essential for developing stronger gluten strands. This robust gluten structure allows the dough to capture and hold more gas produced by the yeast, resulting in a higher rise and an incredibly fluffy, chewy texture. Using bread flour truly makes a noticeable difference in achieving that professional bakery-quality roll.
- Consider an Egg Wash (Optional but Recommended). For an extra golden-brown, shiny crust, consider brushing the rolls with an egg wash (one egg whisked with a tablespoon of water or milk) just before baking. This simple step adds visual appeal and a slightly richer crust.
Creative Ways to Enjoy Your Hawaiian Rolls
Beyond being a perfect dinner accompaniment, these sweet and savory rolls are incredibly versatile. Their soft texture and slight sweetness make them ideal for:
- Buffalo Chicken Sliders: The sweetness of the roll perfectly complements the spicy buffalo chicken.
- Crunchy Hawaiian French Toast: A fantastic breakfast or brunch item, the rolls soak up custard beautifully for a decadent French toast.
- Ham & Cheese Sliders: A classic combination that’s always a hit for parties or quick lunches.
- Pizza Sliders: An easy and fun way to turn these rolls into mini pizzas, great for kids and adults alike.
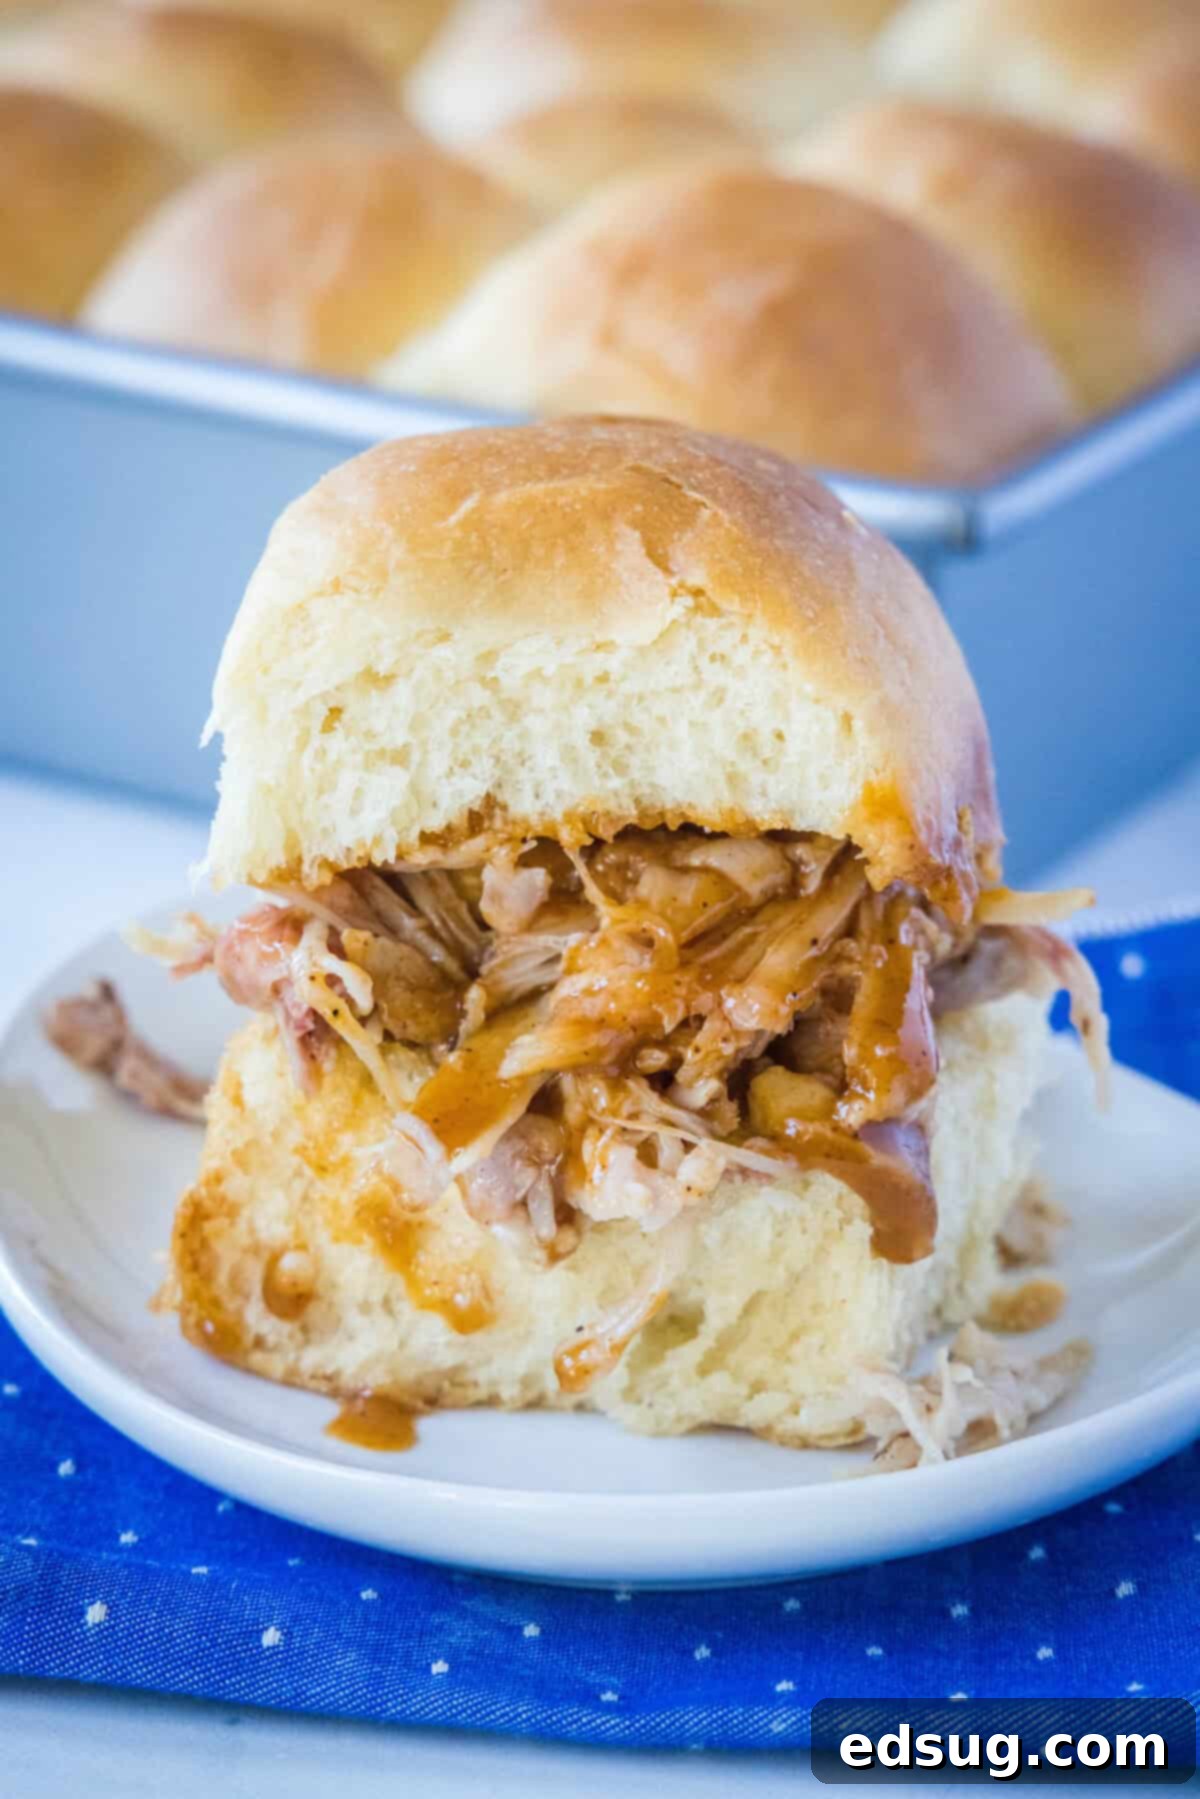
- Pulled Pork Sliders: The ideal bun for tender, savory pulled pork, creating a perfect blend of flavors.
- Mini Dessert Sandwiches: Fill them with Nutella, fruit, or even ice cream for a unique dessert.
- Breakfast Sandwiches: Use them for small egg and cheese sandwiches for a sweet and savory start to your day.
Homemade Hawaiian Rolls
Pin Recipe
Rate Recipe
Print Recipe
Ingredients
- 1 1/2 cups pineapple juice
- 4 1/2 teaspoons active dry yeast
- 2/3 cup light brown sugar, divided
- 1/2 cup butter, room temperature
- 1 teaspoon vanilla extract
- 2 whole eggs
- 1 egg yolk
- 2 teaspoons salt
- 5-6 cups bread flour
- Butter for topping
Instructions
-
Heat pineapple juice to 110º F in a microwave safe bowl or on the stovetop. Add yeast and 2 Tablespoons of brown sugar, mix to combine. Let rest for 5-10 minutes until it is nice and foamy.1 1/2 cups pineapple juice, 4 1/2 teaspoons active dry yeast, 2/3 cup light brown sugar
-
Add the pineapple juice mixture to an electric mixer, fitted with a paddle attachment. Add the remaining brown sugar, butter, vanilla, eggs, egg yolk, and salt. Turn the mixer on low.1/2 cup butter, 1 teaspoon vanilla extract, 2 whole eggs, 1 egg yolk, 2 teaspoons salt
-
Add 1 cup of flour at a time until the dough is soft, but comes together and clears the side of the bowl. It will be sticky, but not super tacky. You may be tempted to add more flour, but if it comes away from the side of the bowl while mixing stop.5-6 cups bread flour
-
Swap out the paddle attachment for the dough hook and knead for 3-4 minutes until a soft ball of dough forms.
-
Place the dough in an oiled bowl, cover and let it rise for 1 – 1 1/2 hours, until it has doubled in size.
-
Spray a 9×13 baking pan with non-stick spray. Gently turn the dough onto a clean surface. Use a sharp knife or bench scraper to divide the dough into 16-24 equal pieces (see notes below for sizes). Shape each piece into a ball and place in the prepared pan.
-
Cover the pan with a clean towel and let it rise for another 1 – 1 1/2 hours until the rolls have doubled in size.
-
Meanwhile, preheat the oven to 350º F.
-
Once the rolls have rise, place in the hot oven and bake for about 25 minutes until golden brown and fluffy.
-
Remove from the oven and immediately top with butter.Butter for topping
Notes
16 pieces = hamburger bun size (bake closer to 30-35 minutes)
20 pieces = dinner roll size (bake as directed)
24 pieces = store bought Hawaiian roll size (bake 20-25 minutes)
Nutrition
Nutrition information is automatically calculated, so should only be used as an approximation.
Additional Info
Enjoyed this recipe? Share your thoughts below!
