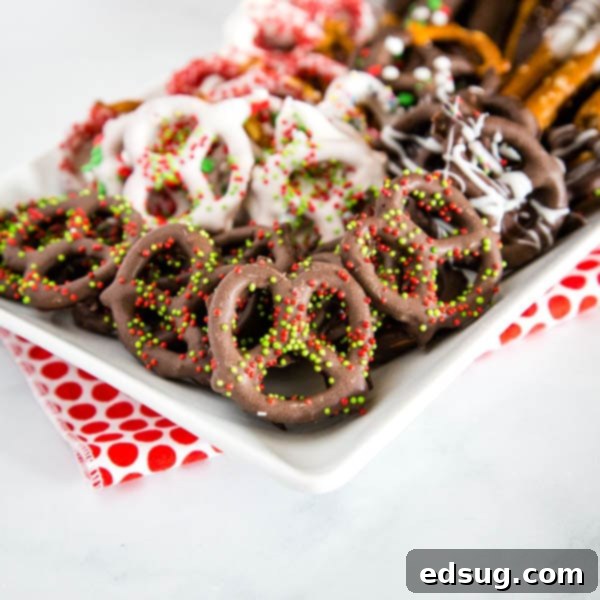
The Ultimate Guide to Easy Homemade Chocolate Covered Pretzels: Sweet & Salty Perfection for Any Occasion
There’s something undeniably magical about the combination of sweet and salty, and few treats capture this harmony as perfectly as chocolate covered pretzels. These delightful confections are a universal crowd-pleaser, effortlessly blending the crisp, savory crunch of pretzels with the rich, smooth indulgence of chocolate. Whether you’re a seasoned baker or a kitchen novice, mastering the art of homemade chocolate covered pretzels is incredibly simple, making them an ideal choice for last-minute party favors, holiday gifts, or just a quick, satisfying snack.
Forget complicated baking projects that require hours of prep and cleanup. Chocolate covered pretzels are a testament to how truly delicious treats can be created with minimal effort. In just minutes, you can transform ordinary pretzels into extraordinary delights, customized with your favorite chocolates and an endless array of colorful sprinkles. This recipe is your go-to solution for an easy, fun, and adaptable treat that shines at any event, from casual gatherings to elaborate celebrations. Imagine the joy of personalizing them for specific holidays – vibrant red, white, and blue for the Fourth of July, festive reds and greens for Christmas, or pastel hues for Easter. The possibilities are truly endless!
Why Homemade Chocolate Covered Pretzels Are a Must-Try
Making chocolate covered pretzels at home offers numerous advantages over store-bought versions. Firstly, the freshness is incomparable. There’s nothing quite like biting into a freshly dipped pretzel with perfectly set chocolate. Secondly, homemade allows for complete customization. You control the quality of ingredients, the type of chocolate, and the fun toppings. This means you can cater to specific dietary needs (e.g., using dairy-free chocolate or gluten-free pretzels) or personalize them for different tastes and occasions.
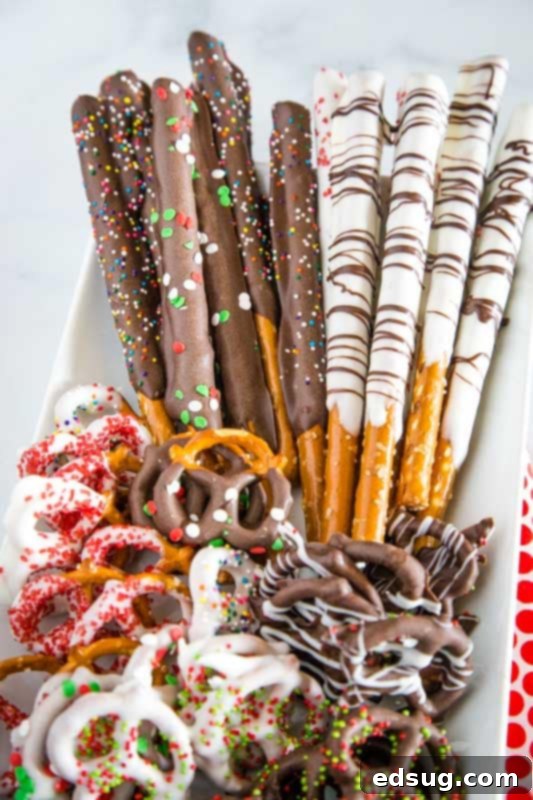
I distinctly remember growing up with chocolate covered pretzel rods, a special Christmas tradition my mom would make. While those long rods hold a nostalgic place in my heart, I’ve found a new love for using smaller pretzel twists. They’re perfectly bite-sized, allowing you to enjoy one or two without feeling overly indulgent, and then easily come back for more later. This versatility makes them perfect for dessert platters or portion-controlled snacking.
Another fantastic benefit? This is a no-bake recipe! That means no oven to preheat and no heating up your kitchen, which is especially welcome during hot summer months when you’re craving something sweet but want to avoid extra heat. During busy holiday seasons, when your oven is often occupied with main courses and other baked goods, these quick-to-assemble treats are an absolute lifesaver. You can go from craving to confection in under 15 minutes, making them an ideal last-minute addition to any dessert spread.
Choosing the Best Chocolate for Dipping Pretzels
The success of your chocolate covered pretzels largely depends on the chocolate you choose for dipping. While you have several options, some perform better than others for a smooth, glossy finish.
I highly recommend using candy melts or high-quality melting chocolate for this recipe. These types of chocolates are specifically formulated to melt smoothly and maintain a consistent, workable consistency for longer periods. This means less re-melting and a more enjoyable dipping experience. Their smooth texture also helps create a beautiful, even coating on your pretzels that sets perfectly.
You can certainly use chocolate chips or baking bars as well, but be prepared to work a bit faster. Regular chocolate chips contain stabilizers that prevent them from melting as fluidly as candy melts, often requiring more frequent re-heating during the dipping process. If using chocolate chips, consider adding a teaspoon of coconut oil or shortening per cup of chocolate to improve its consistency and flow, making it easier to dip. This small addition can make a big difference in achieving a professional-looking finish.
How to Make Chocolate Covered Pretzels: A Simple Process
The beauty of this recipe lies in its simplicity. Here’s a detailed breakdown of the steps to ensure perfect chocolate covered pretzels every time:
- Prepare Your Workspace: Start by lining a baking sheet with parchment paper or a silicone mat. This non-stick surface is crucial for the pretzels to set without sticking and ensures easy removal once the chocolate hardens.
- Melt Your Chocolate: Follow the instructions below for the best method to melt your chosen chocolate to a smooth, dippable consistency.
- Dip the Pretzels:
- For traditional pretzel twists, hold one end and dip about two-thirds of the pretzel into the melted chocolate. Gently shake off any excess chocolate, allowing it to drip back into the bowl.
- If you want to completely cover pretzel twists, use a fork or toothpicks to submerge the pretzel fully. Lift it out, tap gently against the side of the bowl to remove excess, then use another toothpick to help slide it off the fork onto your prepared baking sheet.
- For pretzel rods, holding one end, slowly rotate the rod through the chocolate until the desired portion is coated. A spoon can be helpful here to drizzle chocolate over the rod for full coverage. Again, gently shake off any excess.
- Decorate with Sprinkles: This is where the fun really begins!
- For partially dipped pretzels, hold the dipped pretzel over a small bowl of sprinkles and liberally shake the sprinkles over the chocolate. The excess sprinkles will fall into the bowl, ready for reuse, making cleanup a breeze.
- For fully dipped pretzels or pretzel rods, place them on your lined baking sheet immediately after dipping. While the chocolate is still wet, sprinkle your chosen toppings over them.
- Allow to Set: Carefully place the decorated pretzels on your lined baking sheet. Let them sit at room temperature for the chocolate to harden. For faster setting, you can place the baking sheet in the refrigerator for 10-15 minutes.
Expert Tips for Melting Chocolate for Dipping
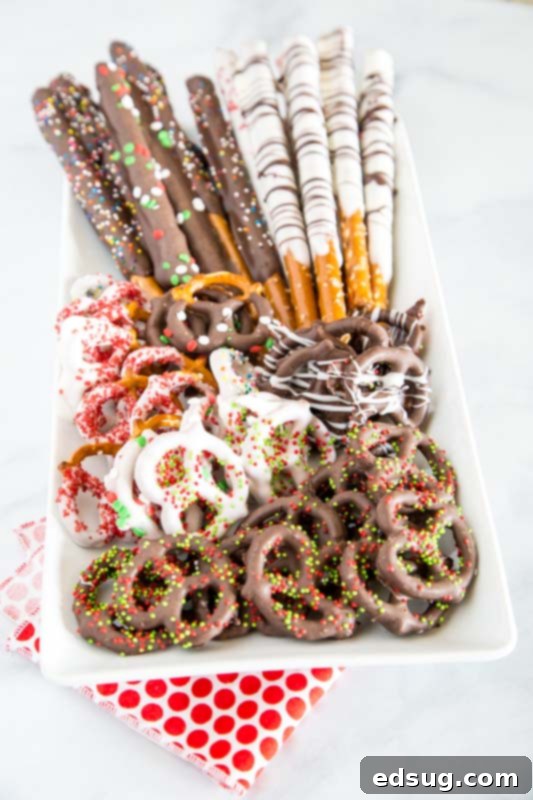
Properly melting chocolate is key to perfect pretzels. My preferred and easiest method is using the microwave:
Place your chocolate (candy melts or chips) in a microwave-safe bowl. Heat it for 30-second intervals, stirring thoroughly after each interval. It’s crucial not to overheat the chocolate, as this can cause it to seize (become thick and clumpy) or burn, rendering it unusable. Continue heating and stirring until the chocolate is smooth and completely melted, with no lumps remaining. Even if it looks like there are still a few solid pieces, stirring vigorously will often melt them from the residual heat.
Alternatively, you can use a double boiler method for a more controlled melt. Place a heat-safe bowl over a saucepan of simmering water, ensuring the bottom of the bowl does not touch the water. Stir the chocolate continuously over medium heat until it is silky smooth and fully melted. This method provides gentle, even heat, reducing the risk of burning.
Creative Variations and Topping Ideas
One of the most exciting aspects of making chocolate covered pretzels is the endless possibilities for customization. Beyond standard sprinkles, consider these ideas to elevate your treats:
- Nutty Crunch: Dip in chocolate and then roll in finely chopped peanuts, almonds, walnuts, or pecans.
- Toffee Delight: Sprinkle with crushed toffee bits for an extra layer of sweetness and crunch.
- Coconut Bliss: Coat with toasted or plain shredded coconut for a tropical twist.
- Cookie Crumble: Crush your favorite cookies (like Oreos or Biscoff) and use them as a topping.
- Sea Salt Accent: A light dusting of flaky sea salt after dipping in dark chocolate creates an irresistible gourmet treat.
- Drizzle Fun: Use a contrasting chocolate (e.g., white chocolate over dark, or vice versa) to drizzle decorative patterns. You can also use different colored candy melts for a vibrant effect.
- Holiday Themes: As mentioned, tailor your sprinkles and chocolate colors to any holiday. Think green for St. Patrick’s Day, pastels for Easter, orange and black for Halloween, or pink and red for Valentine’s Day.
How Long Do Chocolate Covered Pretzels Last and Best Storage Practices?
To keep your chocolate covered pretzels fresh and delicious, store them in an airtight container at room temperature. They will generally maintain their quality for about one week. While they won’t necessarily “go bad” after this point, the pretzels themselves may start to lose their crispness and develop a stale texture. Keep them away from direct sunlight or heat sources, as this can cause the chocolate to melt or bloom (develop a whitish film, which is harmless but affects appearance).
More Irresistible Dessert Recipes to Explore
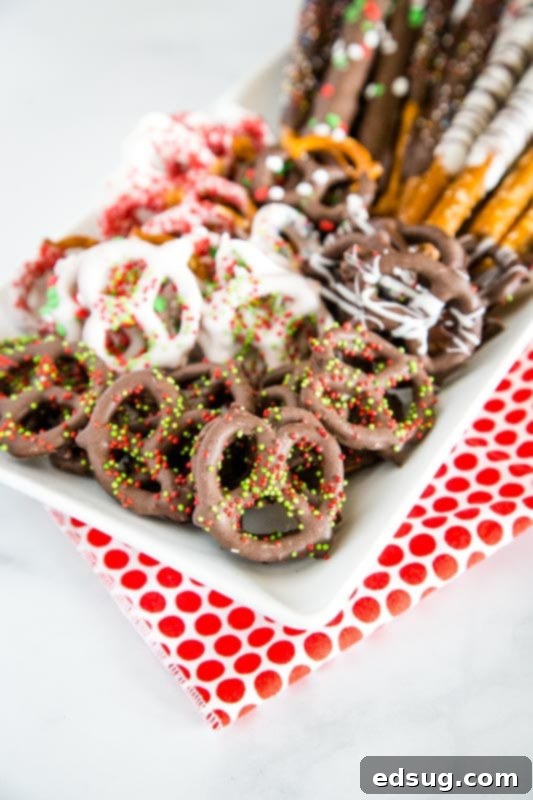
If you loved making these easy chocolate covered pretzels, you’re in for a treat! Our collection of dessert recipes is designed to satisfy every sweet tooth with minimal fuss and maximum flavor. From rich and decadent to light and fruity, there’s always something new to discover. Be sure to check out these other fantastic options:
- Chocolate Lava Cakes for Two
- Butter Pecan Pretzel Bars
- Mini Pavlovas
- Flourless Chocolate Cake
- Red Velvet Skillet Cookie
- Salted Caramel Crumble Bars
- Chocolate Saltine Toffee
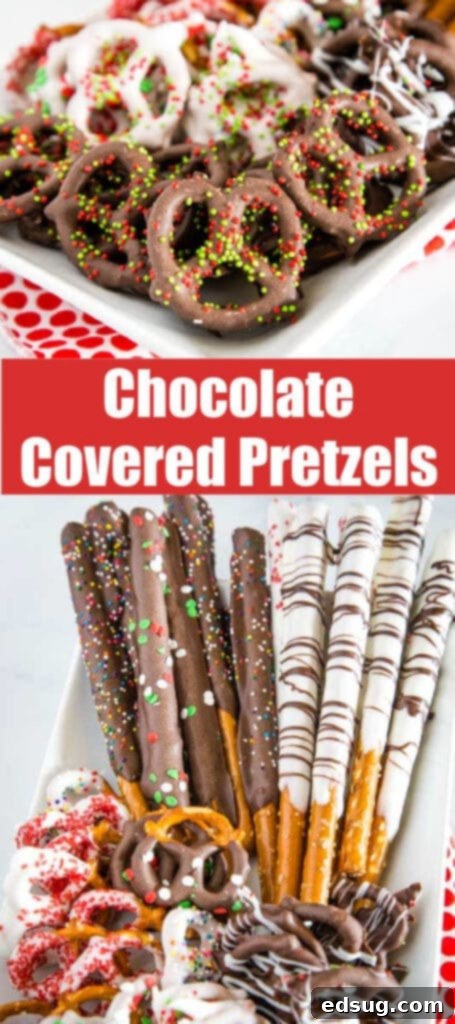
Chocolate Covered Pretzels
Pin Recipe
Rate Recipe
Print Recipe
Video
Ingredients
- 1 pound chocolate, white, milk, dark etc., melted
- 1 bag pretzels or pretzel rods
- colored sprinkles
Instructions
-
Line a baking sheet with parchment paper.
-
Hold onto the top of the pretzel. Dip in melted chocolate. Gently shake off the excess. Hold over the a small bowl, sprinkle with the colored sprinkles. Place on lined baking sheet to set.
-
For Pretzel Rods hold the pretzel over the bowl of chocolate and use a spoon to cover the rod with chocolate. Gently shake off the excess and place on lined baking sheet. Decorated with sprinkles.
-
To completely dip pretzel twists, place pretzel in bowl of melted chocolate and use a fork to make flip and make sure it is coated. Gently shake off the excess and place on lined baking sheet. Decorated with sprinkles.
-
Leave the pretzels on baking sheet to let the chocolate harden.
Nutrition
Nutrition information is automatically calculated, so should only be used as an approximation.
Additional Info
Like this recipe? Leave a comment below!
Chocolate covered pretzels are truly a testament to how easily you can create something utterly delicious and visually appealing with minimal effort. Their balance of sweet and salty, combined with the versatility of customization, makes them a perfect treat for any occasion, any time of year. Whether you’re whipping up a quick snack for yourself or preparing a festive platter for guests, these crunchy, chocolatey delights are sure to be a hit.
If you’re eager for even more Dessert inspiration and want to explore a wide array of recipes, be sure to delve into my Recipe Index. It’s a treasure trove of sweet creations waiting to be discovered. To stay updated with all the latest recipes and culinary delights, follow along on Pinterest – you’ll never miss a new delicious idea!
For those who love to connect and share culinary adventures, I’ve created a fun and engaging group on Facebook. I would absolutely love for you to join us! It’s a vibrant community where you can share your own favorite recipes, ask questions, get inspiration, and stay in the loop with everything new happening at Dinners, Dishes and Desserts. Come be a part of our growing food-loving family so that you never miss a new recipe or update!
Don’t forget to follow me on Instagram and tag #dinnersdishes so I can see all the wonderful DINNERS, DISHES, AND DESSERTS recipes YOU create! I love seeing your delicious creations!
Be sure to follow me on my social media channels, so you never miss a post and stay connected with all the latest recipes and tips!
Facebook | Twitter | Pinterest | Instagram
