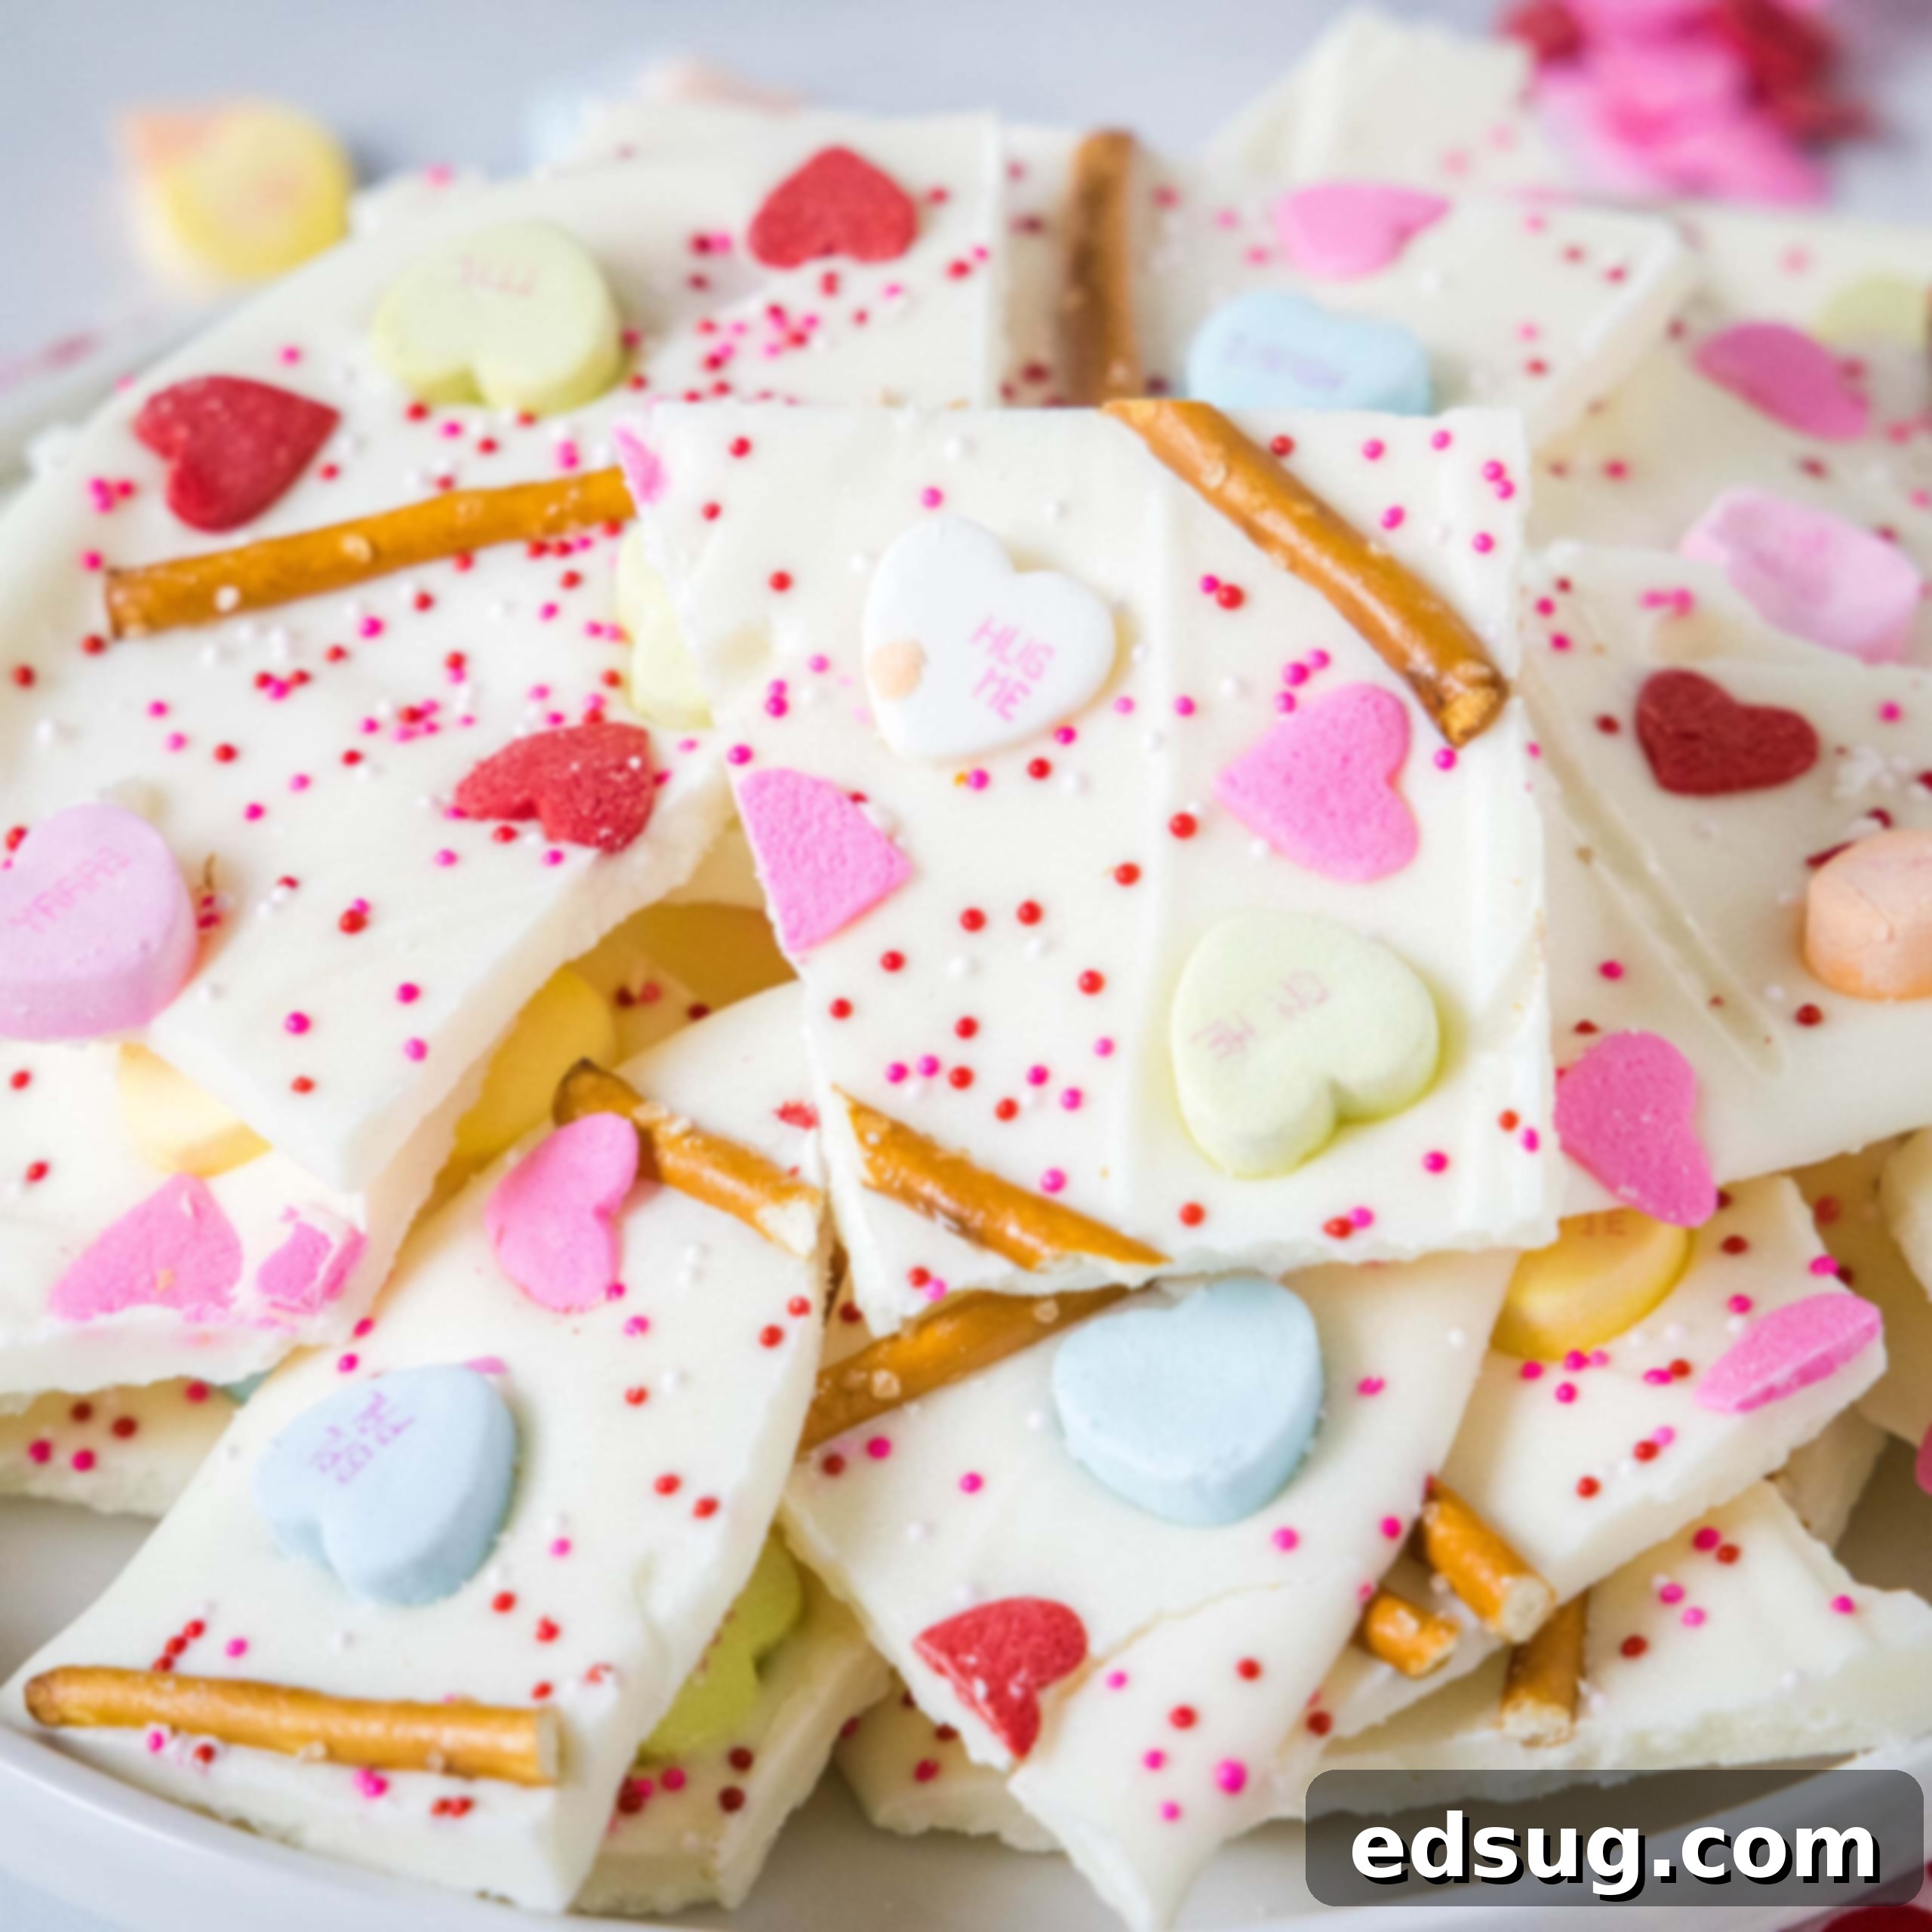
Easy & Festive Valentine’s Day Chocolate Bark: The Perfect Homemade Treat
Get ready to spread some love this Valentine’s Day with an incredibly simple yet utterly delightful treat: Valentine’s Day Chocolate Bark! This recipe is a true marvel – it’s super easy to make, can be whipped up in a matter of minutes, and offers endless possibilities for decoration, making it a perfect project for bakers of all skill levels, even the little ones. Forget complex confections; this festive chocolate bark delivers maximum impact with minimal effort, ensuring you have more time to celebrate with your loved ones.
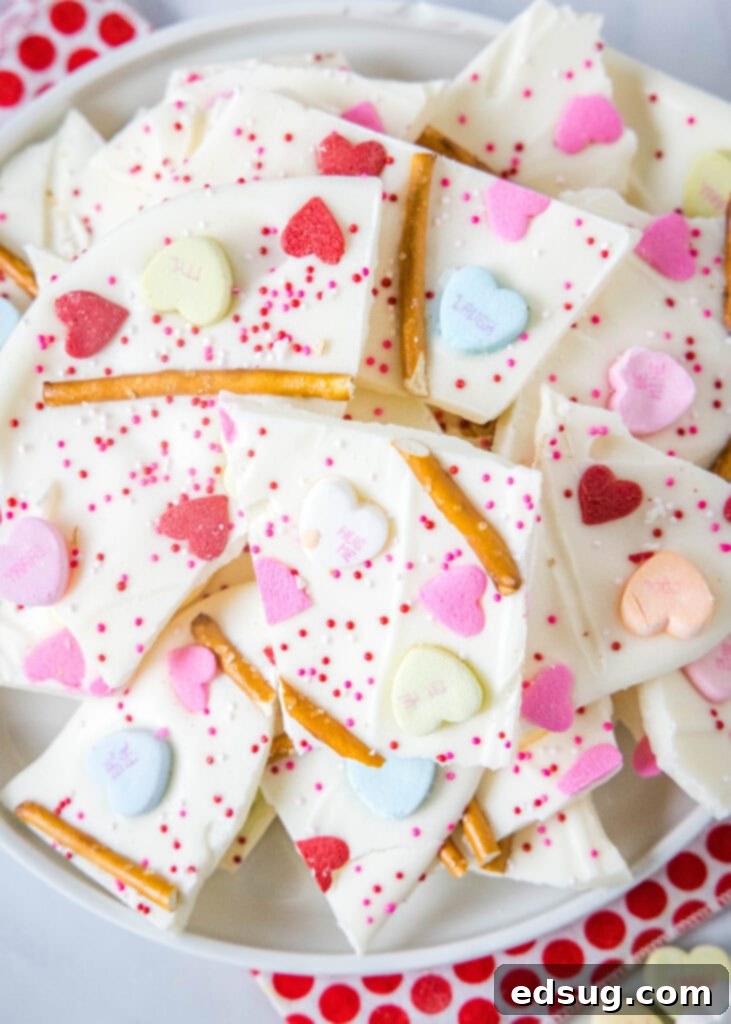
As Valentine’s Day approaches, it’s the perfect time to embrace no-bake desserts that are both fun and festive. This chocolate bark is remarkably versatile, allowing you to customize it with your favorite toppings and flavors. It’s also an excellent way to get kids involved in the kitchen, turning treat-making into a cherished family activity. For my version, I love combining classic conversation hearts for that iconic Valentine’s touch, crunchy pretzels for an irresistible sweet and salty kick, and an assortment of playful heart sprinkles to add vibrant color and texture. But don’t stop there! Let your imagination soar and explore a myriad of creative toppings to make your bark truly unique.
Why You’ll Adore This Valentine’s Day Chocolate Bark Recipe
This isn’t just another dessert; it’s a celebration of simplicity and sweetness. Here’s why this Valentine’s Day Chocolate Bark will become your new favorite:
- Effortlessly Easy – Seriously, it doesn’t get much simpler than melting chocolate and adding toppings. This super straightforward recipe requires no baking whatsoever and minimal mixing. It’s ideal for beginners or anyone looking for a stress-free dessert that still looks impressive. You don’t need any special skills or equipment, just a microwave and a baking sheet!
- Incredibly Fun & Customizable – The creative possibilities are endless! I’ve used a white chocolate base, which serves as a beautiful canvas, but you could easily add oil-based food coloring to create vibrant pink or red swirls for an extra romantic touch. Beyond colors, the topping choices are limitless – from various candies to nuts and dried fruits, you can tailor this bark to suit any taste and truly make it scream Valentine’s Day. It’s also a fantastic activity to do with children, letting them choose their favorite candies and sprinkles.
- Super Fast – The most involved part of this recipe is melting the chocolate, which takes mere minutes. From start to finish, you can have this bark prepared and ready to set in about 10-15 minutes. After a short setting time (typically 1-2 hours), it’s ready to break apart and enjoy. This makes it a perfect last-minute treat for a party, a thoughtful homemade gift, or a quick dessert to satisfy a sweet craving.
- Perfect for Gifting – Homemade treats always feel special, and this chocolate bark is no exception. Once set and broken into pieces, it looks beautiful packaged in cellophane bags, decorative tins, or small boxes. It’s a thoughtful, edible gift that shows you care, perfect for friends, family, teachers, or that special someone.
- Delicious Sweet & Salty Balance – The combination of rich, sweet white chocolate with salty pretzels creates an addictive flavor profile that keeps you coming back for more. The varied textures from the crunchy pretzels, chewy conversation hearts, and delicate sprinkles add another layer of enjoyment to every bite.
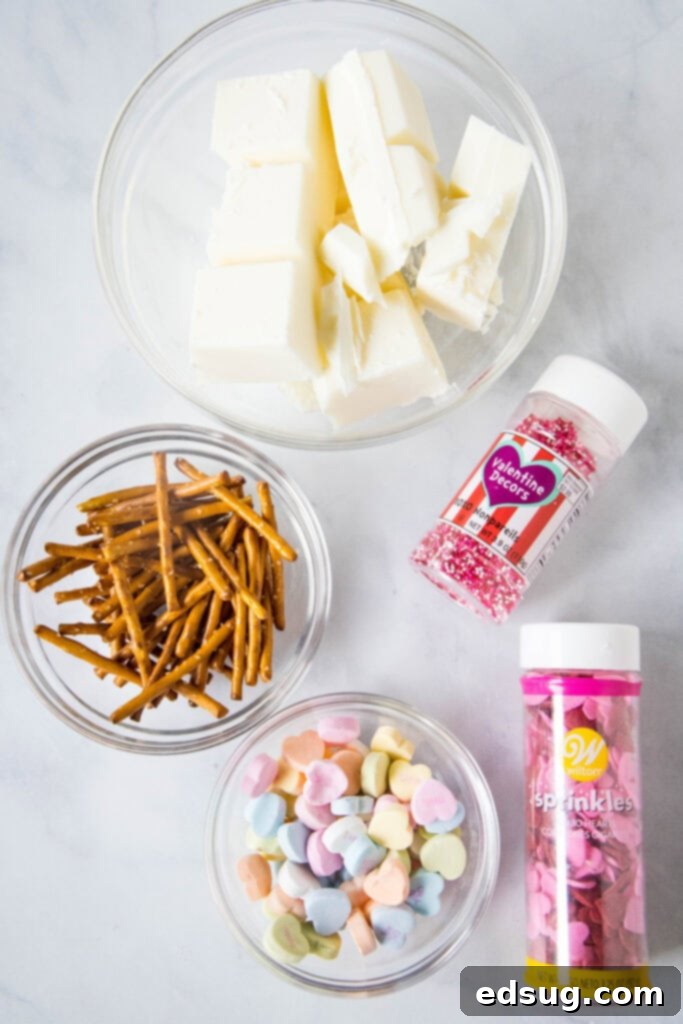
Essential Ingredients & Tools for Your Chocolate Bark
Before you begin, gather your ingredients and equipment. Be sure to scroll to the bottom of the post for the FULL PRINTABLE recipe card with exact measurements.
- White Melting Chocolate – I highly recommend using white almond bark or white melting wafers. These products are formulated to melt smoothly and set up firm without needing tempering, making them incredibly easy to work with. White chocolate chips can also be used, but sometimes they require a bit more careful melting to achieve a smooth consistency. You’ll need about 1 pound for a generous batch.
- Pretzels – Pretzel sticks or small pretzel twists work wonderfully here, providing that delightful salty crunch that perfectly complements the sweet chocolate. Break them into smaller pieces if desired for easier distribution.
- Conversation Hearts – These iconic candies are a must for Valentine’s Day bark! Their pastel colors and sweet messages add a nostalgic and festive touch.
- Sprinkles – Festive sprinkles are crucial for adding color, sparkle, and a playful feel. Look for heart-shaped sprinkles, nonpareils, or a mix of red, pink, and white sprinkles specifically designed for Valentine’s Day.
- Parchment Paper or Silicone Baking Mat – This is essential for preventing your bark from sticking to the baking sheet and makes for super easy cleanup and removal once set.
- Large Baking Sheet – A standard baking sheet will provide ample space to spread your chocolate into a thin, even layer, which is key for good bark.
- Microwave-Safe Bowl – For melting your chocolate efficiently and safely.
- Spatula or Offset Spatula – To spread the melted chocolate evenly on your baking sheet.

Step-by-Step Guide: Crafting Your Valentine’s Day Chocolate Bark
Making this chocolate bark is a breeze. Follow these simple steps for a perfect batch every time:
- Prepare Your Workspace. First, line a large baking sheet with parchment paper or a silicone baking mat. This crucial step ensures your chocolate bark won’t stick and will be easy to remove once it hardens. Having everything prepped before melting the chocolate will make the process much smoother.
- Melt the Chocolate. Place your white melting chocolate or almond bark in a microwave-safe bowl. Begin by heating it for 1 minute at 50-70% power (this prevents scorching). Remove and stir thoroughly. Continue heating in 20-30 second intervals, stirring well after each interval, until the chocolate is completely melted and smooth, with no lumps remaining. Be patient and avoid overheating, as this can cause the chocolate to seize or become grainy. If you don’t have a microwave, you can use a double boiler method over a saucepan of simmering water.
- Spread the Chocolate Base. Once perfectly melted, pour the smooth white chocolate onto your prepared baking sheet. Use a spatula or an offset spatula to spread it evenly into a thin layer. Aim for about ¼ inch thickness. A thinner layer will be easier to break and eat, while a thicker layer might be a bit too dense. Work relatively quickly here, as the chocolate will start to set as it cools.
- Decorate with Delightful Toppings. This is where the fun really begins! Immediately after spreading the chocolate, add your favorite toppings. Gently press the pretzel sticks into the warm chocolate so they adhere securely. Then, generously sprinkle over the conversation hearts and your chosen Valentine’s Day sprinkles. Feel free to arrange them in a pattern or scatter them randomly for a more whimsical look. Don’t be shy with your toppings; the more, the merrier!
- Allow the Bark to Set. Once decorated, your chocolate bark needs time to set and harden. You can leave it on the counter at room temperature for 1-2 hours, or until it’s completely solid. If you’re in a hurry, you can place the baking sheet in the refrigerator for about 30-45 minutes to speed up the setting process. Avoid the freezer unless you plan to store it long-term, as very rapid cooling can sometimes affect the chocolate’s texture.
- Break or Cut and Serve. Once the bark is fully solid, simply lift the parchment paper from the baking sheet. You can then use a sharp knife to cut it into neat squares or irregular shards, or for a more rustic look, simply break it apart with your hands. Arrange the pieces on a platter and get ready to enjoy your beautiful, homemade Valentine’s Day Chocolate Bark!
When stored properly in an airtight container at room temperature, your Valentine’s Day Chocolate Bark will last for up to 2-3 weeks. To maintain its freshness and prevent any melting or stickiness, keep it in a cool, dry place away from direct sunlight and strong odors. You can also store it in the refrigerator for a slightly longer shelf life, just be sure to let it come to room temperature for a few minutes before serving for the best texture and flavor.
Absolutely! This chocolate bark is an excellent candidate for making ahead and freezing. To freeze, ensure the bark is completely solid, then wrap individual pieces or stacks of bark tightly in plastic wrap, followed by a layer of aluminum foil, or place them in a freezer-safe airtight container. It will keep well in the freezer for up to 3 months. When you’re ready to enjoy it, simply transfer the container to the counter and let it thaw at room temperature for about an hour before serving.
Chocolate seizing means it turns thick, lumpy, and unusable. This typically happens if even a tiny drop of water or steam gets into the chocolate while it’s melting. To prevent this, ensure your bowl and utensils are completely dry. If it does seize, sometimes you can salvage it by stirring in a teaspoon of vegetable oil or melted shortening until it smooths out, but this can alter the final texture slightly.
Yes, absolutely! While white chocolate offers a beautiful canvas for Valentine’s colors, you can certainly use dark, milk, or even semi-sweet chocolate. You could also create layers, spreading a base of dark chocolate, letting it set slightly, and then adding a layer of white or pink chocolate on top before adding your toppings. The possibilities are endless!
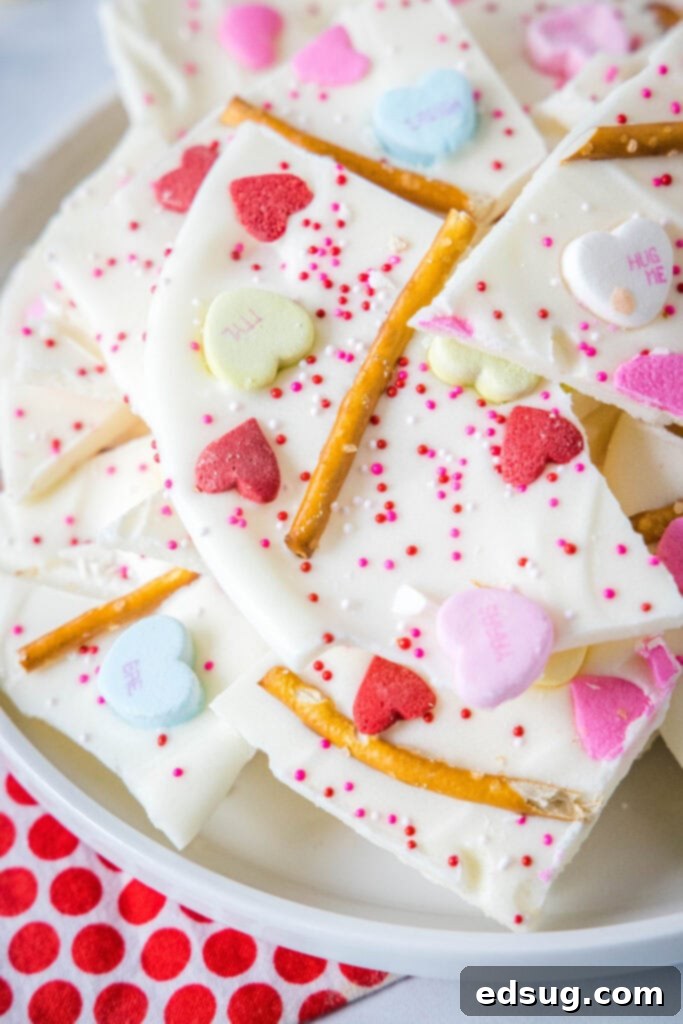
Unleash Your Creativity: Valentine’s Day Chocolate Bark Toppings Galore
The beauty of chocolate bark lies in its incredible versatility. This is your chance to get super creative and personalize your Valentine’s Day Bark with an array of delectable toppings. Think beyond the basic and consider these exciting additions:
- Alternate Chocolate Bases: While white chocolate provides a lovely pale background for festive colors, feel free to use dark chocolate, milk chocolate, or even a blend of chocolates if you prefer. A dark chocolate base topped with white chocolate swirls and red sprinkles creates a stunning contrast.
- Colored Swirls: For a truly vibrant and romantic look, add an oil-based food coloring (it’s crucial to use oil-based, as water-based coloring will cause your chocolate to seize and become lumpy) to a portion of your melted white chocolate. Create beautiful pink, red, or even purple swirls across your bark using a toothpick or skewer.
- Valentine’s Day Candies: Beyond conversation hearts and sprinkles, consider other holiday-themed candies. Think Valentine’s Day M&M’s, mini chocolate chips (milk, dark, or white), red hots for a spicy kick, gummy bears, or even small chocolate kisses.
- Crushed Cookies: Add a delightful crunch and flavor with crushed cookies. Crushed Oreo cookies (especially the red velvet or pink varieties for Valentine’s Day) are a popular choice. Other options include crushed shortbread, graham crackers, or even wafer cookies.
- Flavor Extracts: Infuse your chocolate with delicious flavors by stirring in a few drops of extract (be cautious not to add too much liquid). Vanilla, peppermint, almond, raspberry, or even a hint of rosewater can elevate your bark to gourmet status.
- Nuts for Crunch: Toasted almonds, chopped pistachios (their green adds a lovely contrast!), pecans, or peanuts can add a wonderful nutty flavor and satisfying crunch.
- Dried Fruits: Dried cranberries, cherries, raspberries, or even finely chopped dried strawberries can add a touch of tartness and a chewy texture that complements the sweet chocolate beautifully.
- Caramel or Fudge Drizzle: Once your chocolate base is nearly set, you can drizzle warm caramel sauce, chocolate fudge, or even melted peanut butter over the top for an extra layer of indulgence.
- Edible Glitter or Gold Dust: For an extra touch of elegance and sparkle, dust your bark with edible glitter or gold dust after the chocolate has slightly set but is still tacky.
- Mini Marshmallows: Small marshmallows can add a soft, chewy texture and a cozy sweetness, especially if you’re going for a hot cocoa-inspired bark.
- Coconut Flakes: Toasted coconut flakes can provide a tropical twist and lovely texture.
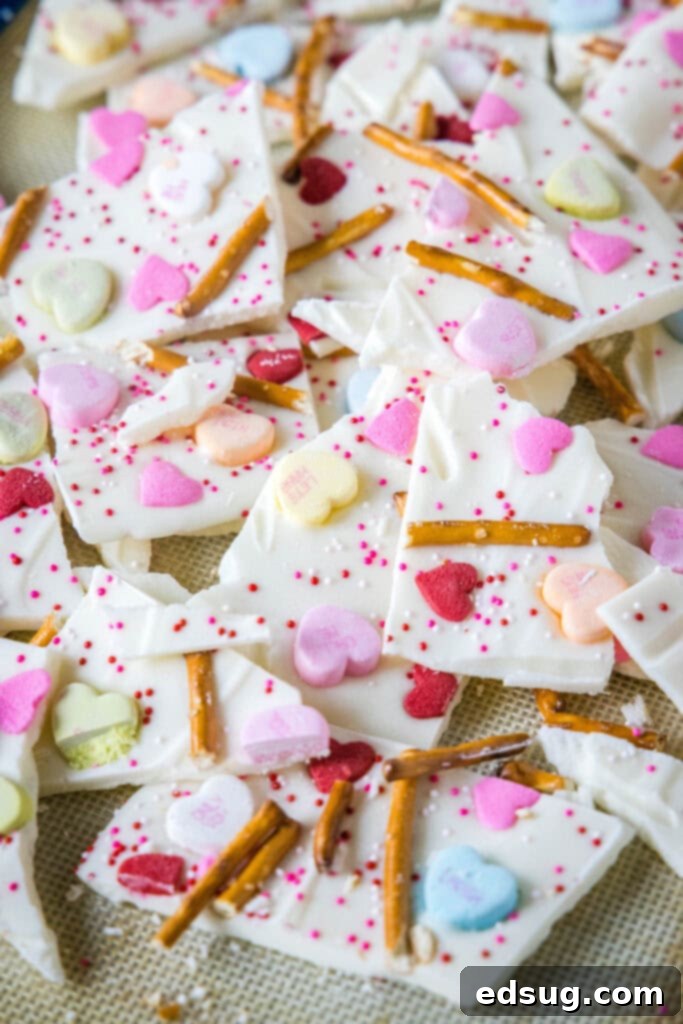
No matter how you choose to decorate it, this Valentine’s Day Chocolate Bark is sure to be a hit. It’s a delightful combination of flavors and textures, making it the perfect sweet gesture for the season of love.
More Fun Valentine’s Day Treats to Share the Love
If you’re looking for more ways to celebrate Valentine’s Day with delicious homemade desserts, check out these other festive recipes:
- Red Velvet Pancakes
- Maraschino Cherry Chip Cookies
- Red Velvet Brownies
- Deep Dish Cookies for Two
- Red Velvet M&M Cookies

Valentine’s Day Chocolate Bark
Ingredients
- 1 pound white melting chocolate, almond bark or melting wafers are recommended for best results
- 1/2 cup pretzel sticks, for that perfect sweet & salty crunch
- 1/2 cup conversation hearts, a classic Valentine’s Day candy
- festive sprinkles, red, pink, and white or heart-shaped
Instructions
- Line a large baking sheet with parchment paper or a silicon liner. This prevents sticking and makes cleanup a breeze.
- Place white chocolate (almond bark or melting wafers work best) in a microwave-safe bowl. Heat for 60 seconds at 50-70% power. Stir well to distribute the heat, then continue heating in 20-second intervals, stirring thoroughly after each time, until the chocolate is completely smooth and melted. Be careful not to overheat.
- Pour the melted chocolate over the prepared baking sheet and use a spatula to spread it evenly into a thin layer, approximately 1/4 inch thick. Work quickly, as the chocolate will start to set.
- Immediately arrange the pretzel sticks over the warm chocolate, gently pressing down so they embed into the chocolate. Then, generously sprinkle the conversation hearts and your chosen festive sprinkles over the entire surface.
- Let the chocolate bark set up at room temperature for 1-2 hours, or until it is completely solid and firm to the touch. For faster setting, you can place it in the refrigerator for about 30-45 minutes.
- Once solid, lift the parchment paper from the baking sheet. You can then use a sharp knife to cut the bark into desired pieces, or simply break it apart by hand for a rustic, irregular look.
Nutrition
Nutrition information is automatically calculated, so should only be used as an approximation.
Additional Info
I created a fun group on Facebook, and I would love for you to join us! It’s a vibrant community where you can share YOUR favorite recipes, ask questions, find inspiration, and stay up-to-date with all the new delicious content from Dinners, Dishes and Desserts (so that you never miss a new recipe)!
Be sure to follow me on Instagram and tag your creations with #dinnersdishes so I can see all the wonderful DINNERS, DISHES, AND DESSERTS recipes YOU make! Your culinary adventures inspire me!
Don’t miss out on any tasty updates! Be sure to follow me on my social media channels:
Facebook | Twitter | Pinterest | Instagram
Happy baking, and happy Valentine’s Day!
