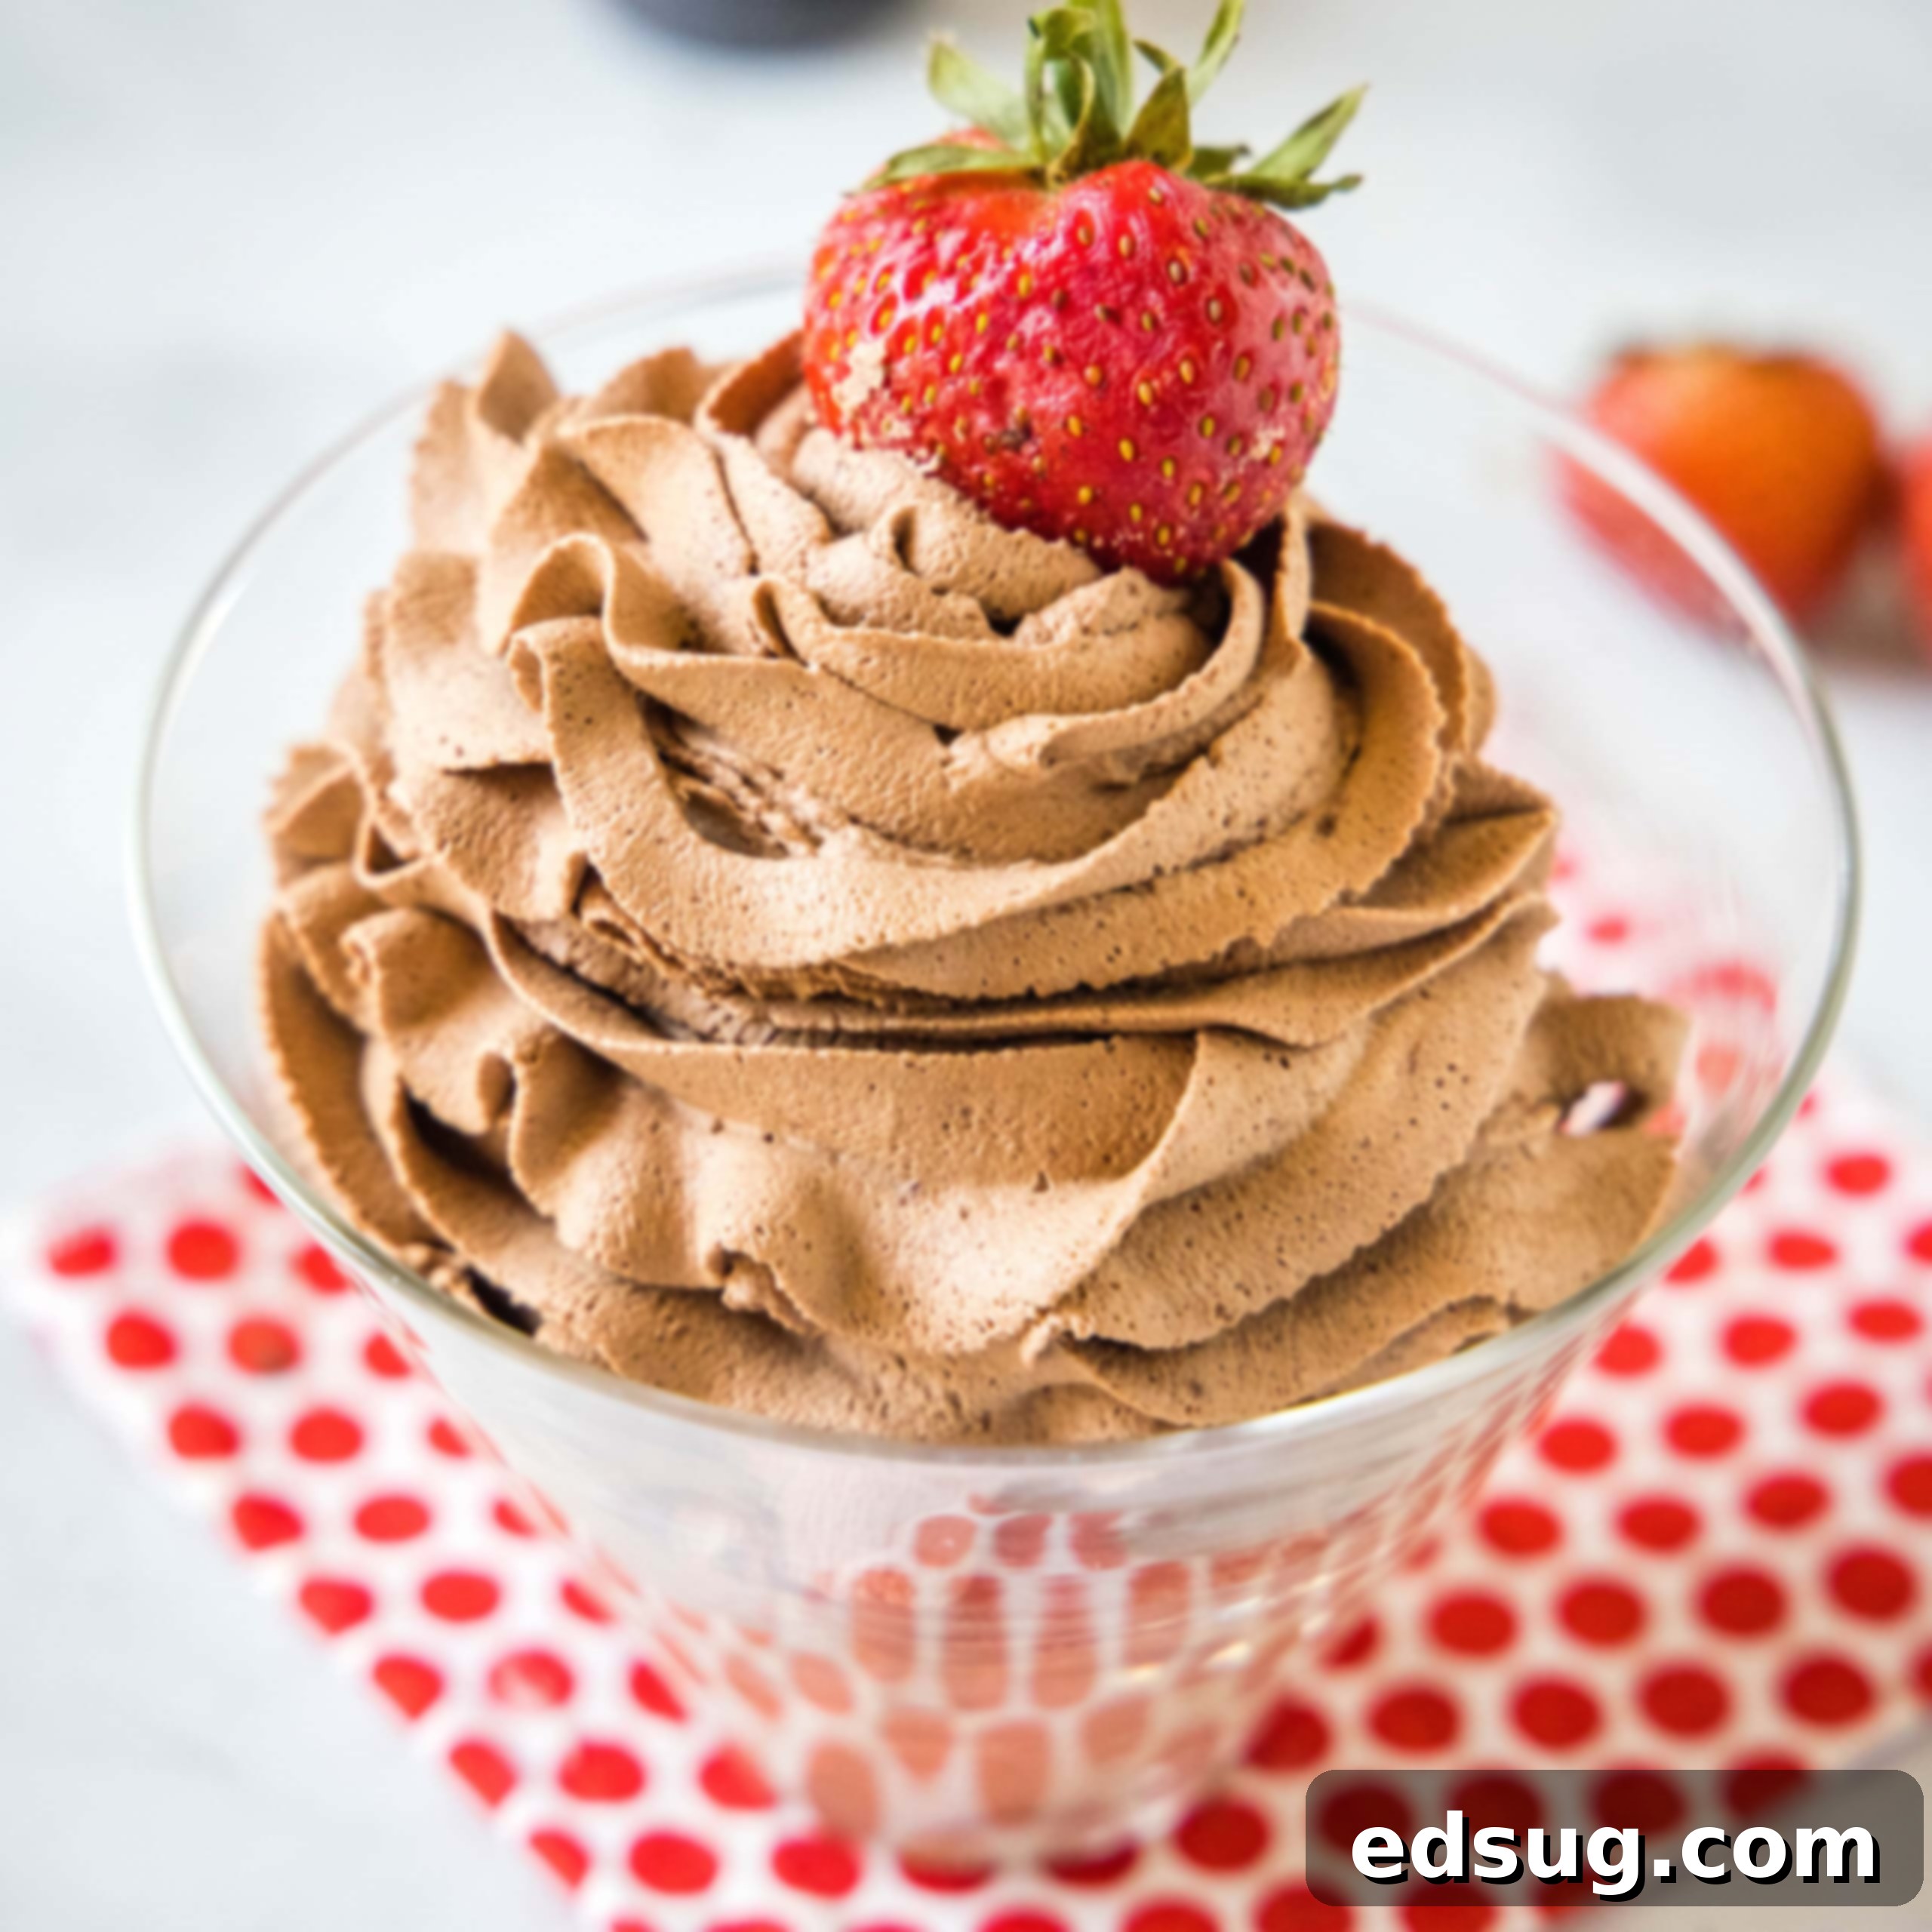
Decadent Homemade Chocolate Whipped Cream: The Ultimate Easy Dessert Topping
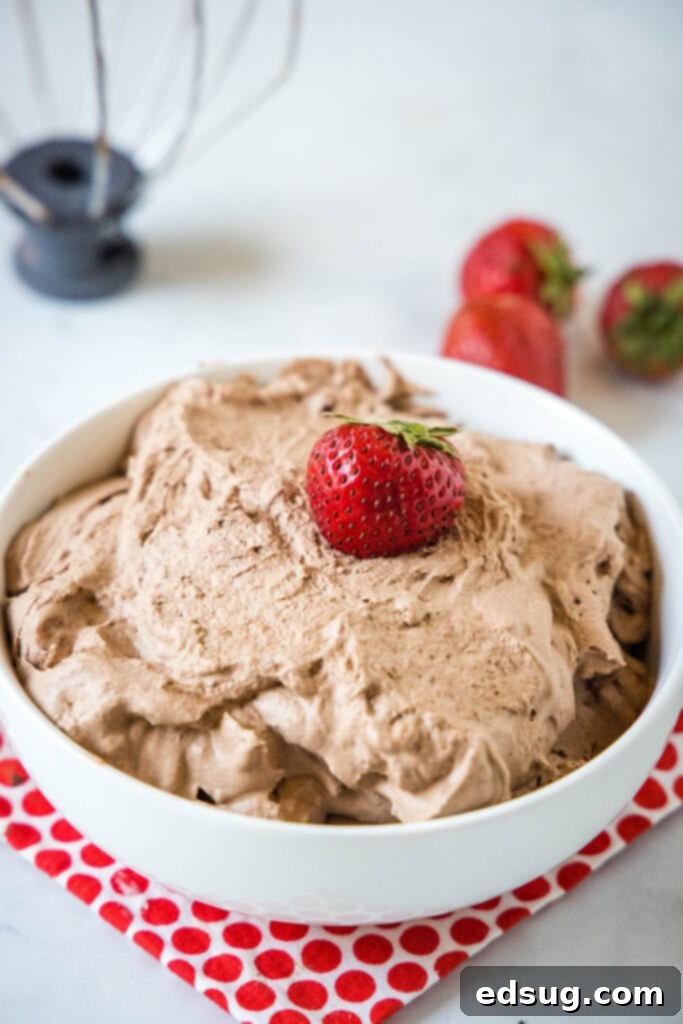
Elevate your dessert game with this incredibly simple recipe for **Homemade Chocolate Whipped Cream**. It’s thick, luxuriously creamy, wonderfully rich, and bursting with deep chocolate flavor, making it the absolute perfect topping for virtually any sweet treat. Forget store-bought aerosol cans; once you try this easy homemade version, you’ll never go back!
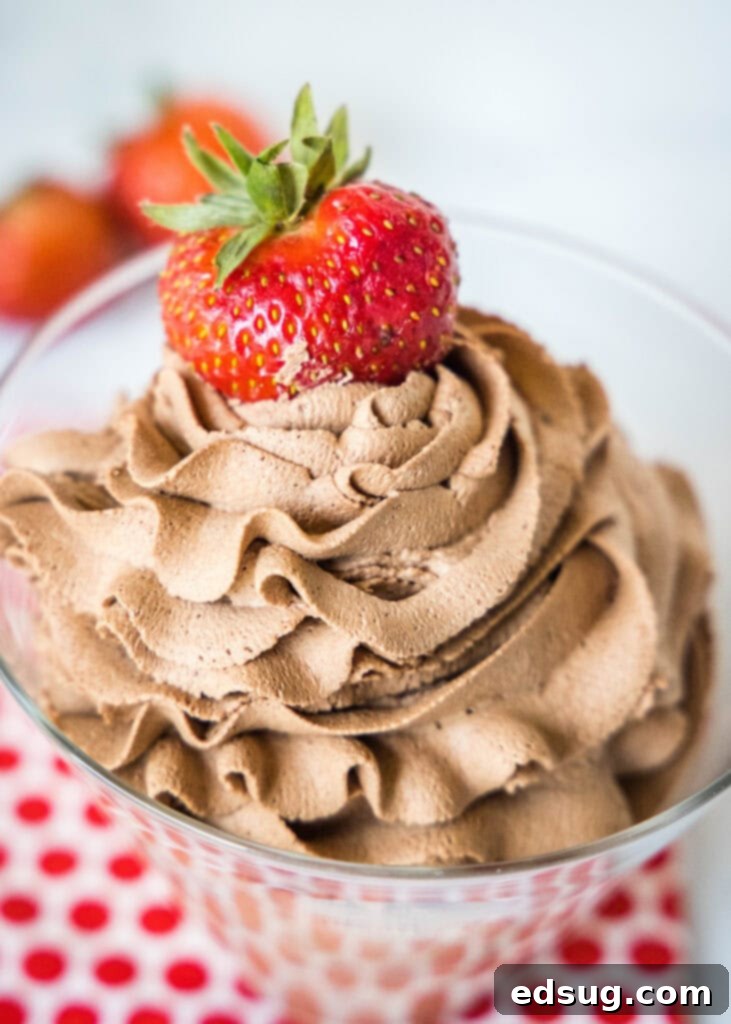
Homemade whipped cream is a culinary delight that enhances almost any dessert, from a classic French Silk Pie to a simple bowl of fresh berries, or even a comforting mug of hot chocolate. But sometimes, a regular topping just doesn’t cut it, and you crave that irresistible chocolate kick. That’s precisely where this luscious chocolate whipped cream recipe comes in. It’s just as effortless to prepare as its vanilla counterpart but delivers a profound chocolatey richness that will satisfy all your dessert desires and impress your guests.
Why You’ll Adore This Chocolate Whipped Cream
There are countless reasons why this chocolate whipped cream will become a staple in your kitchen. It’s not just a topping; it’s an experience!
- Effortless Preparation – You’ll be amazed at how quickly this decadent treat comes together. With just 5 minutes of active prep time and the magic of a mixer, almost all the work is done for you. It’s perfect for last-minute dessert enhancements or when you want maximum flavor with minimal fuss.
- Incredibly Versatile – This isn’t just a one-trick pony! This chocolate whipped cream can confidently step into any role where traditional whipped cream is called for, adding a delightful chocolate twist. Imagine it dolloped onto pies, swirled into puddings, topping a hot beverage, or simply enjoyed straight from the spoon. Your imagination is the only limit!
- Customizable Flavor Profile – One of the best aspects of making whipped cream from scratch is having complete control over its taste. Do you prefer a deep, intense dark chocolate experience? Use a darker cocoa powder and reduce the powdered sugar. Or perhaps you have a sweeter tooth? Simply increase the amount of powdered sugar to achieve your desired level of sweetness. This recipe empowers you to tailor the flavor to your exact preference every single time.
Essential Ingredients for Perfect Chocolate Whipped Cream
Be sure to scroll to the bottom of the post for the FULL PRINTABLE recipe card with exact measurements.
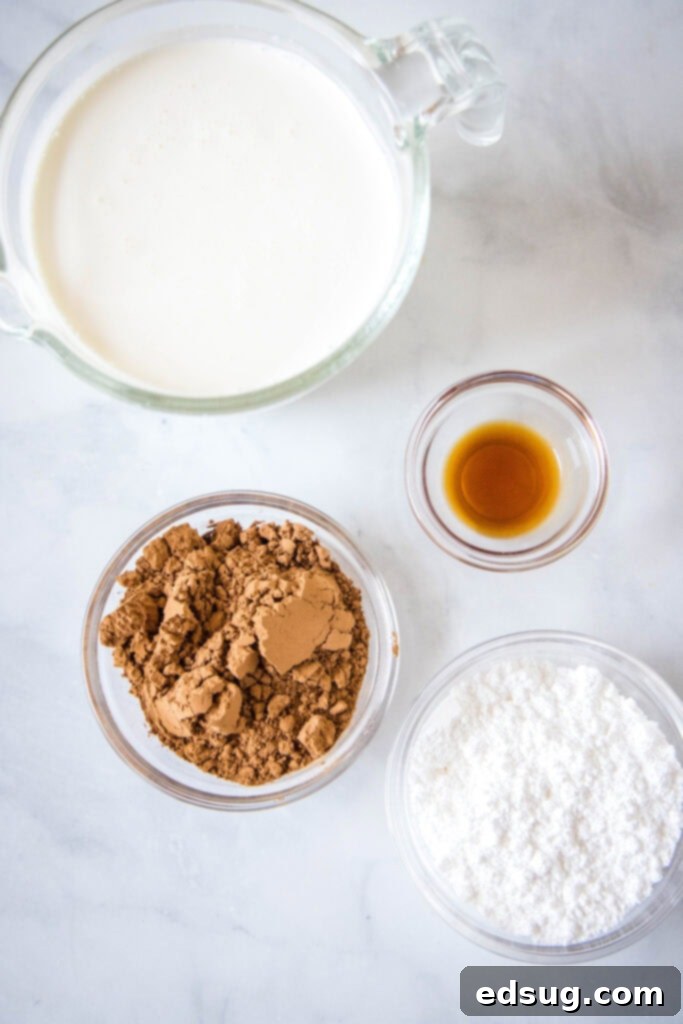
Creating this rich chocolate whipped cream requires only a handful of common ingredients, but choosing the right quality makes all the difference:
- Heavy Cream: This is the star of our show. We’ll delve deeper into why the type of cream matters in the next section. Its high fat content is crucial for achieving that stable, fluffy texture.
- Unsweetened Cocoa Powder: The source of all that delicious chocolate flavor. Using unsweetened cocoa allows you to control the sugar level independently. You can opt for natural cocoa powder for a classic chocolate taste or Dutch-processed cocoa for a darker color and milder flavor.
- Powdered Sugar (Confectioners’ Sugar): Unlike granulated sugar, powdered sugar dissolves instantly into the cold cream, ensuring a smooth, lump-free texture without any grainy bits. It also contains a small amount of cornstarch, which helps stabilize the whipped cream, preventing it from weeping as quickly.
- Vanilla Extract: A touch of pure vanilla extract enhances the chocolate flavor, adding depth and warmth to the overall profile. Don’t skip it, even in a chocolate recipe, as it truly brings out the best in the cocoa.
Choosing the Right Heavy Cream: A Buyer’s Guide
Navigating the dairy aisle can sometimes be confusing, with “Heavy Cream,” “Heavy Whipping Cream,” and “Whipping Cream” all vying for your attention. Understanding the differences is key to achieving the best results for your homemade chocolate whipped cream.
- Heavy Cream and Heavy Whipping Cream are essentially interchangeable terms, both containing a minimum of 36% milk fat. This higher fat content is precisely what you want for whipped cream. It allows the cream to whip up easily into stiff, stable peaks that hold their shape beautifully for an extended period. If you were to attempt this recipe with a lower-fat milk, such as whole milk, it simply wouldn’t hold its shape and would remain a liquid. The fat globules are what trap the air, creating that desirable airy texture.
- Whipping Cream, which you might see labelled as “Light Whipping Cream” in some stores, has a slightly lower fat content, typically ranging between 30-35%. While it will still whip up, you might find it more challenging to achieve very stiff peaks. It also tends to soften or “melt” more quickly when stored in the fridge. If you plan to use your chocolate whipped cream immediately as a topping, whipping cream can certainly work. However, for desserts that need to sit for a day or two, like a rich Death By Chocolate Pie, it’s always best to opt for the higher fat content of heavy cream or heavy whipping cream for superior stability.
Crafting Your Homemade Chocolate Whipped Cream: Step-by-Step
Making this creamy chocolate delight is straightforward, but a few simple steps ensure perfection:
- Preparation is Key – For the best results, ensure all your ingredients and equipment are thoroughly chilled. About 15-30 minutes before you begin, place your stand mixer bowl (or a deep metal bowl if using a hand mixer) and the whisk attachment in the refrigerator. Cold temperatures are crucial for the fat globules in the cream to emulsify properly and trap air, resulting in a stable, airy whipped cream.
- Combine Ingredients – Once your bowl and whisk are adequately chilled, pour the heavy cream, unsweetened cocoa powder, powdered sugar, and vanilla extract into the mixing bowl. Start mixing on a low speed to gently combine all the ingredients. This prevents the cocoa powder from flying everywhere! If necessary, stop the mixer and scrape down the sides of the bowl with a spatula to ensure everything is fully incorporated.
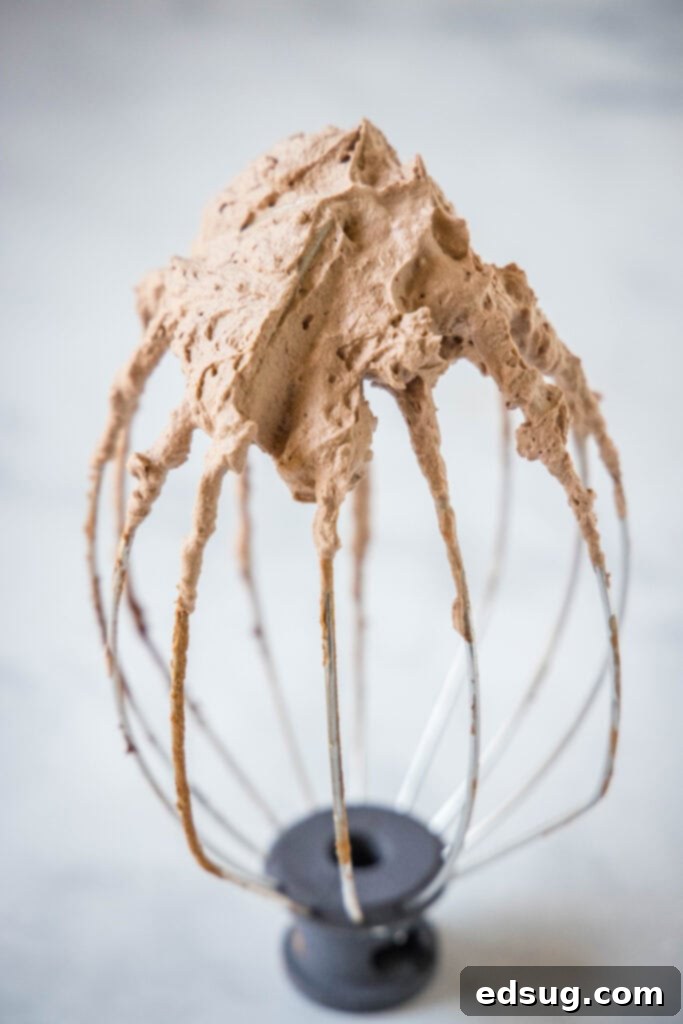
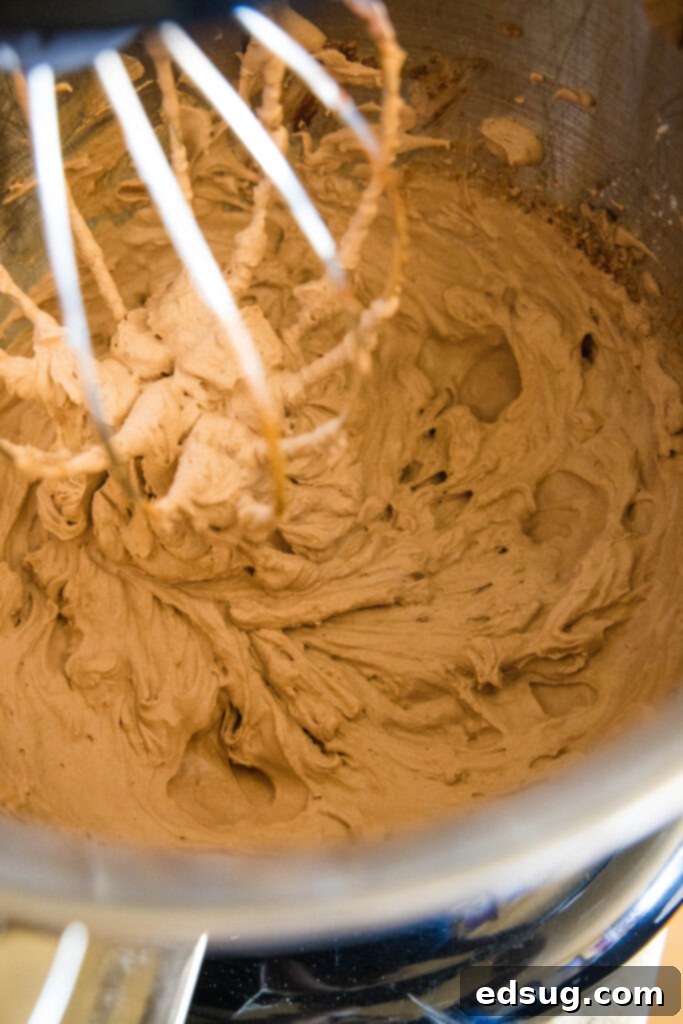
- Whip to Perfection – After the ingredients are combined, gradually increase the mixer speed to high. Continue to whip the mixture for about 2-3 minutes. Keep a close eye on the cream; it will thicken steadily. You’re looking for firm, stiff peaks to form. When you lift the whisk, the peaks should stand upright and hold their shape without drooping. Be careful not to overmix, as whipped cream can quickly turn into butter!
Understanding Stiff Peaks: The Sign of Perfect Whipped Cream
Achieving “stiff peaks” is the hallmark of perfectly whipped cream, indicating it has reached its optimal texture and stability. But what exactly are they?
When you’re whipping cream, you’re essentially incorporating air into the fat molecules, causing the cream to expand and thicken. As you continue to whip, the cream progresses through different stages:
- Soft Peaks: The cream will be thickened but still somewhat loose. When you lift the whisk, the peaks will droop slightly. This is ideal for a lighter, more delicate topping.
- Medium Peaks: The cream is thicker, and the peaks hold their shape better, with a slight curl at the tip. This is a good all-around consistency for many desserts.
- Stiff Peaks: This is what we’re aiming for in this recipe. The cream will be very thick and firm. When you lift the whisk straight out of the cream, the peak will stand erect and hold its shape completely without folding over. You can also test this by tipping the bowl slightly; the cream should stay firmly in place. This sturdy consistency ensures your chocolate whipped cream will maintain its form beautifully, whether piped onto a cake or dolloped onto a hot drink.
It’s crucial to stop whipping once stiff peaks are achieved. Going beyond this point can lead to over-whipping, where the cream starts to separate and become grainy, eventually turning into butter. Keep a watchful eye on your mixer, especially during the final minute of whipping.
Pro Tips & Creative Suggestions for Your Chocolate Whipped Cream
Unlock the full potential of your chocolate whipped cream with these expert tips and variations:
- The Importance of Cold Ingredients and Equipment: This cannot be stressed enough. The colder your heavy cream, mixing bowl, and whisk attachment are, the faster and more easily your whipped cream will come together. Cold temperatures help the milk fat emulsify and trap air more efficiently, resulting in a stable, fluffy cream. Throwing your mixing bowl and whisk in the fridge or freezer for 15-20 minutes before you start can make a significant difference, especially in warmer kitchens.
- Experiment with Flavor Variations: While this recipe yields a delightful basic chocolate flavor, it’s incredibly adaptable. Easily transform its profile by swapping or adding different extracts. Want a festive mint chocolate whipped cream? Add a touch of peppermint extract. Craving a mocha kick? Incorporate a teaspoon of espresso powder or coffee extract. Almond, orange, or even a hint of rum extract can create unique and exciting pairings for your desserts. This simple change allows you to perfectly complement whatever sweet treat you’re serving.
- Avoid Overmixing at All Costs: Whipped cream can go from perfectly fluffy to a grainy, curdled mess in mere seconds. Never walk away from your mixer once the cream starts to thicken significantly. Watch it carefully; as soon as stiff peaks form, turn off the mixer. If you accidentally overmix, don’t despair! You can often salvage it by adding a tablespoon or two of cold heavy cream and gently folding or whipping on very low speed until it smooths out again.
- No Stand Mixer? No Problem! If you don’t own a stand mixer, an electric hand mixer works just as effectively. The process remains the same, though you might need to whip for a minute or two longer. Alternatively, with a strong arm and a good whisk, you can even whip cream by hand – it’s a fantastic workout!
- Sift Your Cocoa Powder: To ensure a perfectly smooth, lump-free chocolate whipped cream, always sift your unsweetened cocoa powder before adding it to the cream. Cocoa powder can be clumpy, and sifting it prevents those dry bits from appearing in your final product.
- Quality of Vanilla Matters: Since there are so few ingredients, the quality of each shines through. Use a good quality pure vanilla extract (or even vanilla bean paste) for the best flavor.
Frequently Asked Questions About Chocolate Whipped Cream
When stored properly in an airtight container in the refrigerator, your homemade chocolate whipped cream should last for about 2-3 days. If you’ve spread or piped it onto a pie or cake, it can often hold up for 4-5 days, though it might soften slightly. If it begins to separate or “melt” a bit, you can often re-whip it for a minute or so on low speed to restore its smooth, creamy texture.
Generally, when you whip heavy cream, it roughly doubles in volume. So, if you start with 1 1/2 cups of heavy cream as this recipe calls for, you can expect to yield approximately 3 cups of delicious, fluffy chocolate whipped cream.
Accidentally over-whipping happens to the best of us! If your whipped cream turns into a clumpy or slightly curdled mess, don’t throw it away just yet. You can often fix it. With your mixer on a very low setting, add 1 Tablespoon of cold heavy cream at a time, mixing gently until the curds disappear and the cream starts to smooth out. If necessary, you can then whip it at high speed for just a few short seconds to help it thicken back to stiff peaks. Be extra cautious not to overmix again!
While homemade whipped cream is best enjoyed fresh, you can certainly prepare it a few hours in advance and store it in an airtight container in the refrigerator. Just give it a quick, gentle whisk by hand or on low speed with an electric mixer right before serving to fluff it up again and restore its perfect consistency.
Creative Ways to Serve Your Decadent Chocolate Whipped Cream
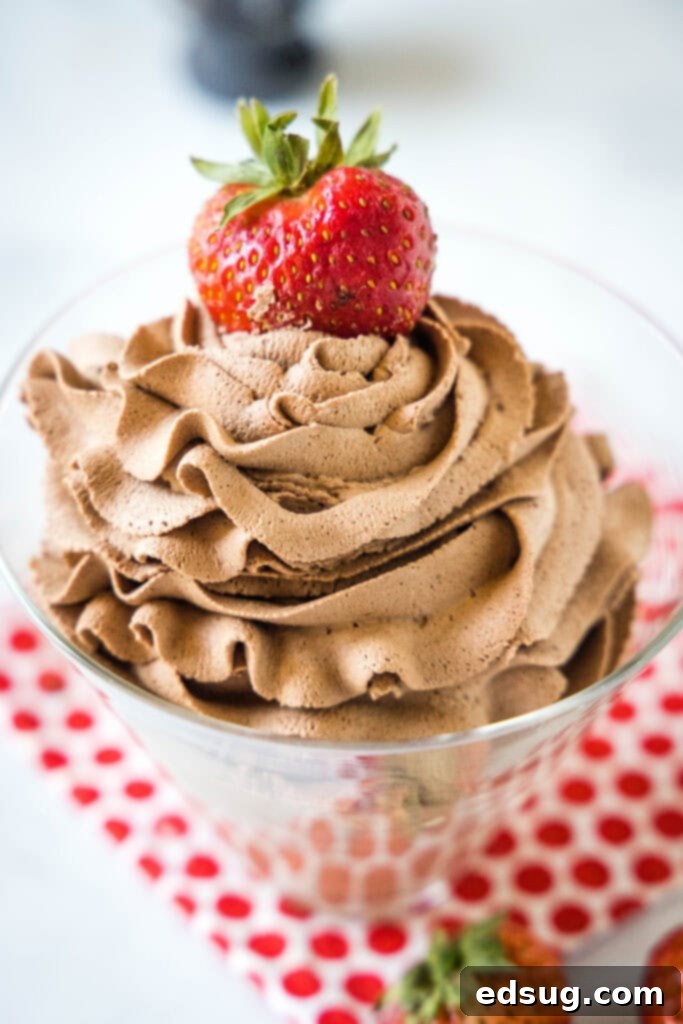
The possibilities are truly endless when it comes to incorporating this luscious chocolate whipped cream into your dessert repertoire. If you’re a true chocolate enthusiast, you’ll find countless excuses to swap out traditional whipped cream for this richer, more flavorful alternative. It’s especially divine on a festive Peppermint Hot Chocolate or crowning an elegant Chocolate Pavlova.
Here are some other delightful serving suggestions to inspire you:
- Candy Cane Pie: A perfect companion for a minty pie, offering a cool and creamy contrast.
- Oreo Poke Cake: Enhance the chocolatey goodness of any Oreo-infused dessert.
- French Silk Brownie: Take these rich brownies to another level with a generous dollop.
- Chocolate Milkshake: The ultimate topping for an indulgent, creamy chocolate milkshake.
- Skillet Cookie: Serve a warm, gooey skillet cookie with a melting scoop of this dreamy topping.
- Cream Puffs: Fill classic cream puffs with chocolate whipped cream for a delightful twist.
- Fresh Fruit: A simple bowl of strawberries, raspberries, or sliced bananas becomes an instant gourmet dessert.
- Pancakes or Waffles: Elevate your breakfast or brunch with a sweet, chocolatey flourish.
- Coffee or Lattes: Add a luxurious finish to your morning coffee or an afternoon pick-me-up.
- As a Dip: Serve it alongside cookies, pretzels, or graham crackers for a fun, interactive dessert.

Chocolate Whipped Cream
Erin Sellin
5 minutes
5 minutes
3
cups
Pin Recipe
Rate Recipe
Print Recipe
Ingredients
-
1 1/2
cups
heavy cream
-
1/3
cup
unsweetened cocoa powder
-
1/3
cup
powdered sugar
-
1/2
teaspoon
vanilla extract
Instructions
-
About 15-30 minutes before you begin, place your stand mixer bowl and whisk attachment (or a deep metal bowl and beaters if using a hand mixer) in the fridge to chill thoroughly. This step is crucial for achieving the best results.
-
Once chilled, pour the cold heavy cream, sifted unsweetened cocoa powder, powdered sugar, and vanilla extract into the bowl. Begin mixing on the lowest speed until all ingredients are just combined and the cocoa powder is fully incorporated. Scrape down the sides of the bowl with a rubber spatula if necessary to ensure no dry pockets remain.
-
Gradually increase the mixer speed to high. Whip for 2-3 minutes, or until you achieve firm, stiff peaks. This means that when you lift the whisk from the cream, the peaks stand upright and hold their shape. Keep a very close watch on the cream during this stage; it can go from perfect to overmixed very quickly.
Nutrition
Serving:
1
g
|
Calories:
122
kcal
|
Carbohydrates:
5
g
|
Protein:
1
g
|
Fat:
11
g
|
Saturated Fat:
7
g
|
Polyunsaturated Fat:
3
g
|
Cholesterol:
34
mg
|
Sodium:
8
mg
|
Sugar:
4
g
Nutrition information is automatically calculated, so should only be used as an approximation.
Additional Info
Erin Sellin
5 minutes
5 minutes
The Basics
American
3
cups
122
Like this recipe? Leave a comment below!
I created a fun group on Facebook, and I would love for you to join us! It’s a place where you can share YOUR favorite recipes, ask questions, and stay up-to-date with what’s new at Dinners, Dishes and Desserts (so you never miss a delicious new recipe)!
Be sure to follow me on Instagram and tag #dinnersdishes so I can see all the wonderful DINNERS, DISHES, AND DESSERTS recipes YOU make!
Don’t miss out on any future culinary inspiration! Be sure to follow me on my social media channels:
Facebook |
Twitter |
Pinterest |
Instagram
