Unlock the Sweet & Mellow Magic: Your Ultimate Guide to Roasting Garlic
Transform ordinary dishes into extraordinary culinary experiences with this incredibly simple method for roasting garlic. Elevate your cooking with a flavor profile that’s both sweet and profoundly aromatic.
If you’ve never experienced the delight of roasted garlic, then prepare to have your culinary world transformed. Roasting garlic takes its sharp, pungent edge and mellows it into a delightfully sweet, rich, and creamy spreadable consistency. It’s a completely different experience from sautéed or raw garlic, offering a gentle depth of flavor that can change even the most staunch garlic skeptics into ardent admirers.
Beyond its incredible flavor, roasted garlic is surprisingly easy to make. This means you can always have a batch ready in your fridge or freezer, poised to enhance a myriad of dishes at a moment’s notice. It’s a kitchen staple that truly earns its place.
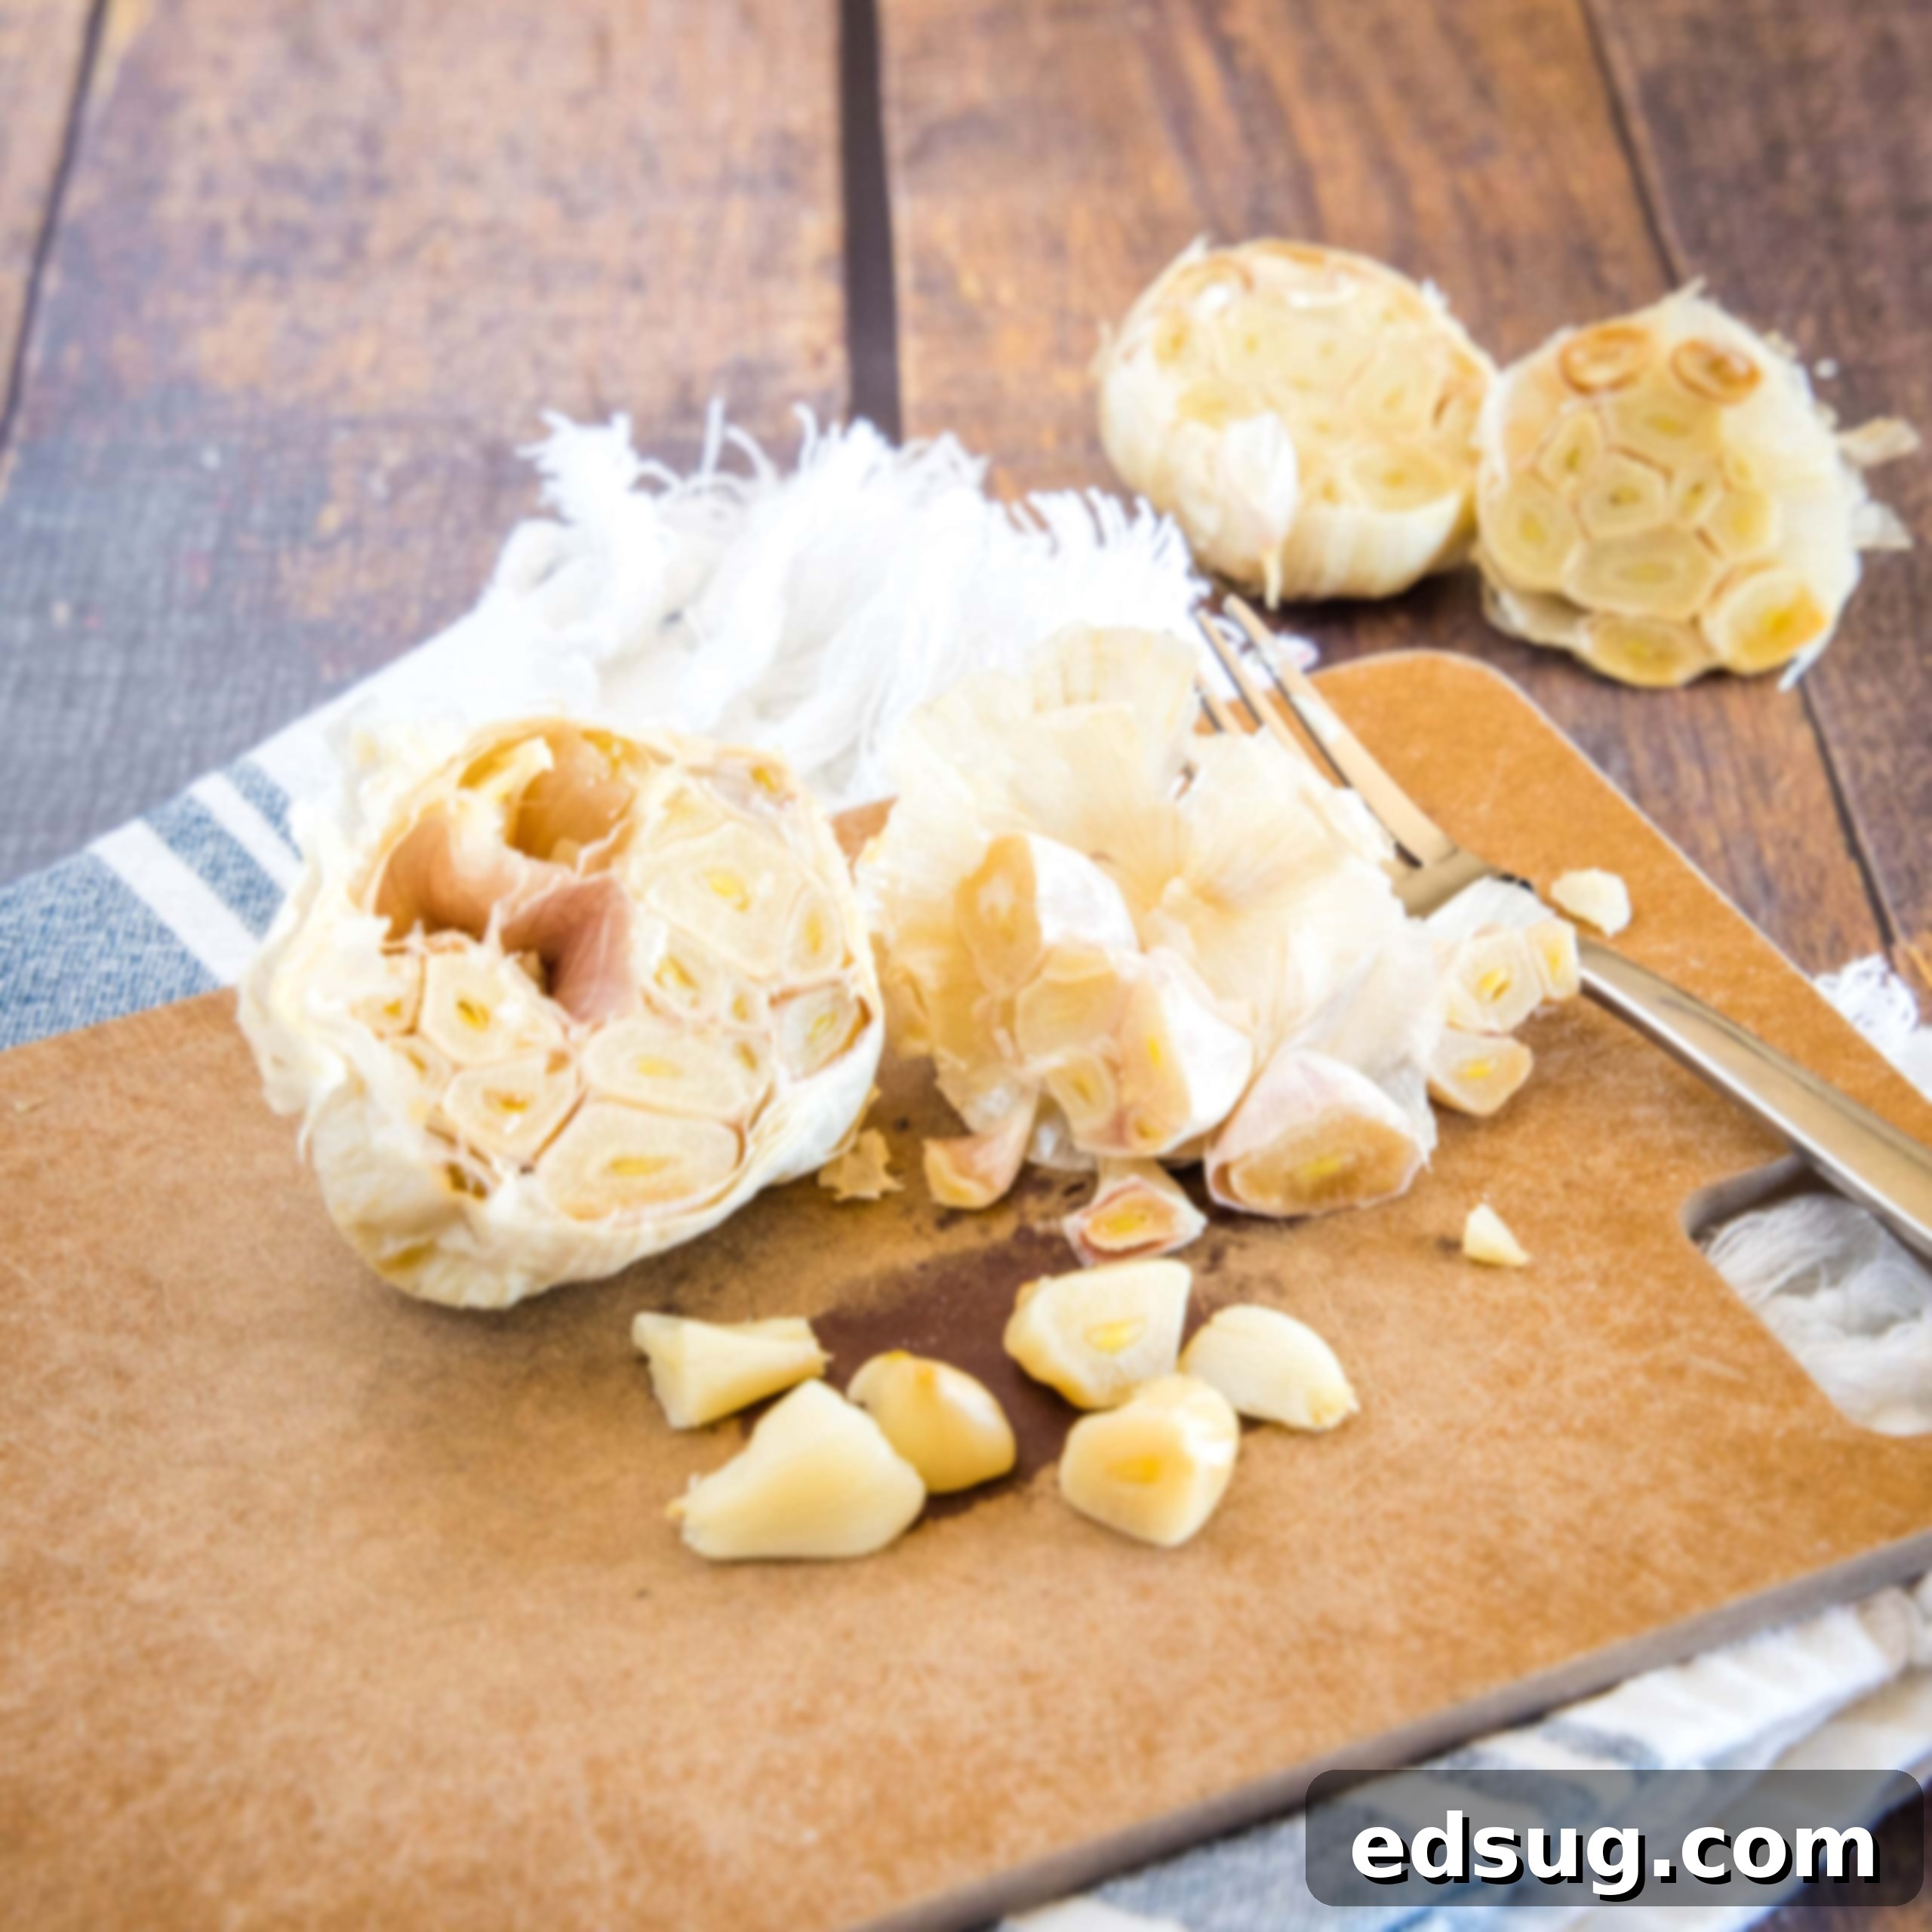
The process of roasting garlic fundamentally changes its chemical composition. The high heat caramelizes its natural sugars and breaks down allicin, the compound responsible for garlic’s characteristic sharp taste and aroma. This transformation results in cloves that are buttery soft, nutty, and subtly sweet – a far cry from their raw state. It’s a magical process, much like how roasting any vegetable enhances its inherent sweetness and depth. Consider Roasted Asparagus, a prime example of how heat unlocks incredible flavors. The same principle applies here, but with garlic, the change is arguably even more dramatic and rewarding.
Incorporating roasted garlic into your cooking adds a layer of sophistication and comfort that’s hard to achieve with raw or even sautéed garlic. It melts into sauces, spreads beautifully on bread, and blends seamlessly into dips, offering a gentle warmth without overwhelming other ingredients. It’s a secret weapon for home cooks looking to impress with minimal effort.
Essential Ingredients and Tools for Roasting Garlic
Gathering your supplies for roasted garlic is incredibly simple. You only need a few basic items to achieve delicious results.
- Garlic: Look for firm, fresh heads of garlic without any soft spots or sprouting.
- Olive Oil: A good quality extra virgin olive oil works best, adding a rich, fruity note that complements the roasted garlic.
- Salt: Kosher salt or sea salt is preferred for its pure flavor, enhancing the garlic’s natural sweetness.
- Aluminum Foil: Essential for wrapping the garlic head, creating a steaming effect that helps the cloves soften and caramelize perfectly.
While these are the core necessities, feel free to experiment with additions if you wish to infuse your roasted garlic with extra flavor. Fresh herbs like rosemary or thyme, a sprinkle of black pepper, or even a splash of balsamic vinegar can add intriguing dimensions. However, for maximum versatility, I often recommend sticking to the basics. This allows the pure, sweet flavor of the roasted garlic to shine through, making it adaptable to almost any recipe. If a dish calls for herbs, you can always add them directly to the final preparation.
Choosing the Best Garlic for Roasting
The quality of your garlic will significantly impact the final flavor. Opt for whole, unpeeled heads that feel heavy for their size. Avoid garlic with soft spots, green sprouts (which indicate older garlic and can be bitter), or any signs of mold. Different varieties of garlic exist, from standard white garlic to larger elephant garlic. While the roasting method remains similar, larger varieties like elephant garlic may require a slightly longer cooking time due to their size.
Step-by-Step Guide to Perfectly Roasted Garlic
Roasting garlic is not only simple but also incredibly satisfying, especially as your kitchen fills with its intoxicating aroma. Follow these easy steps for perfect results every time:
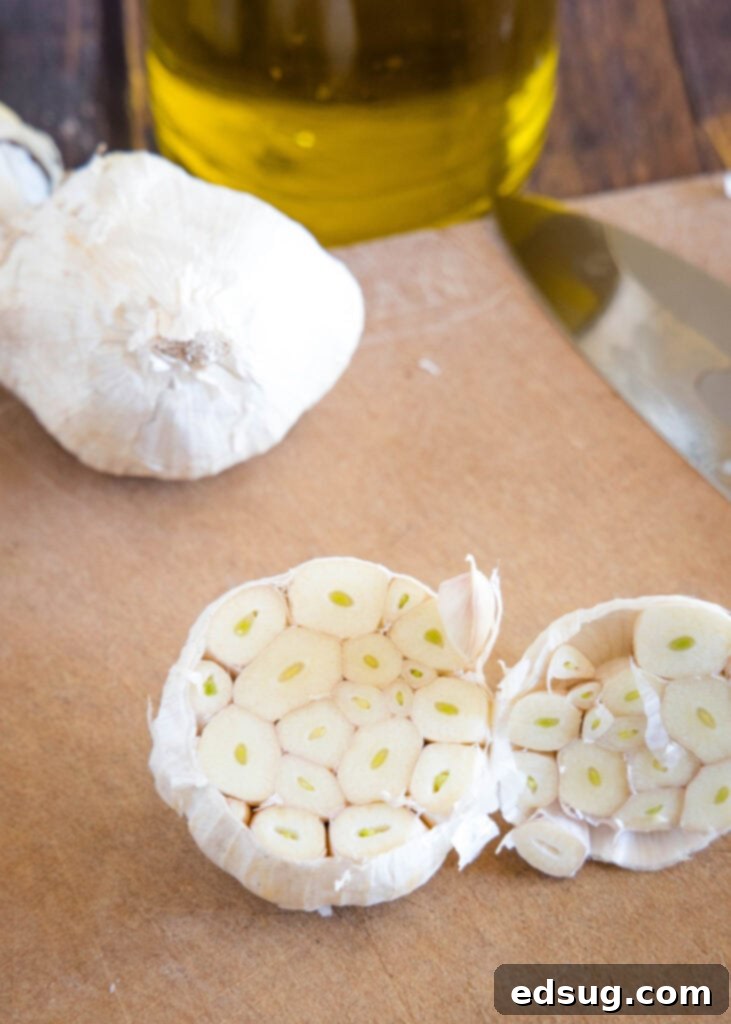
- Prepare the Garlic: Start with a whole head of garlic. Using a sharp knife, carefully slice off the top 1/3rd of the head. This exposes the individual cloves, allowing the olive oil and salt to penetrate and the heat to work its magic.
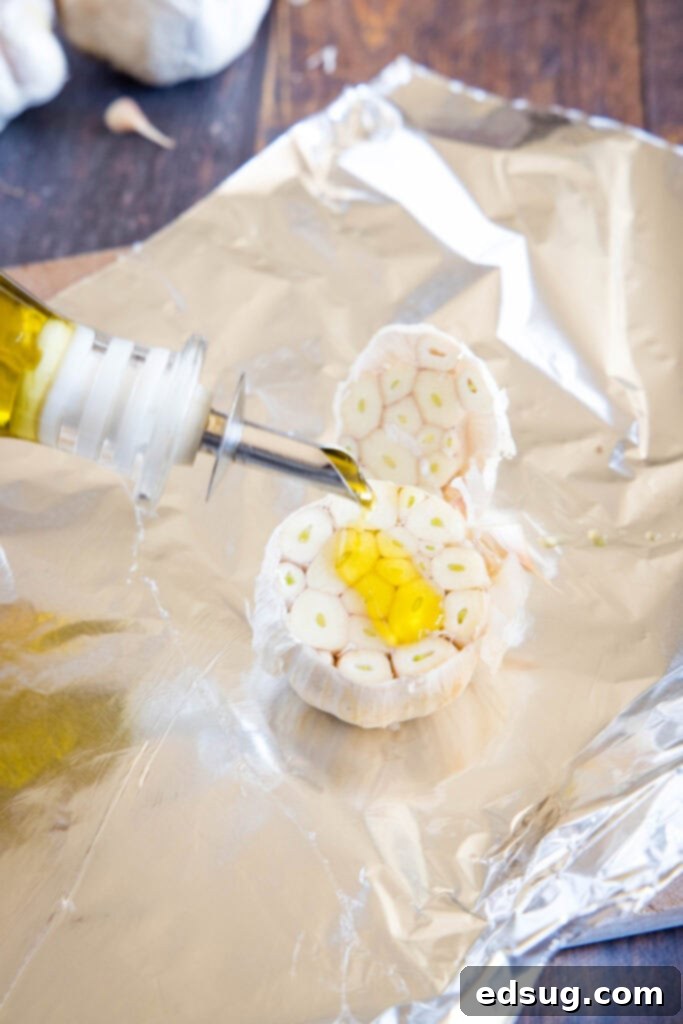
- Season and Drizzle: Place the cut garlic head on a piece of aluminum foil large enough to wrap it completely. Drizzle about 1-2 teaspoons of olive oil generously over the exposed cloves. Sprinkle with a dash of salt – about 1/4 teaspoon – ensuring it covers the cut surface.
- Wrap and Seal: Place the previously cut-off top portion of the garlic back onto the head, like a little lid. This helps to steam the cloves and keep them moist. Tightly wrap the entire garlic head in the aluminum foil, creating a sealed packet.
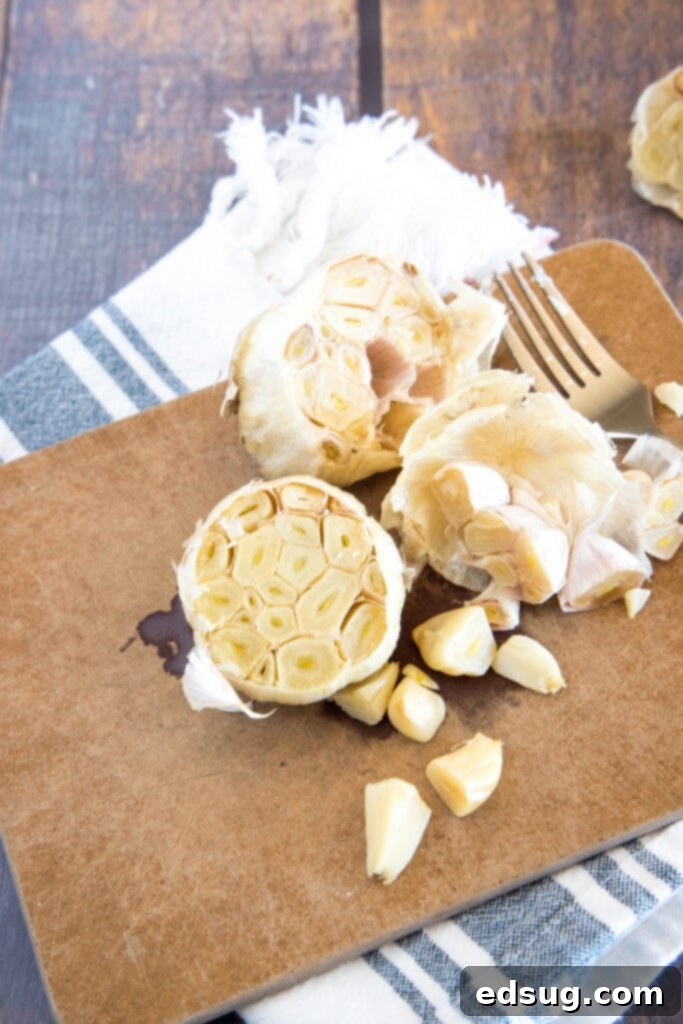
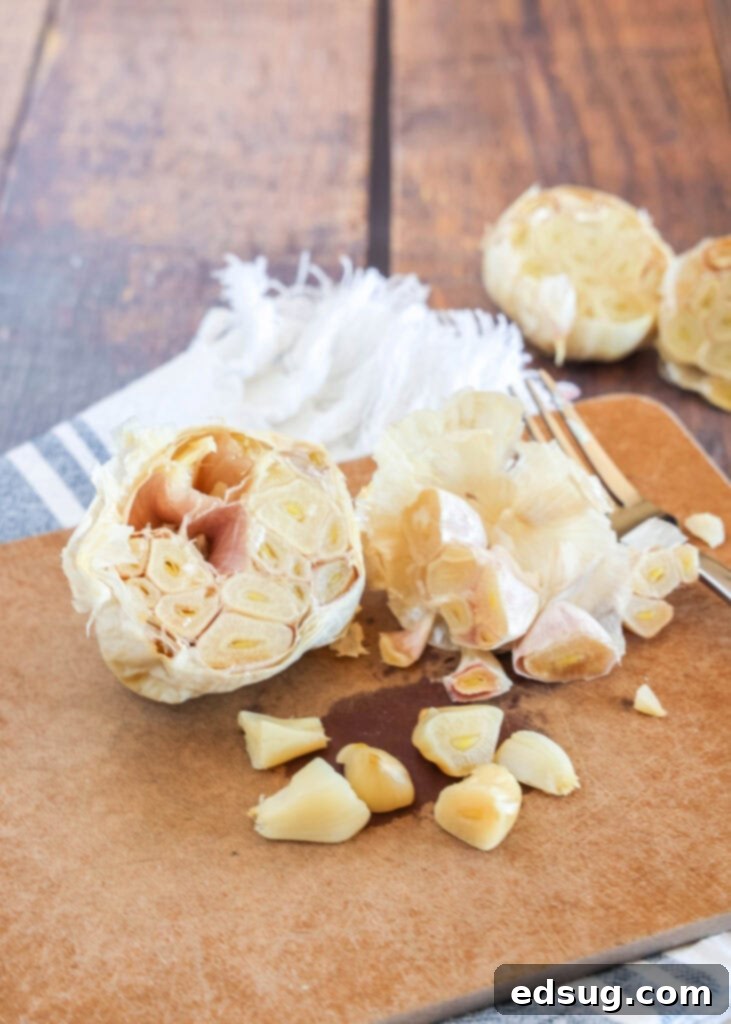
- Bake to Perfection: Place the foil-wrapped garlic on a baking sheet. Bake in a preheated oven at 350ºF (175ºC) for approximately 45 minutes. The garlic is done when the cloves are golden brown, deeply fragrant, and incredibly soft and buttery when squeezed.
As the garlic roasts, your house will be filled with the most delicious, inviting aroma. Fair warning: it’s a scent that’s sure to make you hungry!
Tips for Success & Troubleshooting
- Don’t Overcrowd: If roasting multiple heads, wrap each one individually to ensure even cooking.
- Check for Doneness: Gently squeeze a roasted head through the foil. It should feel very soft and yielding. If it still feels firm, return it to the oven for another 10-15 minutes.
- Prevent Burning: If your garlic seems to be browning too quickly on top, you can loosely cover it with another piece of foil to protect it while it finishes cooking.
- Easy Extraction: Once roasted and slightly cooled, the soft cloves can be easily squeezed out of their skins directly into your dish or a bowl.
Optimizing Roasting Time and Temperature
The sweet spot for roasting a head of garlic is around 45 minutes at 350ºF (175ºC). This temperature allows the garlic to slowly caramelize and soften without burning. If you’re preparing multiple heads, simply wrap each one separately, and the roasting time will remain consistent. Larger cloves or elephant garlic might require an extra 10-15 minutes to reach that perfect buttery consistency. Trust your nose and the feel of the garlic; when it’s soft and fragrant, it’s ready.
Unleashing the Versatility of Roasted Garlic in Your Kitchen
The possibilities for using roasted garlic are virtually endless. Its mild, sweet flavor means it can be incorporated into almost any recipe that calls for garlic, adding a sophisticated twist. Here are just a few ideas to get you started:
- Spreads & Dips:
- Mix it into homemade mayo for a delectable garlic aioli perfect for sandwiches, fries, or roasted vegetables.
- Stir it into hummus for an extra layer of creamy, garlicky goodness.
- Create a sensational Roasted Garlic & Chive Dip for crackers or crudités.
- Elevate your game day snacks with Roasted Garlic & Caramelized Onion Dip.
- Experience a fresh take on a classic with Roasted Garlic Guacamole.
- Simply spread it on crusty bread or toast as a delicious appetizer.
- Sauces & Dressings:
- Whisk it into a Roasted Garlic Vinaigrette for a gourmet salad dressing.
- Blend it into pasta sauces (like marinara or alfredo) for a richer, more complex flavor.
- Add it to a white sauce base for an unforgettable pizza, like this Roasted Garlic White Chicken Pizza.
- Main Dishes & Sides:
- Mash it into potatoes, sweet potatoes, or cauliflower for an elevated side dish.
- Stir it into soups or stews for added depth and aroma.
- Incorporate it into marinades for chicken, fish, or pork.
- Fold it into scrambled eggs or omelets for a savory breakfast.
- Add it to roasted vegetables, stir-fries, or grain bowls.
- Make a compound butter with roasted garlic and fresh herbs to melt over steaks or seafood.
Storing Your Roasted Garlic
I always recommend making extra! Store your roasted garlic in an airtight container in the refrigerator for about a week. For longer preservation, you can also freeze it. Simply mash the cloves and store them in small portions in an ice cube tray, then transfer the frozen cubes to a freezer-safe bag. Frozen roasted garlic can last for several months, making it incredibly convenient for future culinary adventures.
Trust me, even if you consider yourself ambivalent about garlic, give this method a try! The profound transformation from sharp and pungent to mild, sweet, and nutty will undoubtedly change your perception of garlic forever. It’s a simple technique that unlocks a world of flavor, making your home cooking feel more gourmet and satisfying.
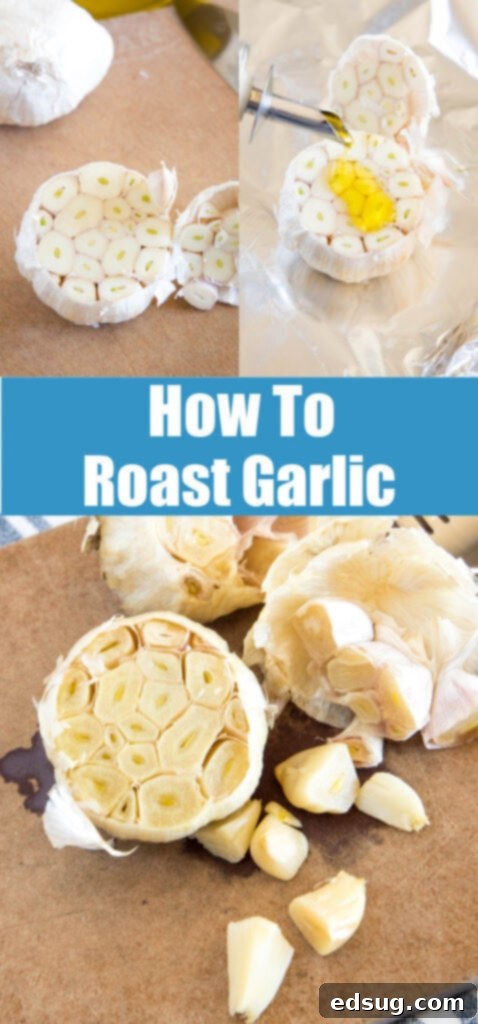

How To Roast Garlic
Ingredients
- 1 head of garlic
- 2 tsp olive oil
- 1/4 tsp kosher salt
Instructions
- Preheat oven to 350ºF (175ºC).
- Place the head of garlic on a cutting board, and cut about the top 1/3rd off the head of the garlic to expose the cloves.

- Place the prepared garlic head on a piece of aluminum foil. Drizzle the exposed cloves generously with olive oil and sprinkle with kosher salt.

- Place the cut-off top back onto the garlic head, then tightly wrap the entire head in the aluminum foil to form a sealed packet.

- Bake for about 45 minutes, or until the cloves are golden brown, fragrant, and feel very soft when squeezed. If using elephant garlic or very large cloves, it may take a little longer (up to 60 minutes).
Notes
Nutrition
Nutrition information is automatically calculated, so should only be used as an approximation.
Additional Info
I created a fun group on Facebook, and I would love for you to join us! It’s a place where you can share YOUR favorite recipes, ask questions, and see what’s new at Dinners, Dishes and Desserts (so that you never miss a new recipe)!
Be sure to follow me on Instagram and tag #dinnersdishes so I can see all the wonderful DINNERS, DISHES, AND DESSERTS recipes YOU make!
Be sure to follow me on my social media, so you never miss a post!
Facebook | Twitter | Pinterest | Instagram
.
