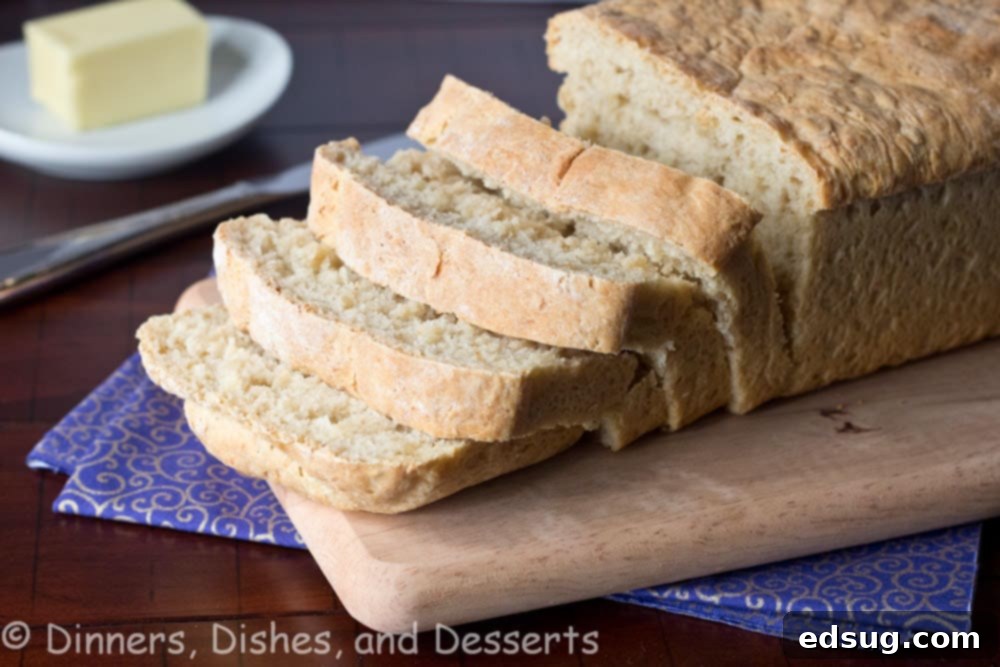
Homemade Classic Oatmeal Bread: Soft, Wholesome & Easy to Bake
There’s an undeniable magic in the aroma of freshly baked bread wafting through your home. It instantly transforms the atmosphere, creating a sense of warmth, comfort, and tranquility. Beyond the delightful smell, the process of baking bread itself can be incredibly therapeutic. Kneading dough offers a wonderful way to de-stress, working out tension with each press and fold. There’s profound satisfaction in combining simple ingredients, watching the dough transform under your hands, and then witnessing it gracefully rise, promising a delicious reward.
Many home cooks find the idea of baking bread from scratch intimidating, especially when yeast is involved. But I’m here to tell you it doesn’t have to be! With precise measurements, careful attention to directions, and a little patience, you can achieve perfect, bakery-quality bread right in your own kitchen. I once harbored a fear of yeast myself, but through a bit of trial and error, I discovered that understanding its behavior and respecting the process—like truly kneading for the recommended time—is the key. Homemade bread is surprisingly simple, requiring only a few basic ingredients and, most importantly, a bit of your time and love.
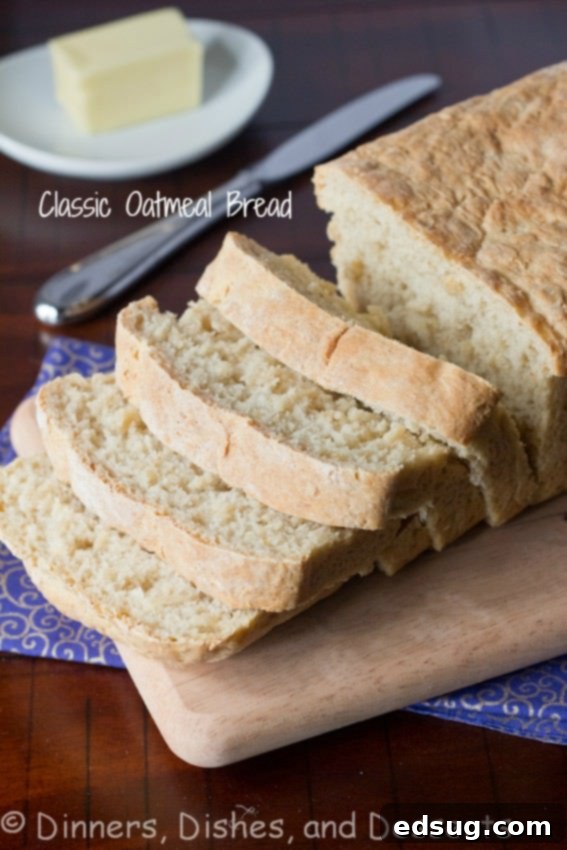
Essential Ingredients for Your Classic Oatmeal Bread
Crafting a delicious loaf of oatmeal bread requires a harmonious blend of fundamental baking ingredients. Each component plays a vital role in achieving that perfect soft texture and wholesome flavor. Here’s a detailed look at what you’ll need:
- Water: Essential for activating the yeast and hydrating the flour and oats. Temperature is crucial for yeast activity.
- Rolled Oats: The star of the show! Old-fashioned rolled oats provide the distinct texture, flavor, and nutritional boost to this bread.
- Active Dry Yeast: The leavening agent that makes your bread rise, giving it a light and airy crumb.
- All-Purpose Flour: The structural foundation of the bread. While you can experiment with bread flour for a chewier texture, all-purpose works beautifully for a tender loaf.
- Brown Sugar: Adds a subtle sweetness that complements the oats and helps activate the yeast.
- Salt: Enhances flavor and controls yeast activity. Don’t skip it!
- Unsalted Butter: Contributes to the richness, tenderness, and overall softness of the bread.
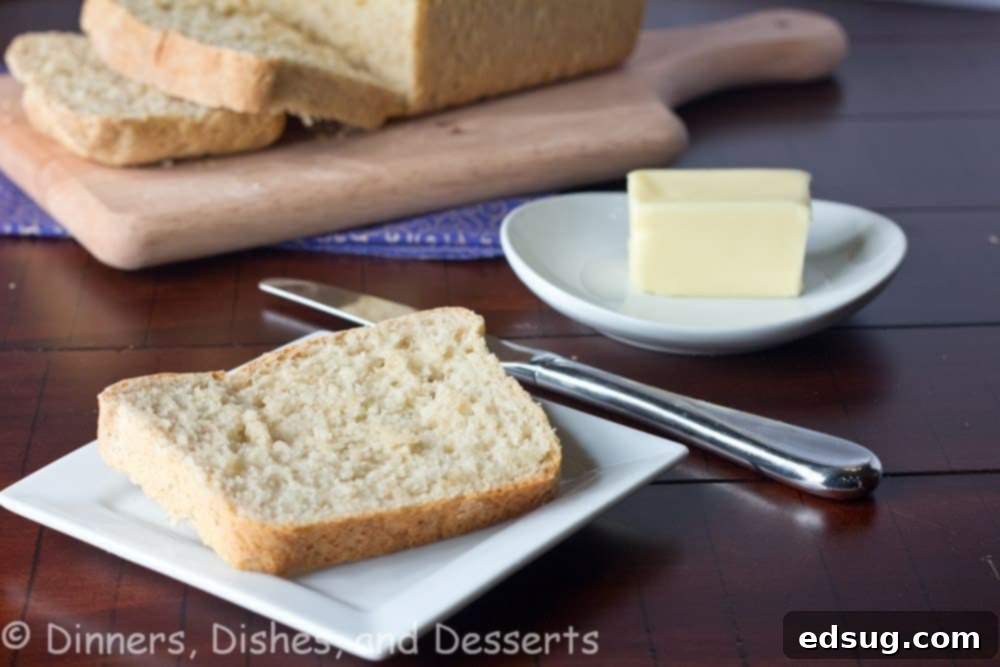
Understanding Oat Bread: A Wholesome Choice
Oat bread is, at its core, a delightful fusion of traditional bread-making with the hearty goodness of oats. Unlike simple white bread, it incorporates whole grain oats directly into the dough, imparting a unique, slightly chewy texture and a distinct, subtly nutty flavor. This integration makes oat bread not just a tasty option, but often a more wholesome one too.
Oats are renowned as a nutritional powerhouse. They are a whole grain, naturally high in various essential vitamins, minerals, and even a significant amount of protein. This makes oat bread a healthier alternative compared to many other bread varieties. Rich in dietary fiber, oats can contribute to digestive health and help maintain stable blood sugar levels. They also contain important minerals like manganese, phosphorus, magnesium, copper, iron, and zinc, alongside B vitamins. So, when you choose to bake or eat oat bread, you’re not just enjoying a comforting staple; you’re also adding a nutritious boost to your diet.
The presence of oats in the dough doesn’t just add nutrition; it also influences the bread’s characteristics. The cooked oats absorb liquid, contributing to a wonderfully moist and tender crumb. They also add a slight chewiness and a beautiful flecked appearance, making each slice more appealing and satisfying. This combination of flavor, texture, and nutritional value is precisely why classic oatmeal bread remains a beloved choice for many.
Choosing the Right Oats for Your Bread
When it comes to baking oatmeal bread, the type of oats you choose makes a significant difference in the final texture and outcome. For this classic recipe, you absolutely want to use old-fashioned rolled oats. These oats are precisely what’s needed to achieve the perfect consistency and structure in your loaf.
Old-fashioned rolled oats are oat groats that have been steamed and then flattened by large rollers. This process makes them cook faster and absorb liquids readily, yet they retain enough of their integrity to provide a lovely textural element to the bread without disappearing entirely. When soaked in boiling water, as this recipe instructs, they soften beautifully, releasing their starches and becoming creamy, which contributes to the bread’s moistness and tender crumb.
Why not other types of oats?
- Steel-cut oats (Irish or Scottish oats): These are minimally processed oat groats that have been cut into two or three pieces. They are much chewier and require a longer cooking time. If used in bread, they would likely remain too firm, resulting in a gritty or overly chewy texture that isn’t ideal for a soft loaf. They don’t absorb liquid in the same way, which could also throw off the dough’s hydration.
- Instant or quick-cooking oats: These are rolled oats that have been pre-cooked, dried, and then rolled thinner and cut into smaller pieces. While convenient for a quick breakfast, their fine texture breaks down too much in bread dough, potentially leading to a gummy texture and lacking the desirable textural flecks that old-fashioned oats provide. They also absorb liquid too quickly, which can make the dough difficult to handle.
Therefore, for the best results—a bread that is soft, tender, and perfectly textured—stick with old-fashioned rolled oats. They are the ideal choice for soaking up the liquid and melding seamlessly into the dough to create that characteristic wholesome oatmeal bread experience.
How to Make Oatmeal Bread: A Step-by-Step Overview
Baking this classic oatmeal bread is a rewarding experience. While the full detailed recipe is below, here’s a narrative walkthrough of the key steps involved to help you understand the process:
- Prepare the Oats: Begin by softening the old-fashioned rolled oats. Pour boiling water over them in a bowl and let them sit. This crucial step allows the oats to fully absorb the liquid and cool down to room temperature. Don’t rush this; properly hydrated oats are key to the bread’s texture.
- Activate the Yeast: In a separate bowl or liquid measuring cup, combine warm water (at the correct temperature!) with active dry yeast. This mixture needs about 5-10 minutes to bloom. You’ll know it’s ready when it becomes visibly foamy. If it doesn’t foam, your yeast might be old or the water temperature was off; it’s best to discard and start fresh to ensure your bread rises correctly.
- Combine Dry and Wet Ingredients: In a large mixing bowl (or a stand mixer bowl), whisk together your dry ingredients: all-purpose flour, brown sugar, and salt. Once the oats have cooled and the yeast is foamy, add both mixtures, along with the butter pieces, to the dry ingredients. Mix everything until it comes together and a cohesive dough ball begins to form.
- Knead the Dough: This is where the magic happens! Transfer the dough to a lightly floured surface or use your stand mixer with a dough hook. Knead the dough for 5-6 minutes until it becomes smooth, elastic, and less sticky. Proper kneading develops the gluten, which is essential for a good bread structure and texture. Add a little extra flour if the dough is too sticky, but avoid adding too much, as it can make the bread dense.
- First Rise (Bulk Fermentation): Place the kneaded dough into an oiled bowl, turning it once to coat. Cover the bowl loosely with plastic wrap or a clean kitchen towel and let it rise in a warm, draft-free place until it has doubled in size. This usually takes about an hour, but can vary based on room temperature. This first rise allows the yeast to work its magic, developing flavor and volume.
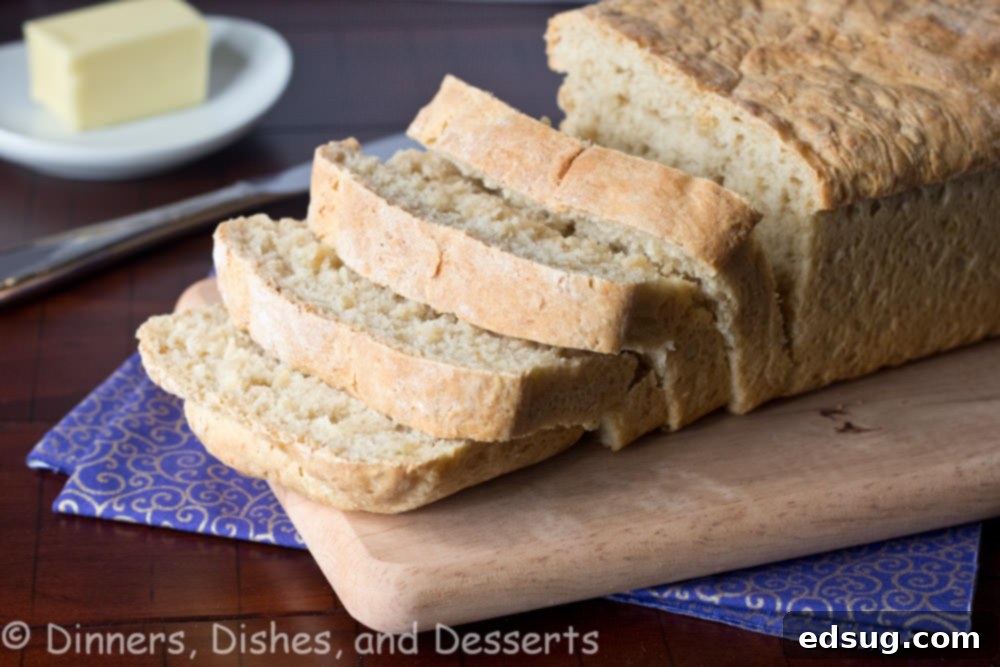
Expert Tips for Baking Fluffy, Flavorful Oatmeal Bread
Achieving a perfect loaf of homemade oatmeal bread is entirely within your reach, even if you’re new to bread baking. These expert tips will help ensure your bread comes out soft, tender, and incredibly delicious every time:
- Mastering Water Temperature for Yeast: This is arguably the most critical step. Yeast is a living organism, and it thrives within a specific temperature range.
- Too Hot (above 130°F/54°C): Water that’s too hot will kill the yeast, rendering it inactive. Your bread will not rise, resulting in a dense, brick-like loaf.
- Too Cold (below 105°F/40°C): Water that’s too cold won’t activate the yeast sufficiently, leading to a very slow or absent rise.
- The Sweet Spot: Aim for water between 105°F and 115°F (40°C-46°C). A kitchen thermometer is your best friend here. Don’t guess!
- Check Your Yeast’s Freshness: Yeast does expire, and old yeast is a common culprit for failed rises. Always check the expiration date on your yeast package. If you’re unsure, you can “proof” a small amount in warm water with a pinch of sugar; if it doesn’t foam within 5-10 minutes, it’s likely dead and should be replaced.
- Kneading for Optimal Gluten Development: Kneading builds the gluten structure in the dough, which traps the gases produced by the yeast, allowing the bread to rise and giving it its characteristic chewy-yet-tender texture.
- By Hand: This is a great workout! Knead on a lightly floured surface until the dough is smooth, elastic, and passes the “windowpane test” (you can stretch a small piece thin enough to see light through it without tearing). This usually takes 8-10 minutes.
- With a Stand Mixer: Use the dough hook attachment and knead on medium-low speed. This typically takes 5-7 minutes. Keep an eye on the dough; it should clear the sides of the bowl but still stick slightly to the bottom. If it’s too sticky, add a tablespoon of flour at a time. If it’s too stiff, add a teaspoon of water.
- Creating the Perfect Environment for Rising: Yeast needs warmth and consistency to rise effectively.
- Warm, Draft-Free Spot: A slightly warm kitchen counter away from open windows is often sufficient.
- Oven with Bread Proof Setting: If your oven has this feature, it’s ideal.
- DIY Proofing Box: You can preheat your oven to its lowest setting (around 170°F/75°C) for 5-10 minutes, then turn it OFF. Place the covered bowl of dough in the center of the warm oven. The residual heat provides a perfect rising environment. Be sure the oven is off to avoid baking the dough!
- Shaping the Loaf Properly: A well-shaped loaf ensures even baking and a beautiful presentation.
- After the first rise, gently deflate the dough.
- Shape it into a rectangle that is slightly longer than your bread pan.
- Fold one long side of the rectangle towards the center, then fold the other long side over, creating a cylinder. Pinch the seam firmly to seal.
- Place the dough, seam-side down, into your prepared bread pan. This method helps create tension on the top surface of the dough, contributing to a good oven spring and a lovely crust.
- Second Rise and Baking: The second rise (proofing) in the pan is crucial for the final texture. Let it double in size again. During baking, decreasing the oven temperature after the initial high heat helps achieve a golden crust and ensures the inside bakes through without over-browning the outside. Tap the bottom of the baked loaf; if it sounds hollow, it’s done! The internal temperature should be around 200-210°F (93-99°C).
- Cooling is Essential: Always cool your bread on a wire rack immediately after baking. This prevents the bottom crust from becoming soggy due to trapped steam and allows the internal structure to set properly.

Serving and Storage Suggestions
This classic oatmeal bread is incredibly versatile and delicious in many forms. Enjoy it fresh out of the oven, slathered with butter, jam, or honey for a simple yet satisfying treat. It makes exceptional sandwiches, holding up well to various fillings, and toasts beautifully, offering a slightly crisp exterior and a tender interior perfect for your morning routine. Consider it as a side for soups and stews, or even as the base for savory toasts with avocado or eggs.
To keep your homemade oatmeal bread fresh, store it at room temperature in an airtight container or a bread box for up to 3-4 days. You can also wrap it tightly in plastic wrap or foil, then place it in a resealable bag. For longer storage, slices can be frozen for up to 2-3 months. Thaw frozen slices at room temperature or pop them directly into a toaster for quick enjoyment.
More Delicious Bread Recipes to Try
If you’ve enjoyed baking this classic oatmeal bread, you’ll love exploring other bread recipes. The world of homemade bread is vast and rewarding! Here are a few more favorites to expand your baking repertoire:
- Honey Butter Dinner Rolls
- Pokey Sticks
- Parmesan Garlic Knots
- Homemade Crescent Rolls
- Easy Biscuit Recipe
- Cheddar Beer Bread
- Rosemary Focaccia
- Best Cornbread Recipe
★★★★★ (4.50 from 2 votes)
Classic Oatmeal Bread Recipe
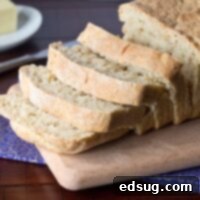
Classic Oatmeal Bread – Soft and tender bread that is amazing fresh out of the oven! The oats give it a great texture and makes great sandwiches and toast, or just have a slice slathered with butter.
Pin Recipe
Rate Recipe
Print Recipe
Ingredients
- 1 cup old-fashioned rolled oats
- 1 cup boiling water
- 1/2 cup warm water (110 degrees F / 43 degrees C)
- 2 1/4 tsp active dry yeast (1 package)
- 2 1/2 cups all-purpose flour
- 2 Tbls brown sugar
- 1 tsp salt
- 2 Tbls butter, cut into 12 pieces
Instructions
- Grease a 9×5 inch loaf pan. Set aside.
- In a small bowl, pour boiling water over the oats. Set aside until it comes to room temperature.
- In a liquid measuring cup, mix together the warm water and yeast. Let sit for a few minutes until foamy.
- In a large bowl, combine flour, brown sugar, and salt. Once the oats have cooled, add them, the foamy yeast mixture, and butter pieces to the flour mixture. Mix until everything is well combined and a dough starts to form.
- Turn the dough onto a lightly floured surface and knead for 5-6 minutes, until smooth and elastic. Add additional flour if the dough gets too sticky, a tablespoon at a time.
- Place the dough in a greased bowl. Cover and let rise in a warm, draft-free place until doubled in size, approximately 1 hour.
- Turn the dough onto a lightly floured work surface, gently deflate it with the palm of your hand. Gently shape the dough into a rectangle that is slightly longer than your bread pan. Fold one long side of the dough up towards the center, then fold the other long side over, so the dough is now slightly shorter than the bread pan. Roll into a tight cylinder and place seam-side down into the prepared bread pan. Cover again and let rise until doubled in size, about another hour.
- Preheat oven to 375 degrees F (190 degrees C). After the dough has risen for the second time, remove the cover, and place the pan in the preheated oven. Immediately decrease the temperature to 350 degrees F (175 degrees C), and bake for 30-40 minutes. The bread will sound hollow when tapped on the bottom, and its internal temperature will be 200-210 degrees F (93-99 degrees C) when done.
- Remove from the pan immediately and cool completely on a wire rack before slicing.
Nutrition Information (Approximate)
Serving: 1 slice | Calories: 170kcal | Carbohydrates: 30g | Protein: 5g | Fat: 3g | Saturated Fat: 2g | Polyunsaturated Fat: 1g | Cholesterol: 6mg | Sodium: 254mg | Fiber: 2g | Sugar: 1g
Nutrition information is automatically calculated and should only be used as an approximation.
Additional Info
Author: Erin Sellin
Prep Time: 10 minutes
Cook Time: 40 minutes
Additional Time: 2 hours 30 minutes
Total Time: 3 hours 20 minutes
Course: Bread Recipes
Cuisine: American
Servings: 10
Calories: 170
Like this recipe? Leave a comment below! Your feedback helps us share more delicious recipes.
I created a fun group on Facebook, and I would love for you to join us! It’s a place where you can share YOUR favorite recipes, ask questions, and see what’s new at Dinners, Dishes and Desserts (so that you never miss a new recipe)! If you’d like to check it out, you can request to join HERE.
Be sure to follow me on Instagram and tag #dinnersdishes so I can see all the wonderful DINNERS, DISHES, AND DESSERTS recipes YOU make!
Connect with Dinners, Dishes, and Desserts!
Be sure to follow me on my social media, so you never miss a post!
Facebook | Twitter | Pinterest | Instagram
