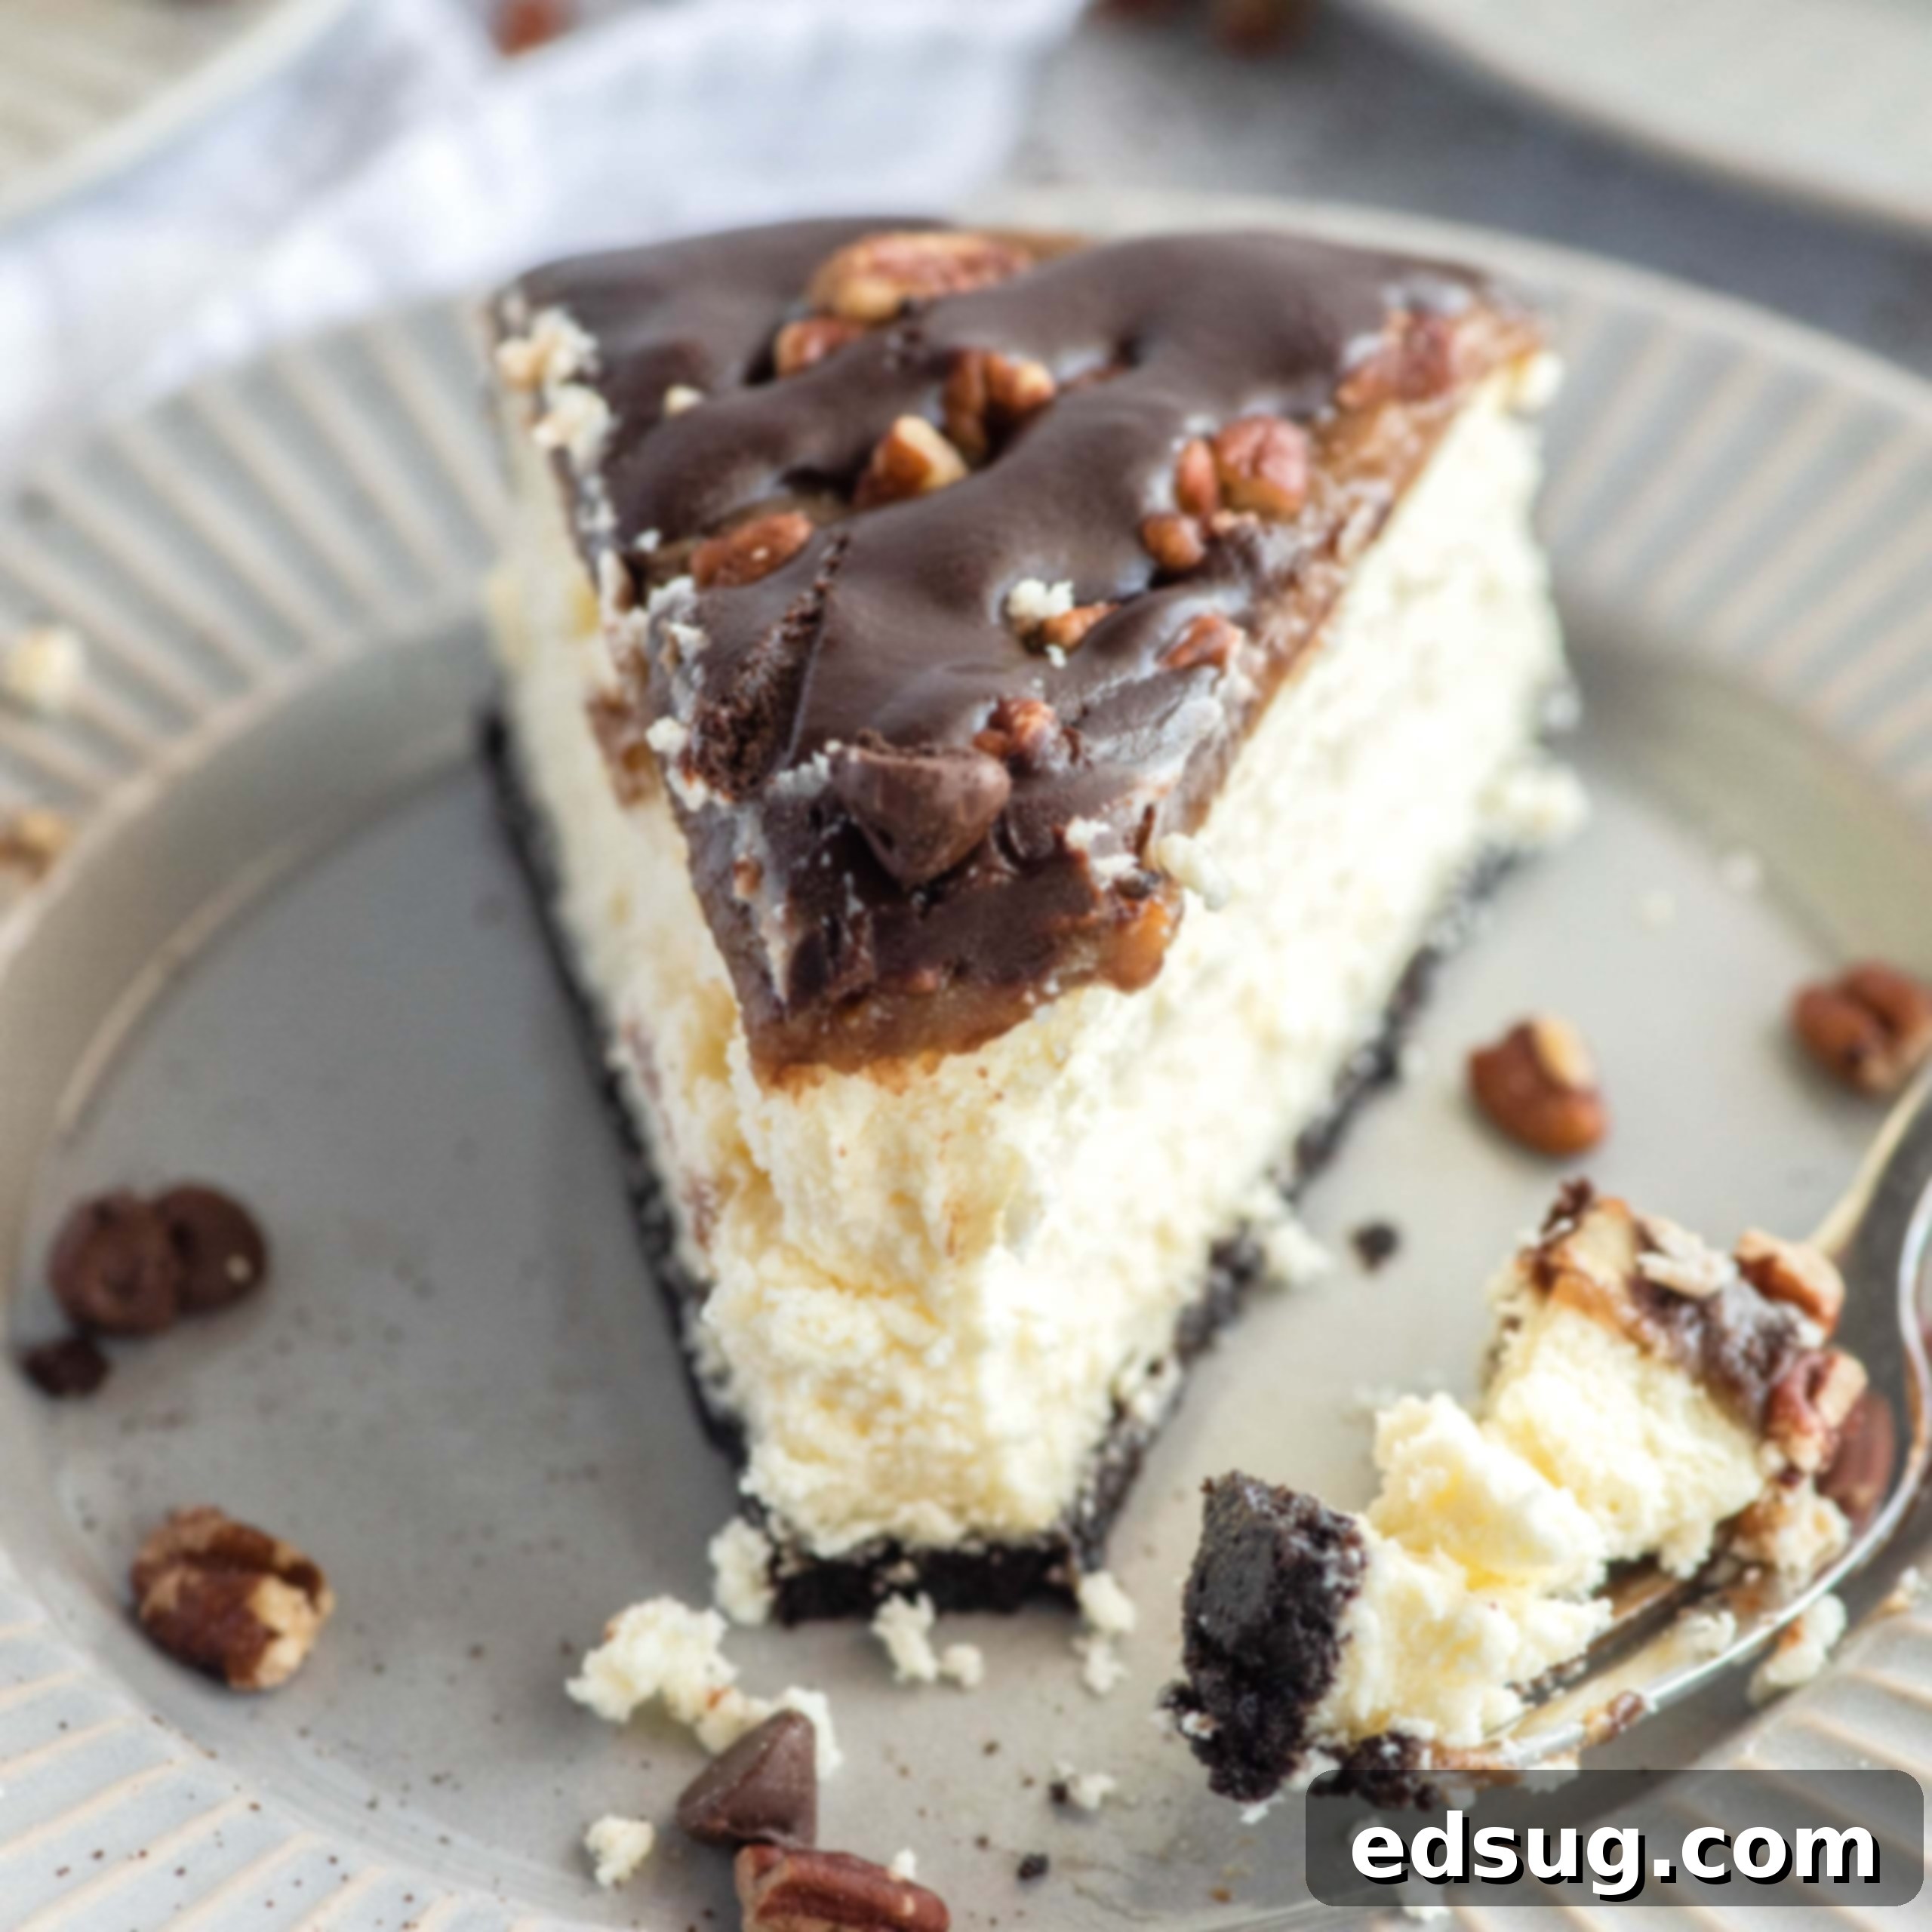
Decadent Turtle Cheesecake Recipe: Rich Caramel, Chocolate & Pecan Perfection
Cheesecake holds a special place in the hearts of dessert lovers, revered for its luxurious texture and incredibly rich flavor. It’s more than just a cake; it’s an indulgent experience, a creamy dream come true for any sweet tooth. From classic New York style to inventive fruit-topped variations, cheesecake consistently ranks as a top choice. And among these delightful creations, the Turtle Cheesecake stands out as a truly exceptional and beloved classic, marrying the smooth, tangy richness of cheesecake with the irresistible flavors of traditional turtle candies: gooey caramel, decadent chocolate, and crunchy pecans. This dessert is designed to impress, making it perfect for special occasions, holiday gatherings, or simply when you crave an extraordinary treat.
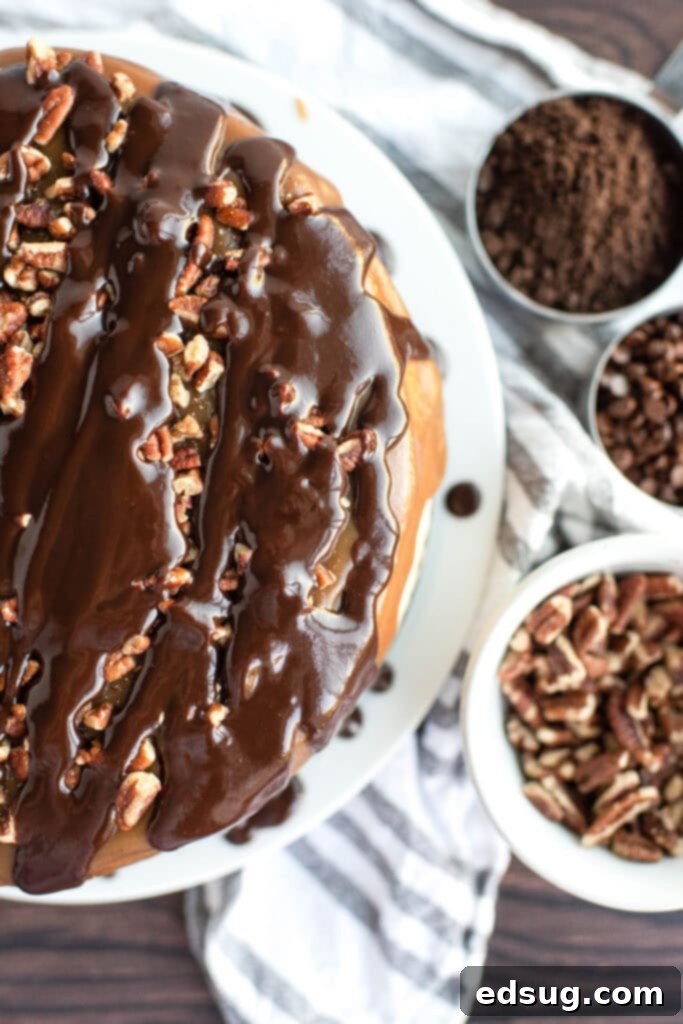
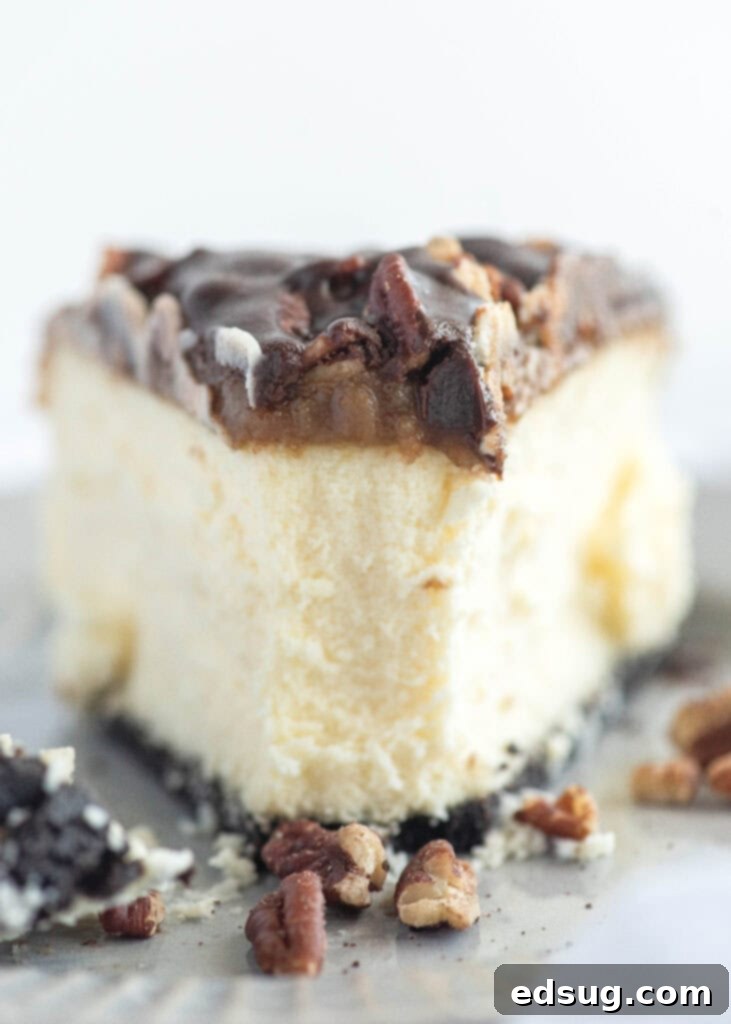
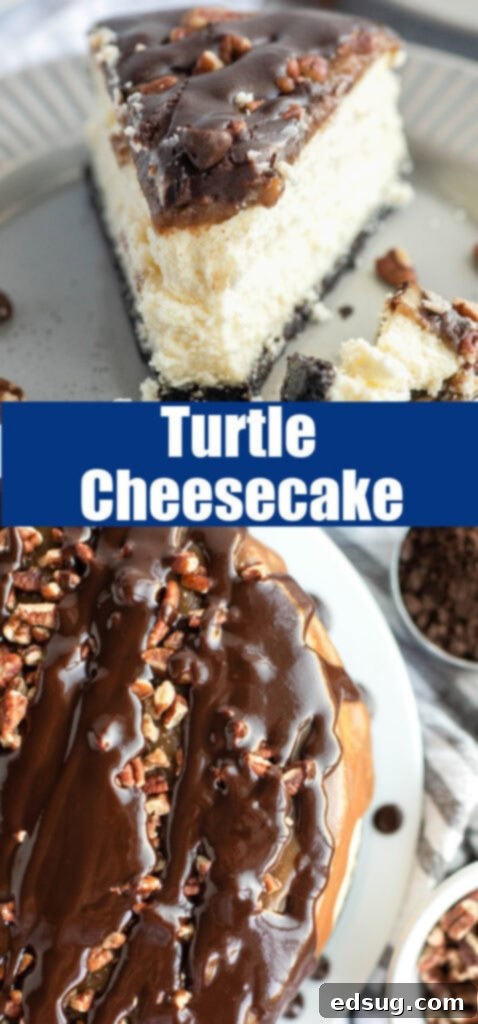
If you’re a fan of the iconic Cookie Dough Cheesecake, you’ll know the magic that happens when a beloved dessert gets a cheesecake makeover. This Turtle Cheesecake takes that concept to a new level, transforming the beloved Turtle Candies – those delectable clusters of pecans, buttery caramel, and smooth chocolate – into a show-stopping dessert. While turtle candies are often associated with the holiday season, this cheesecake proves that their harmonious flavors deserve to be enjoyed all year round. Imagine a thick, buttery Oreo cookie crust, a velvety smooth cream cheese filling, all crowned with layers of rich, homemade caramel, a generous sprinkle of toasted pecans, and a silky chocolate ganache. Pure dessert heaven awaits!
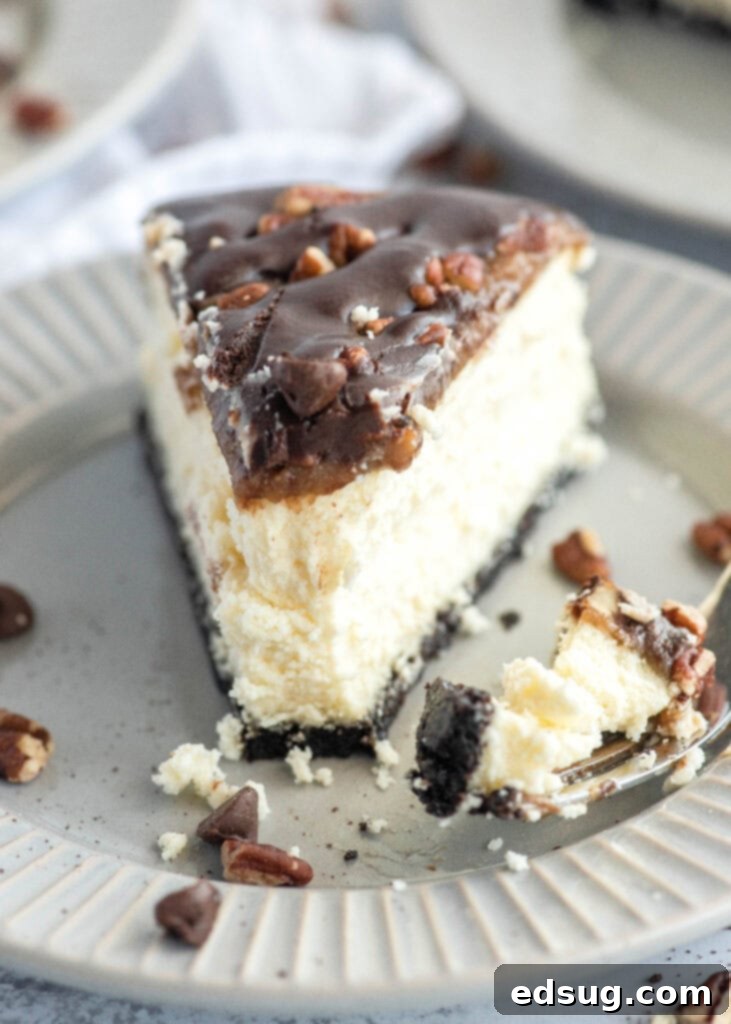
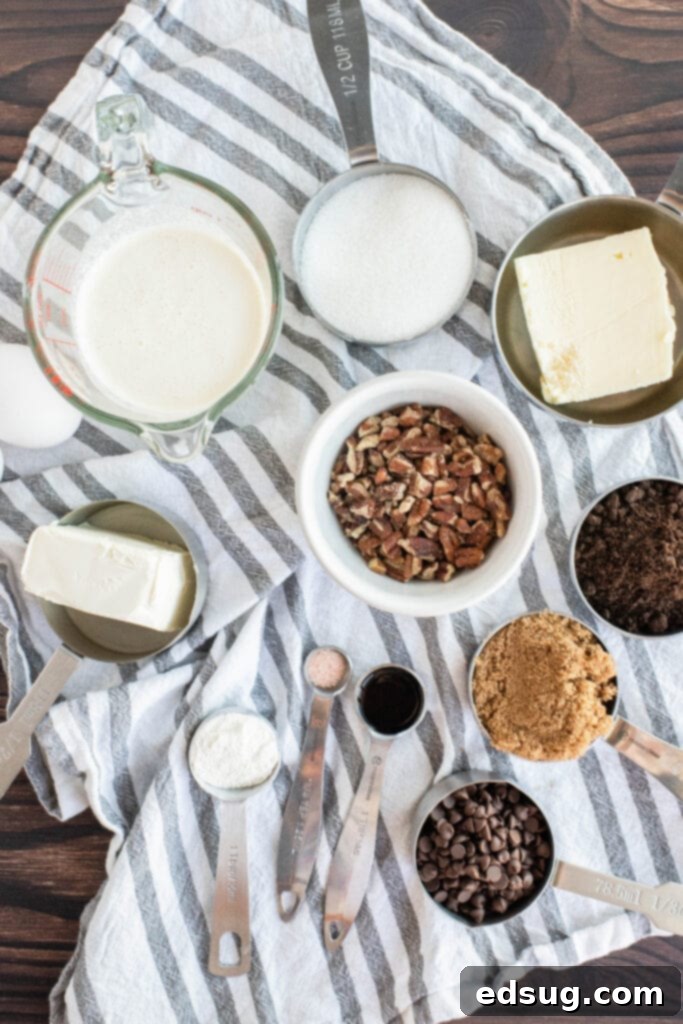
Key Ingredients for Your Turtle Cheesecake
Creating this magnificent Turtle Cheesecake involves a few distinct layers, each contributing to its incredible depth of flavor and texture. While it might appear complex, rest assured that this recipe is more approachable than it seems. You can easily prepare different components in stages, or even opt for convenient shortcuts without compromising on taste. Here’s a breakdown of the essential ingredients:
- For the Oreo Cookie Crust:
- Oreo Cookie Crumbs: The base of our cheesecake, offering a delightful chocolatey crunch.
- Butter: Melted butter binds the crumbs together, creating a firm and flavorful crust.
- For the Creamy Cheesecake Filling:
- Cream Cheese: Full-fat cream cheese, softened to room temperature, is crucial for a smooth, lump-free filling.
- Sugar: Granulated sugar provides the perfect sweetness.
- Eggs: Essential for structure and richness, they should also be at room temperature.
- Flour: A small amount of all-purpose flour helps prevent cracks and gives the cheesecake a tender crumb.
- Heavy Cream: Adds to the luxurious creaminess of the filling.
- Salt: A pinch of salt balances the sweetness and enhances other flavors.
- For the Homemade Caramel Sauce:
- Brown Sugar: Creates a deep, rich caramel flavor.
- Butter: Adds richness and a smooth texture.
- Salt: Crucial for balancing the sweetness and enhancing the caramel notes.
- Heavy Cream: Contributes to the sauce’s silky consistency.
- Vanilla Extract: A touch of vanilla rounds out the flavor profile.
- For the Decadent Toppings:
- Chocolate Chips: Semi-sweet or milk chocolate chips for a rich ganache.
- Pecans: Chopped pecans for that signature “turtle” crunch and nutty flavor.
Step-by-Step Guide to Making Turtle Cheesecake
Let’s walk through the process of creating this show-stopping dessert. With a little care and attention to detail, you’ll achieve a perfect cheesecake every time.
Crafting the Perfect Oreo Crust
- The journey begins with the crust. Combine the finely crushed Oreo cookie crumbs with melted butter. Ensure the butter is fully incorporated into the crumbs, creating a mixture resembling wet sand.
- Press this mixture firmly and evenly into the bottom of a 9-inch springform pan. For best results, use the flat bottom of a glass or a measuring cup to achieve a compact crust.
- Bake the crust for approximately 10 minutes at 350ºF (175ºC). This pre-baking step helps set the crust and prevents it from becoming soggy once the filling is added. Let it cool slightly while you prepare the filling.
Preparing the Velvety Cheesecake Filling
- In a stand mixer fitted with the paddle attachment, or using a large bowl and a hand mixer, cream together the softened cream cheese and granulated sugar until the mixture is completely smooth and free of lumps. This is crucial for a silky cheesecake texture.
- Gradually add the flour and salt, beating on low speed until just combined. Overmixing at this stage can incorporate too much air, which can lead to cracks in your cheesecake.
- Incorporate the eggs, one at a time. Beat until each egg is fully combined before adding the next. Remember to scrape down the sides of the bowl frequently to ensure all ingredients are thoroughly mixed.
- Finally, gently mix in the heavy cream until it’s just blended. Again, avoid overmixing to maintain that desirable smooth consistency.
Baking the Cheesecake in a Water Bath
- Pour the prepared cheesecake mixture over your partially baked Oreo crust in the springform pan.
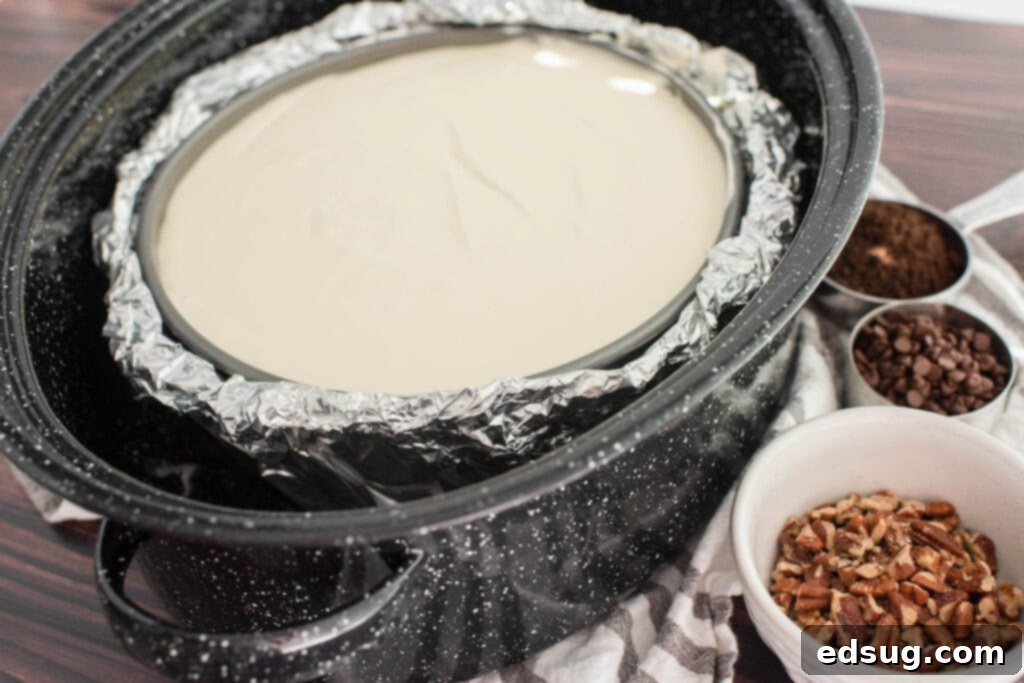
- Place the springform pan into a larger roasting pan. This is where the magic of the water bath comes in.
- Carefully fill the roasting pan with hot water, ensuring the water comes up about 1 inch along the sides of the springform pan. Make sure your springform pan is securely wrapped in aluminum foil to prevent water from seeping in.
- Gently transfer the roasting pan with the cheesecake into your preheated oven. Bake for 60-70 minutes. Resist the urge to open the oven door during the first 60 minutes. After an hour, check for doneness; the center should still have a slight jiggle, while the edges are set.
- Once baked, turn off the oven but leave the cheesecake inside with the door closed for another 60 minutes. This slow cooling process is vital for preventing cracks on the surface of your cheesecake.
- Remove the cheesecake from the oven and the water bath. Let it cool completely at room temperature on a wire rack before transferring it to the refrigerator to chill for at least 4-6 hours, or preferably overnight. Chilling is essential for the cheesecake to fully set and achieve its perfect texture.
Indulgent Homemade Caramel Sauce (or a Smart Shortcut)
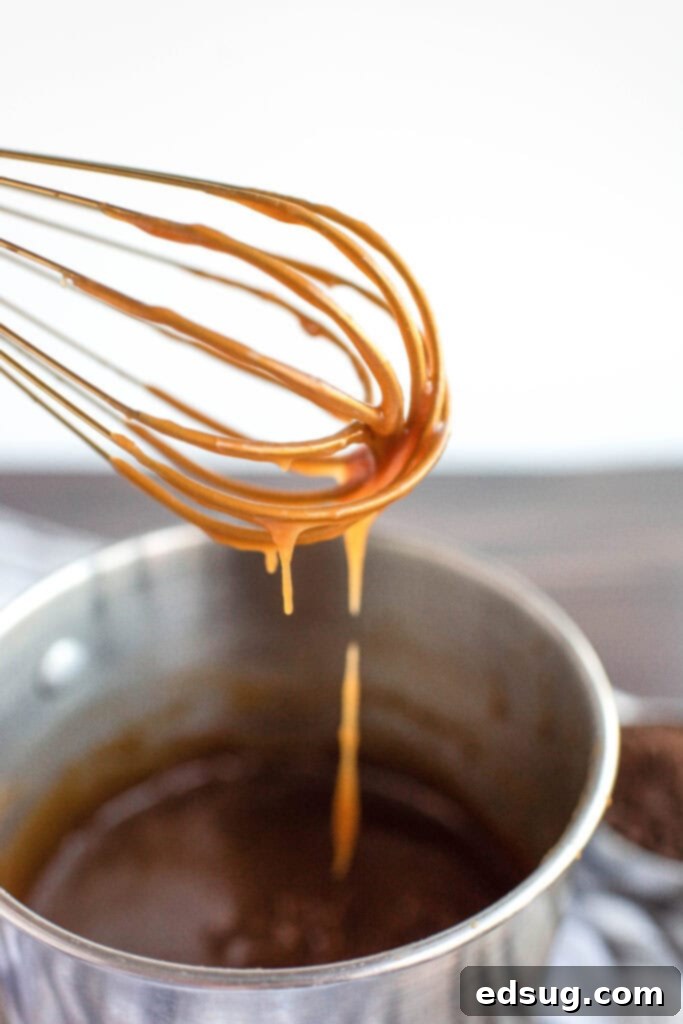
While store-bought caramel sauce is a convenient option, making your own homemade caramel truly elevates this turtle cheesecake. The depth of flavor and silken texture of homemade caramel are simply unparalleled. If you have the time, we highly recommend trying this simple recipe.
- In a saucepan, combine brown sugar, butter, salt, heavy cream, and vanilla extract. Bring the mixture to a gentle simmer over medium heat, stirring occasionally to dissolve the sugar.
- Once simmering, reduce the heat to low and continue to simmer for 7-10 minutes, stirring constantly. The sauce will thicken considerably as it cooks. Remember, it will continue to thicken further as it cools, so don’t overcook it to the point of being too stiff.
- Remove from heat and set aside to cool completely before pouring over the chilled cheesecake.
Shortcut Tip: If time is of the essence, a high-quality jarred caramel sauce will work beautifully. Simply warm it slightly before drizzling for a smoother application.
Assembling Your Masterpiece: The Turtle Cheesecake
Once your cheesecake is thoroughly chilled and your caramel sauce has cooled, it’s time to bring all the delicious elements together.
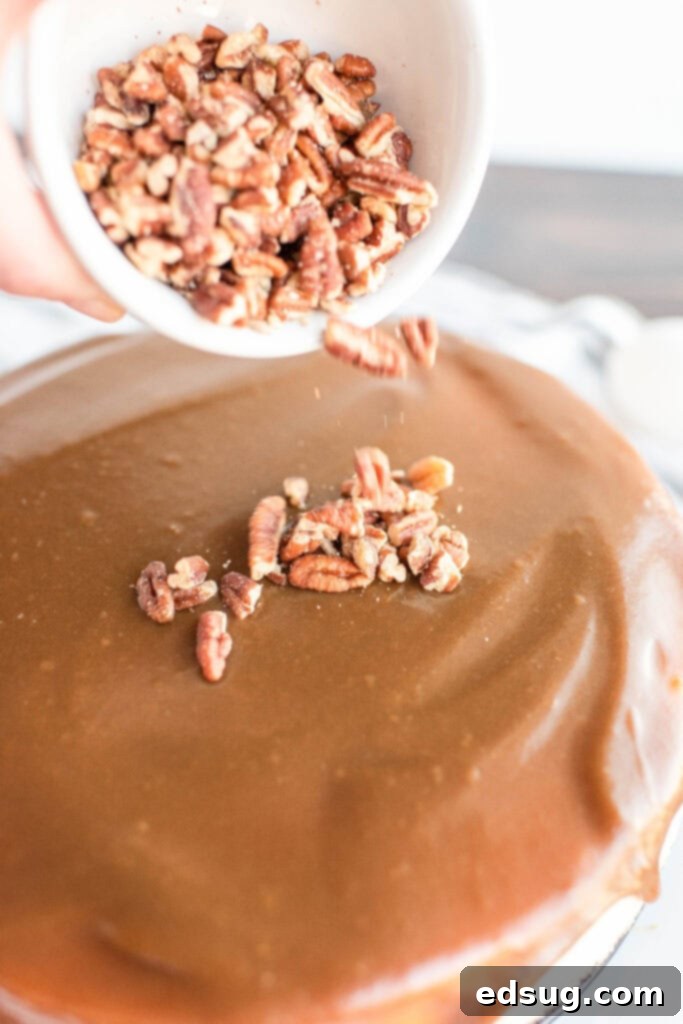
- Carefully pour the completely cooled caramel sauce over the top of the chilled cheesecake, spreading it evenly.
- Generously sprinkle a good portion of the chopped pecans over the caramel layer.
- Place the cheesecake back into the fridge to allow the caramel and pecans to set slightly.
- Meanwhile, prepare the chocolate ganache. Heat heavy cream in a microwave-safe bowl for about 60 seconds, or until hot but not boiling.
- Pour the hot cream over your chocolate chips and let it sit undisturbed for 1 minute. This allows the residual heat to melt the chocolate.
- After 1 minute, stir the mixture gently until the chocolate chips are completely melted and the ganache is smooth and glossy.
- Pour the warm ganache evenly over the caramel and pecan layer. You can spread it gently with an offset spatula if needed.
- Allow the chocolate ganache to set completely, either at room temperature or by chilling the cheesecake for another 30-60 minutes. Once set, your Turtle Cheesecake is ready to be sliced and served!
The Secret to a Perfect Cheesecake: Baking in a Water Bath
Don’t let the term “water bath” intimidate you; it’s a simple technique that makes an enormous difference in the final outcome of your cheesecake. This gentle baking method ensures your cheesecake bakes evenly, prevents cracks, and results in that signature silky-smooth texture.
The first crucial step for any water bath is to properly prepare your springform pan. Wrap the outside of your springform pan with 2-3 layers of heavy-duty aluminum foil. This creates a watertight barrier, preventing any water from seeping into your cheesecake during the baking process. Trust us, it’s worth the extra few minutes of preparation!
Why is a water bath so important for cheesecake? A water bath (also known as a bain-marie) works its magic in several ways:
- Even Baking: The water bath acts as an insulator, distributing heat gently and evenly around the cheesecake. This prevents the edges from baking too quickly and drying out while the center remains undercooked.
- Prevents Cracking: Rapid changes in temperature are a primary cause of cheesecake cracks. The steam from the water bath creates a moist environment in the oven, keeping the cheesecake surface from drying out and expanding too rapidly, which can lead to unsightly fissures as it cools.
- Creamier Texture: The moist, indirect heat of a water bath yields a custard-like, incredibly smooth, and creamy texture that is characteristic of a truly exceptional cheesecake.
- No Sinking Middle: By allowing the cheesecake to cook gradually and consistently, a water bath helps maintain its structure and prevents the center from sinking.
- Perfect Golden Top: It helps ensure the top of your cheesecake doesn’t over-brown, maintaining a beautiful, pale golden hue.
Investing a little extra effort in using a water bath will pay off with a cheesecake that is consistently perfect, impress everyone who tries it, and become a testament to your baking prowess.
Storage and Freezing Tips for Turtle Cheesecake
Proper storage is key to enjoying your delicious Turtle Cheesecake for as long as possible. Cheesecake, with its dairy-rich ingredients, must be refrigerated.
Refrigeration: Cover your cheesecake tightly with plastic wrap or aluminum foil. It will stay fresh in the refrigerator for 4-5 days. You might notice some condensation on top of the chocolate ganache when you remove it from the fridge; this is completely normal and nothing to worry about. Simply blot each slice with a paper towel if desired before serving.
Freezing: Cheesecake freezes exceptionally well, making it a fantastic make-ahead dessert! For best results, we recommend slicing the cheesecake into individual portions before freezing. This allows for convenient thawing of only the amount you need. Wrap each slice tightly in plastic wrap, then again in aluminum foil to prevent freezer burn. Store the wrapped slices in an airtight container or a freezer-safe bag. Frozen cheesecake can be stored for up to 1-2 months. To thaw, simply take out the desired number of slices and let them sit at room temperature for a couple of hours until softened. You’ll be amazed at how fresh it tastes!
Many home bakers can be hesitant to tackle making a cheesecake from scratch, but it’s a truly rewarding experience, especially when you can break it down into manageable steps. This Turtle Cheesecake recipe is perfect for that; you don’t have to do it all at once. You can bake and chill the cheesecake a day or two in advance, then prepare and add the caramel, pecans, and chocolate ganache on the day you plan to serve it. This flexibility makes it a stress-free option for entertaining.
More Decadent Dessert Recipes to Try
If you loved this Turtle Cheesecake, you’ll surely enjoy exploring more of our delightful dessert creations. Expand your baking repertoire with these irresistible recipes from our Dessert Recipes collection:
- No Bake Peanut Butter Cheesecake
- Raspberry Lemon Cupcakes
- Chocolate Mousse
- French Silk Pie
- Lemon Brownies
- Cream Puffs
- Peanut Butter Cream Pie
- Mini Pavlova
Turtle Cheesecake
Pin Recipe
Rate Recipe
Print Recipe
Ingredients
Crust
- 2 cups Oreo cookie crumbs
- 4 Tbsp butter, melted
Cheesecake
- 4 8 oz packages cream cheese, softened
- 1 cup white granulated sugar
- 5 whole large eggs
- 3 Tablespoons all-purpose flour
- 1/4 cup heavy cream
- 1/4 teaspoon salt
Caramel
- 1 cup brown sugar
- 4 Tablespoons unsalted butter
- 1 teaspoon salt
- 1/2 cup heavy cream
- 2 teaspoon vanilla extract
Ganache
- 1/2 cup heavy cream
- 1 1/2 cups chocolate chips, semi-sweet or milk chocolate
Topping
- 1/2 cup chopped pecans
Instructions
-
Preheat oven to 350º F. Prepare a 9-inch spring form pan by wrapping the outside with 2-3 layers of aluminum foil so water can not get inside. Set aside.
-
In a bowl combine the Oreo cookie crumbs and melted butter for the crust. Press into the bottom of the prepared spring form pan and bake for 10 minutes. Remove from the oven and let cool slightly.
-
In a stand mixer cream together the cream cheese and sugar until it is smooth and creamy. Add in the flour and salt and beat until those are combined.
-
Add in the eggs, one at a time, making sure it is fully incorporated before adding the next. Scrape down the sides of the bowl as necessary to get everything combined. Then add in the heavy cream until it is blended.
-
Pour the cheesecake mixture over the partially baked crust and place into the bottom of a roasting pan.
-
Fill the roasting pan with hot water, about 1 inch up the sides of the springform pan.
-
Carefully place in the oven and bake for 60-70 minutes. Don’t open the door of the oven during the first 60 minutes of cooking. After the hour, open the door and check for doneness. It will be slightly jiggly in the center but the sides should be set.
-
Once the cheesecake is done, close the oven door, turn off the oven and let it sit in there for another 60 minutes. This finishes the final bit of cooking and helps for the cheesecake not to crack on top.
-
Remove the cheesecake from the oven and let it cool completely at room temperature before putting it in the fridge to chill.
To Make The Caramel Sauce
-
Add the brown sugar, butter, salt, heavy cream and vanilla to a saucepan and bring it to a simmer.
-
Once it is simmering, turn it to low and continue to simmer for 7-10 minutes, stirring constantly, until it has thickened and is no longer watery. Keep in mind it will continue to thicken as it cools.
-
Set aside and let it cool before using.
Assemble Turtle Cheesecake
-
Once the caramel sauce has cooled completely pour it over the top of the cheesecake.
-
Sprinkle with a few of the chopped pecans and then place it in the fridge to set it set up.
-
Meanwhile heat heavy cream for the ganache in the microwave for 60 seconds. Pour in the chocolate chips and let it sit for 1 minute. Then stir until they are completely melted and it is smooth.
-
Pour the ganache over the caramel layer.
-
Let the chocolate set and then slice to serve!
Nutrition
Nutrition information is automatically calculated, so should only be used as an approximation.
Additional Info
Like this recipe? Leave a comment below!
I created a fun group on Facebook,and I would love for you to join us! It’s a place where you can
share YOUR favorite recipes, ask questions, and see what’s new at Dinners, Dishes and Desserts (so that you never miss a new recipe)!
Be sure to follow me on Instagram and
tag #dinnersdishes so I can see all the wonderful DINNERS, DISHES, AND DESSERTS
recipes YOU make!
Be sure to follow me on my social media, so you
never miss a post!
Facebook | Twitter | Pinterest | Instagram
Enjoy your homemade Turtle Cheesecake!
