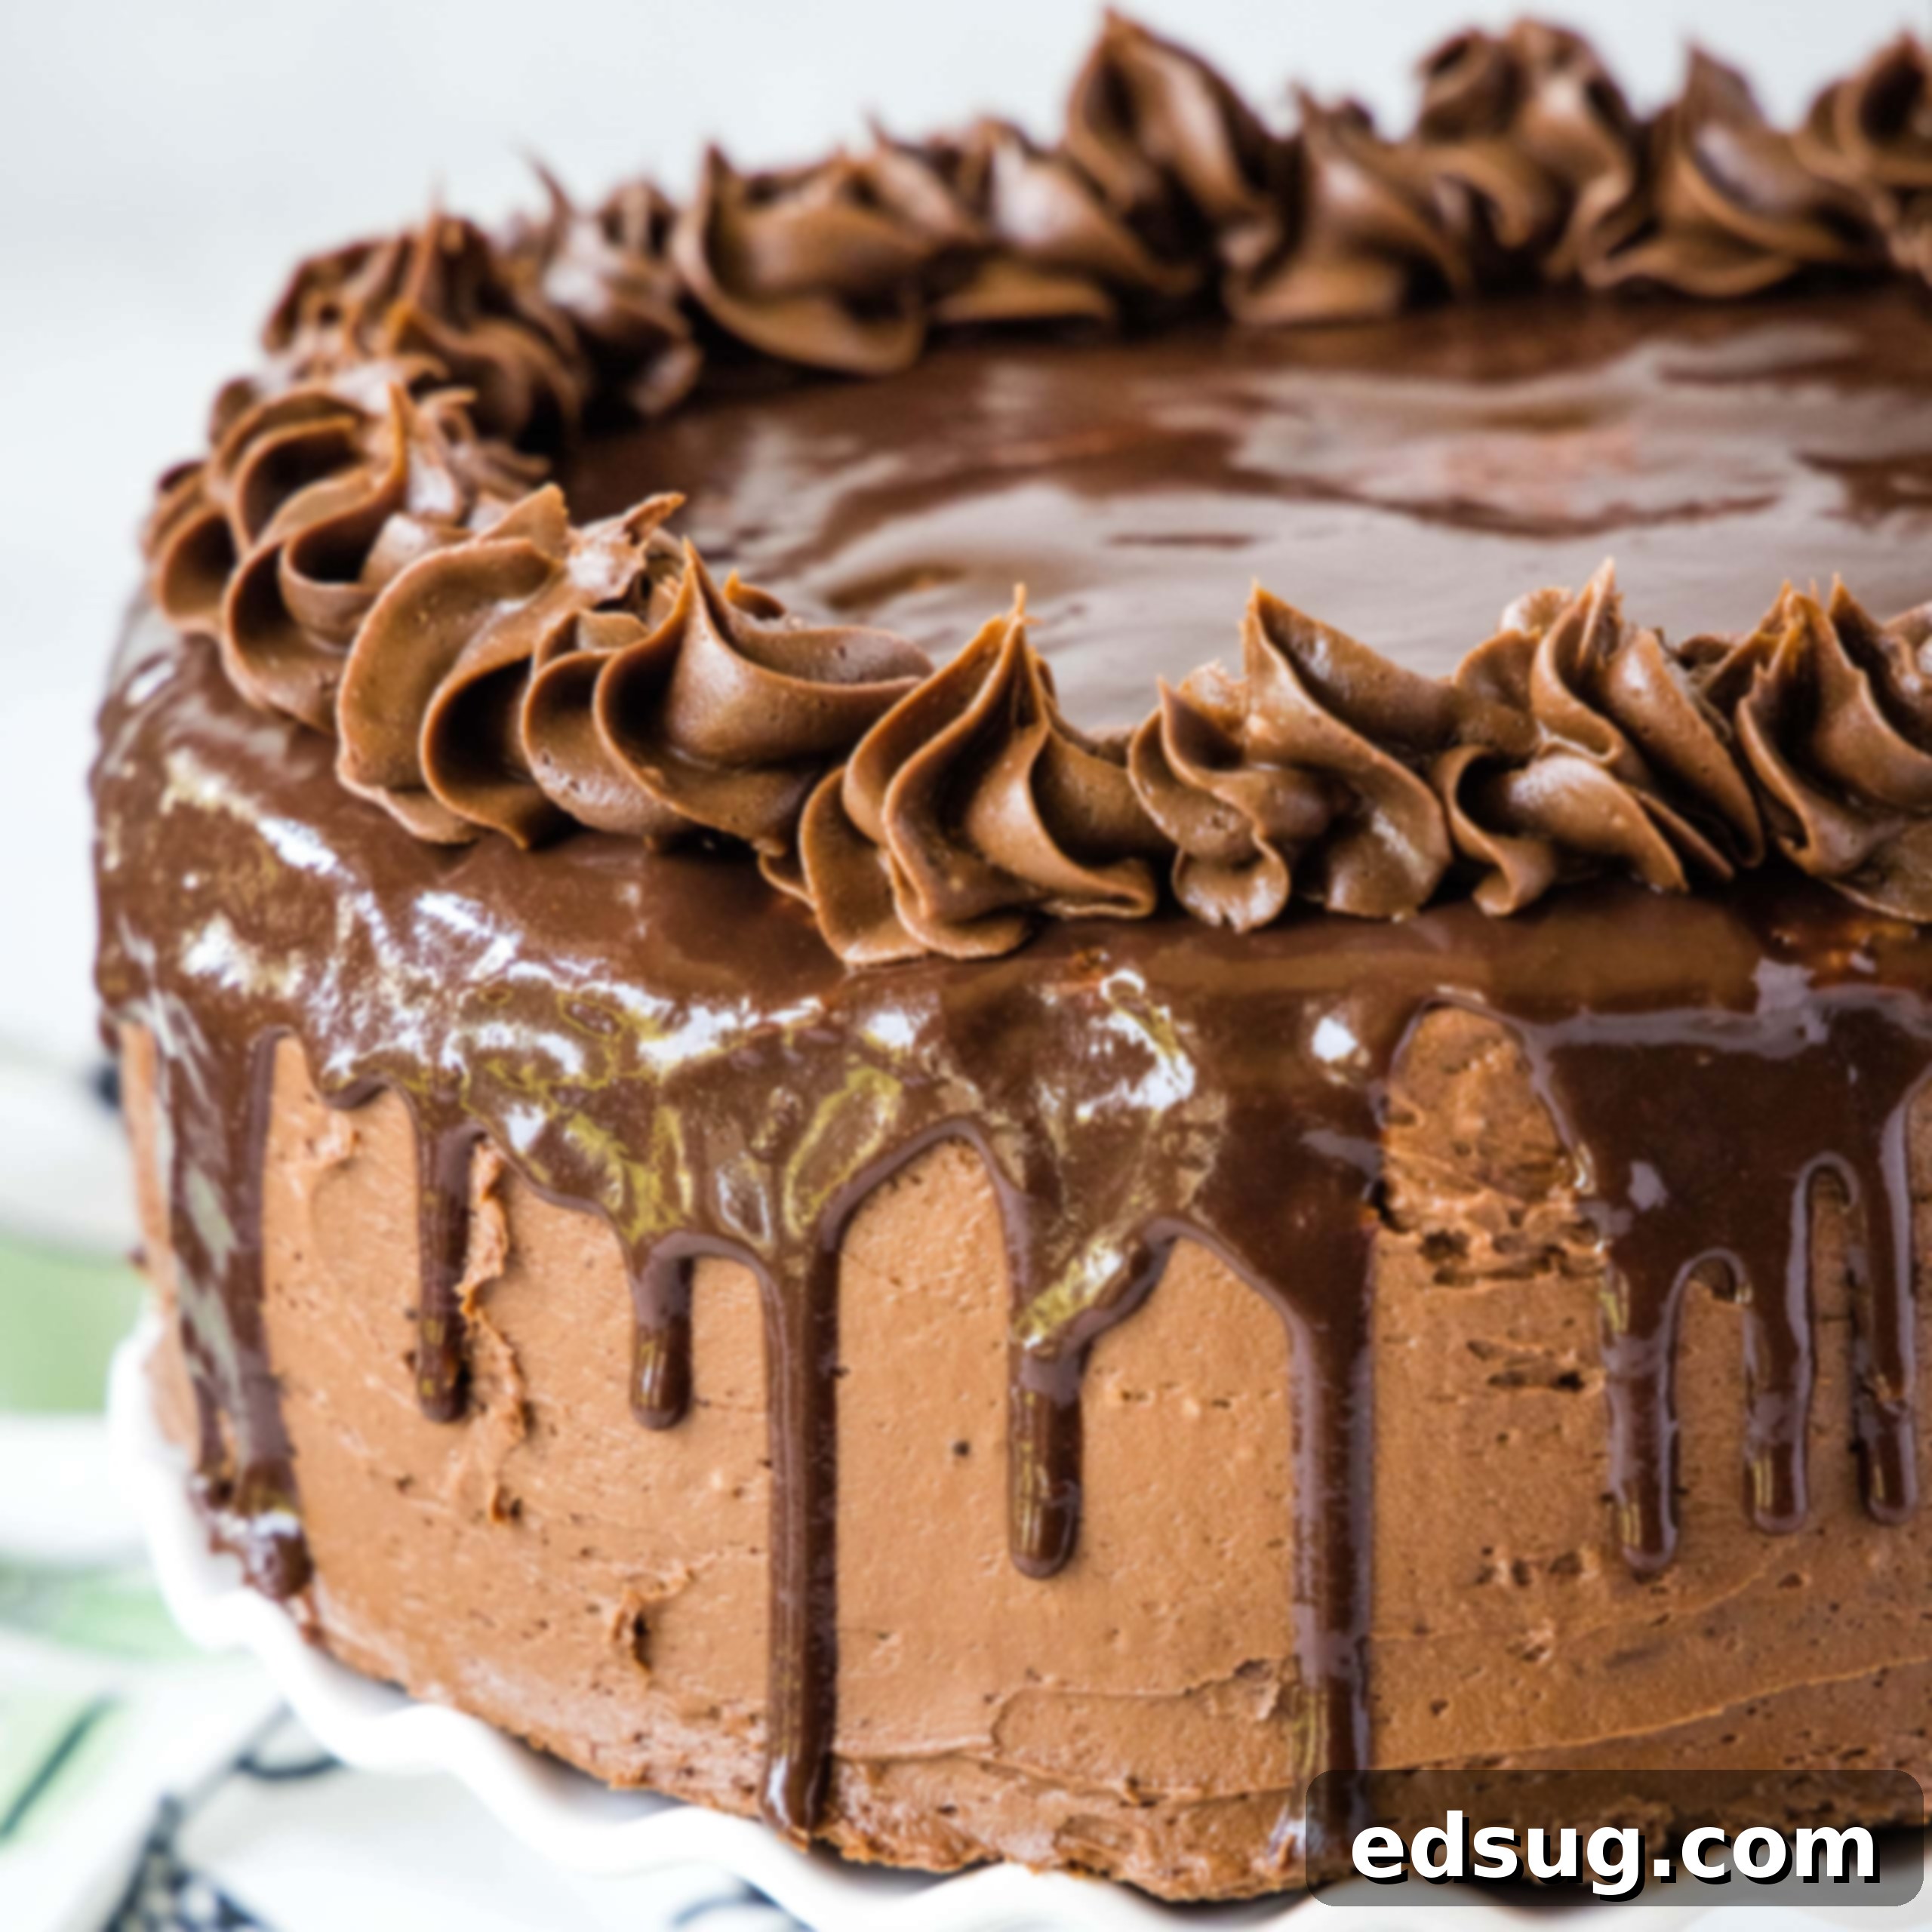
Ultimate Death By Chocolate Drip Cake: A Decadent Recipe for Chocolate Lovers
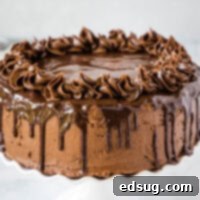
Prepare yourself for an unparalleled chocolate experience with this **Death By Chocolate Drip Cake**! This isn’t just any chocolate cake; it’s a meticulously crafted masterpiece designed to be a chocolate lover’s dream come true. With its deep, rich flavor that’s perfectly balanced (not overly sweet!), an incredibly moist texture, and a show-stopping presentation, this cake is guaranteed to impress. Every bite is a journey into decadent bliss, promising an unforgettable dessert experience.
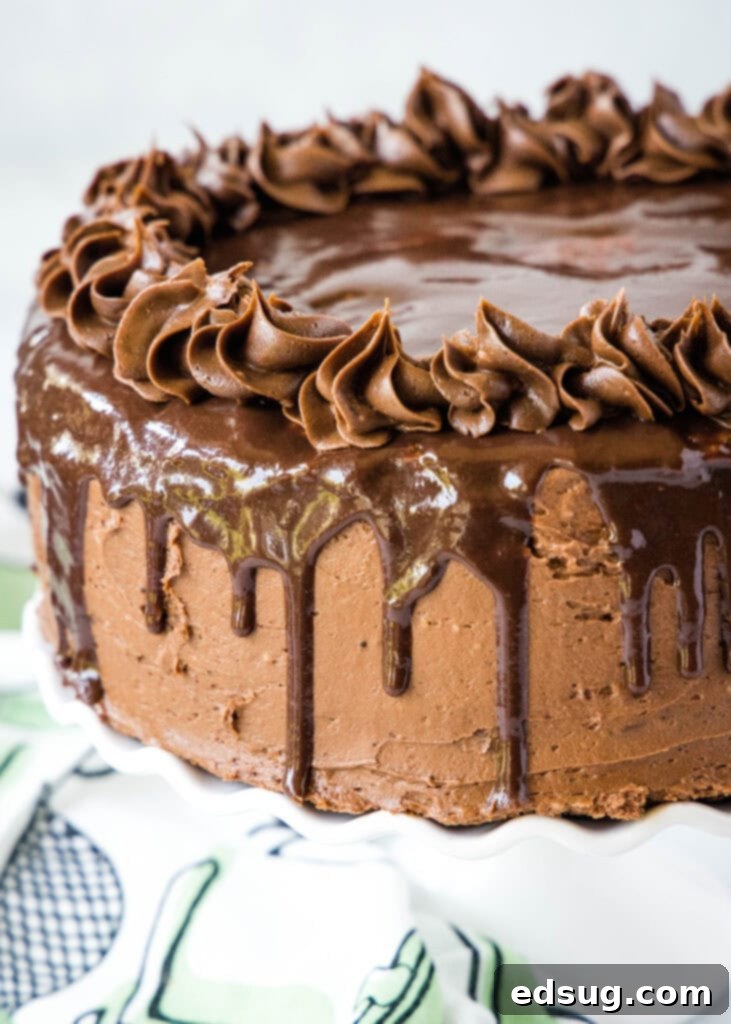
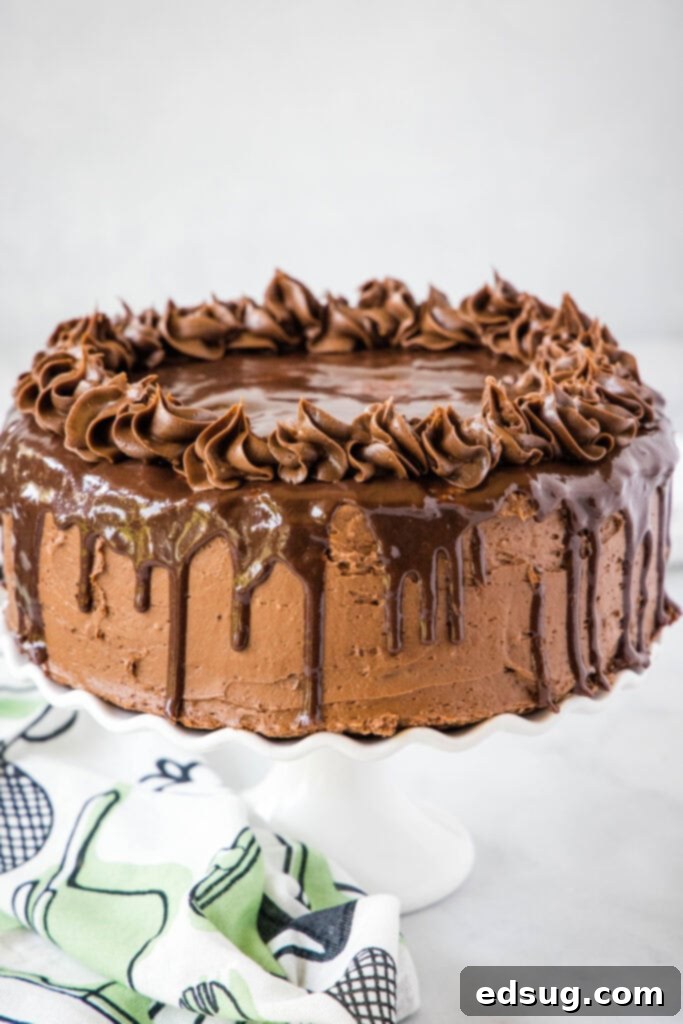
For those who live and breathe chocolate, this cake is truly made for you! Imagine a heavenly moist and tender chocolate cake, generously slathered with a luxurious homemade chocolate frosting. But we don’t stop there – to elevate this dessert to extraordinary status, we add a luscious chocolate ganache, expertly dripping down the sides, creating a stunning visual and an extra layer of chocolatey goodness. And, of course, no “Death By Chocolate” cake would be complete without elegant chocolate swirls crowning the top. If this isn’t the epitome of an ultimate chocolate indulgence, we don’t know what is!
Following the tremendous success of our Death By Chocolate Pie, we knew we had to create a cake version that lived up to its legendary name. We are thrilled to report that this cake not only met but exceeded all our expectations, delivering a dessert that’s both beautiful and intensely satisfying.
Why This Death By Chocolate Drip Cake Will Be Your New Favorite
There are countless reasons why this particular chocolate cake stands out, making it the perfect choice for any celebration or simply to satisfy your deepest chocolate cravings. Here’s what makes it so special:
- Unapologetically Chocolate-y: This cake is a celebration of chocolate in every form. From the deep, rich flavor of the cake itself to the creamy frosting, the decadent ganache, and the delicate chocolate swirls, every component is infused with premium chocolate. It’s an intense, multi-layered chocolate experience designed for true aficionados.
- Perfectly Balanced Sweetness: Despite its lavish appearance and abundant chocolate, this cake is surprisingly not overly sweet. We’ve carefully balanced the sugar content in each element to ensure that the rich cocoa flavors shine through, rather than being masked by excessive sweetness. The result is a sophisticated dessert that you can truly savor without a “sugar crash.”
- A Visual Masterpiece: The elegance of the chocolate ganache dripping artfully down the sides, coupled with the perfectly piped chocolate swirls on top, transforms this cake into a genuine showstopper. It’s a dessert that not only tastes incredible but also looks absolutely stunning, making it ideal for birthdays, holidays, or any special occasion where you want to impress your guests.
- Incredibly Moist and Tender: Thanks to carefully selected ingredients like sour cream and vegetable oil, the cake boasts an exceptionally moist and tender crumb that practically melts in your mouth. This ensures that each slice is as delightful in texture as it is in flavor.
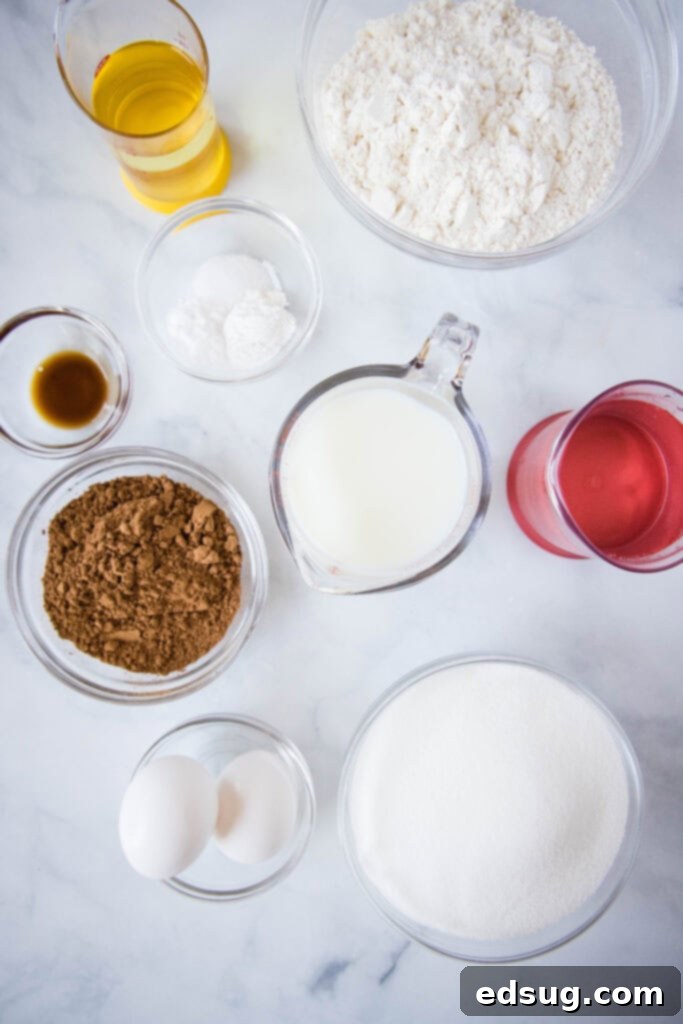
Essential Ingredients for Your Death By Chocolate Cake
For precise measurements and detailed instructions, remember to scroll to the bottom of the post for the FULL PRINTABLE recipe card.
For the Irresistible Chocolate Cake Layers:
- All-Purpose Flour: Provides the fundamental structure for a sturdy yet tender cake.
- Unsweetened Cocoa Powder: The star of our cake, delivering that deep, intense chocolate flavor. Dutch-processed cocoa powder is recommended for a darker color and milder taste, but any good quality unsweetened cocoa will work beautifully.
- Baking Soda & Baking Powder: Our leavening agents that work together to give the cake its light and airy texture. Baking soda reacts with acidic ingredients like sour cream, while baking powder provides an extra lift.
- Salt: Essential for balancing the sweetness and enhancing all the other flavors, especially the chocolate.
- Sour Cream: This secret ingredient adds incredible moisture, richness, and creates a wonderfully tender crumb. It also contributes to the cake’s structure.
- White Granulated Sugar: Sweetens the cake and helps tenderize it, contributing to moisture retention.
- Eggs: Act as binders, provide structure, and add richness to the cake. Ensure they are at room temperature for optimal mixing.
- Vegetable Oil: A neutral-flavored oil that contributes to the cake’s moistness and ensures a tender crumb, as it stays liquid at room temperature unlike butter.
- Vanilla Extract: A crucial flavor enhancer that complements and deepens the chocolate notes.
- Hot Water (or Coffee): Dissolves the cocoa powder, “blooming” it to release its full flavor potential, and adds moisture without making the batter too thick. Using hot coffee instead of water can further intensify the chocolate flavor without adding a coffee taste.
For the Velvety Chocolate Buttercream Frosting:
- Unsalted Butter: The foundation of our rich buttercream. Always use unsalted butter in baking to control the salt content. Ensure it’s softened to room temperature for a smooth, creamy frosting.
- Powdered Sugar (Confectioners’ Sugar): Creates the smooth, light consistency characteristic of buttercream, dissolving easily without a grainy texture.
- Unsweetened Cocoa Powder: Infuses the frosting with a lovely chocolate flavor and color.
- Vanilla Extract: Enhances the overall flavor profile of the frosting.
- Milk: Used to achieve the perfect, spreadable consistency for your frosting. You may need more or less depending on your desired thickness.
For the Signature Chocolate Ganache Drips:
- Heavy Cream: Provides the richness and luscious texture for our ganache. The high-fat content ensures a stable, glossy drip.
- Semi-Sweet Chocolate Chips: The chocolate component of the ganache. High-quality chips will yield the best flavor and melting consistency. You can also use finely chopped semi-sweet chocolate bars for an even smoother result.
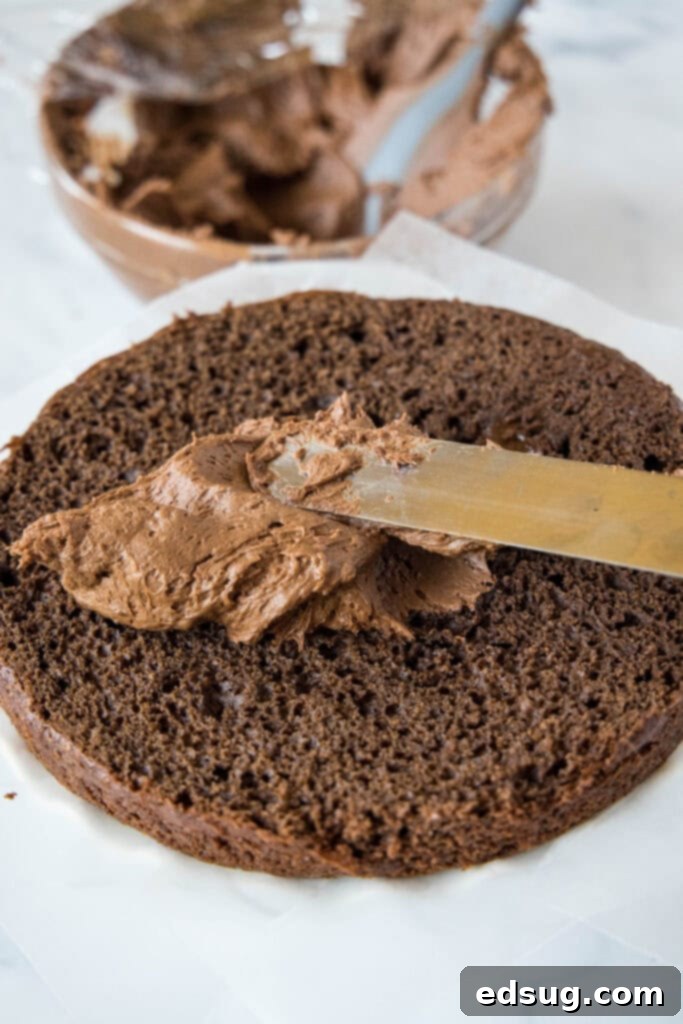
Step-by-Step Guide to Crafting Your Death By Chocolate Drip Cake
Creating this stunning cake might seem elaborate, but by breaking it down into manageable steps, you’ll find it incredibly rewarding. Follow these instructions for a perfect result:
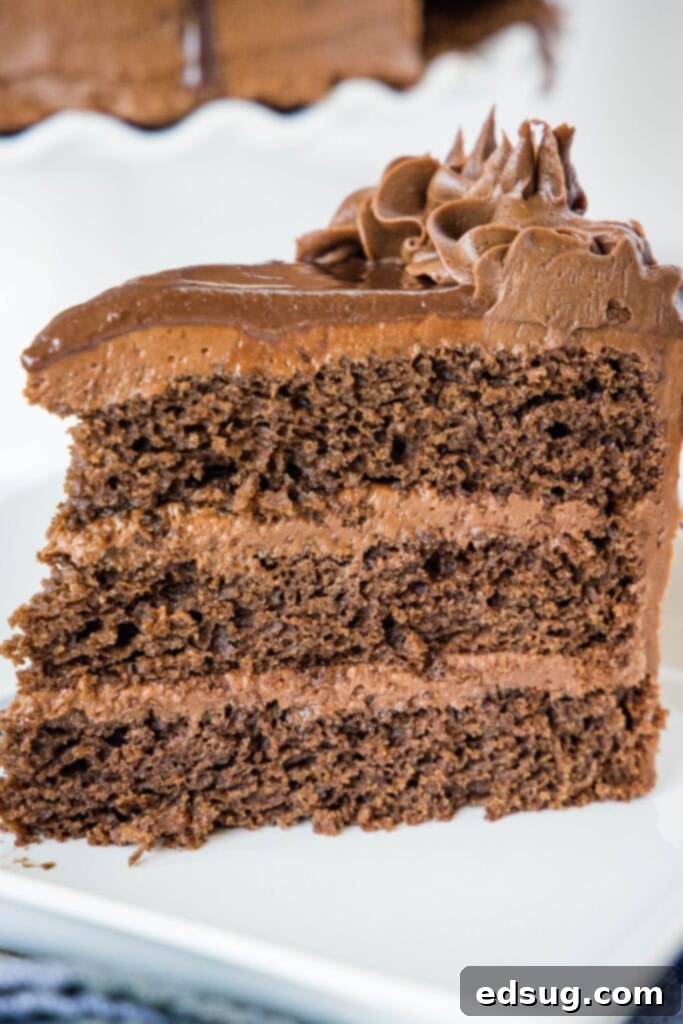
- Prepare Your Moist Chocolate Cake Layers: Begin by preheating your oven to 350°F (175°C). Grease and flour three 8-inch round cake pans thoroughly to prevent sticking. In a large bowl, whisk together all your dry cake ingredients: flour, granulated sugar, cocoa powder, baking soda, baking powder, and salt. In a separate bowl, combine the wet ingredients: sour cream, vegetable oil, eggs, and vanilla extract, whisking until smooth. Gradually incorporate the wet mixture into the dry ingredients, mixing on low speed until just combined. Be careful not to overmix! Finally, slowly stir in the hot water (or coffee) until the batter is smooth and well blended. Divide the batter evenly among your prepared pans and bake for approximately 20-22 minutes, or until a wooden skewer inserted into the center comes out clean. Allow cakes to cool completely in their pans on a wire rack before attempting to remove them.
- Whip Up the Creamy Chocolate Frosting: While your cakes are cooling, prepare the rich chocolate buttercream. Using a stand mixer fitted with a paddle attachment (or a hand-held mixer), cream the softened unsalted butter on medium-high speed until it’s light and fluffy, about 2-3 minutes. Gradually add the powdered sugar, cocoa powder, and salt, starting on low speed to prevent a cloud of sugar, then increasing to medium-high. Once combined, beat in the vanilla extract and milk, continuing to beat until the frosting is smooth, light, and has a wonderfully spreadable consistency. If the frosting is too thick, add more milk, one teaspoon at a time; if too thin, add more powdered sugar.
- Assemble and Frost Your Decadent Cake: Once your cake layers are completely cooled and leveled (if necessary), place the first layer on your chosen serving platter or cake stand. Set aside about 3/4 cup of the chocolate frosting in a separate bowl or piping bag – this will be used for the decorative swirls later. Spread about 1/4 of the remaining frosting evenly over the first cake layer. Carefully place the second cake layer on top and repeat the frosting process. Add the third layer and use the remaining frosting to generously coat the top and sides of the entire cake. Use an offset spatula to smooth the frosting as much as possible, aiming for an even base for your ganache drips.
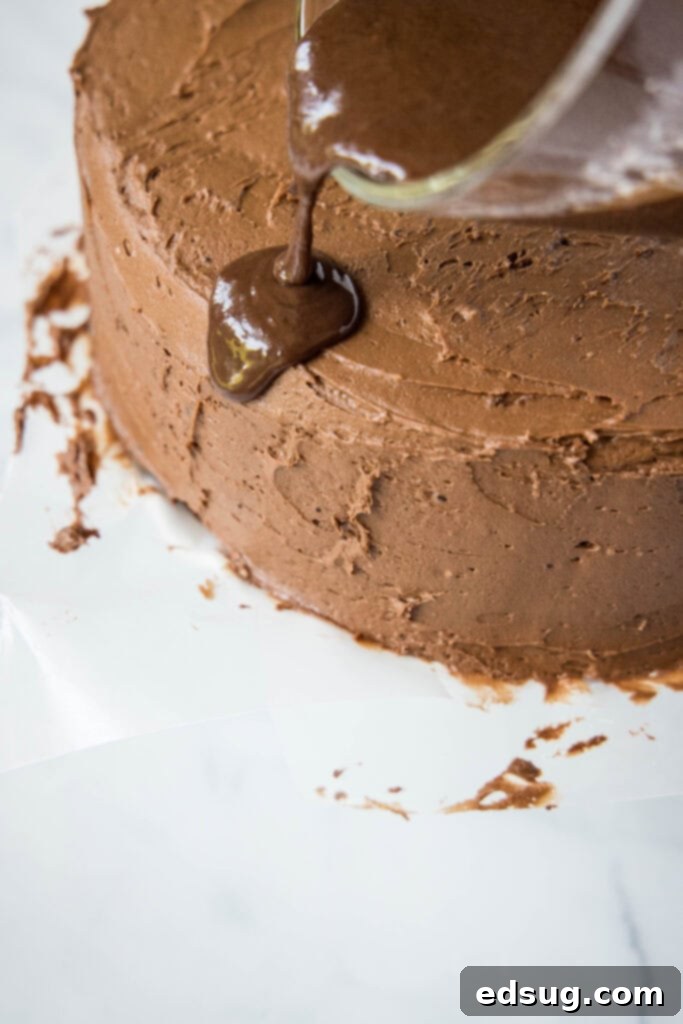
- Create the Perfect Chocolate Ganache Drips: In a microwave-safe liquid measuring cup, heat the heavy cream in the microwave for approximately 35 seconds, or until just simmering (do not boil). Immediately pour the hot cream over your semi-sweet chocolate chips in a heatproof bowl. Let it stand undisturbed for about 1-2 minutes to allow the chocolate to melt. Then, gently stir with a whisk or spatula until the mixture is completely smooth and glossy. Let the ganache cool slightly at room temperature for 1-2 minutes until it thickens to a pourable but not runny consistency. This is crucial for achieving distinct drips.
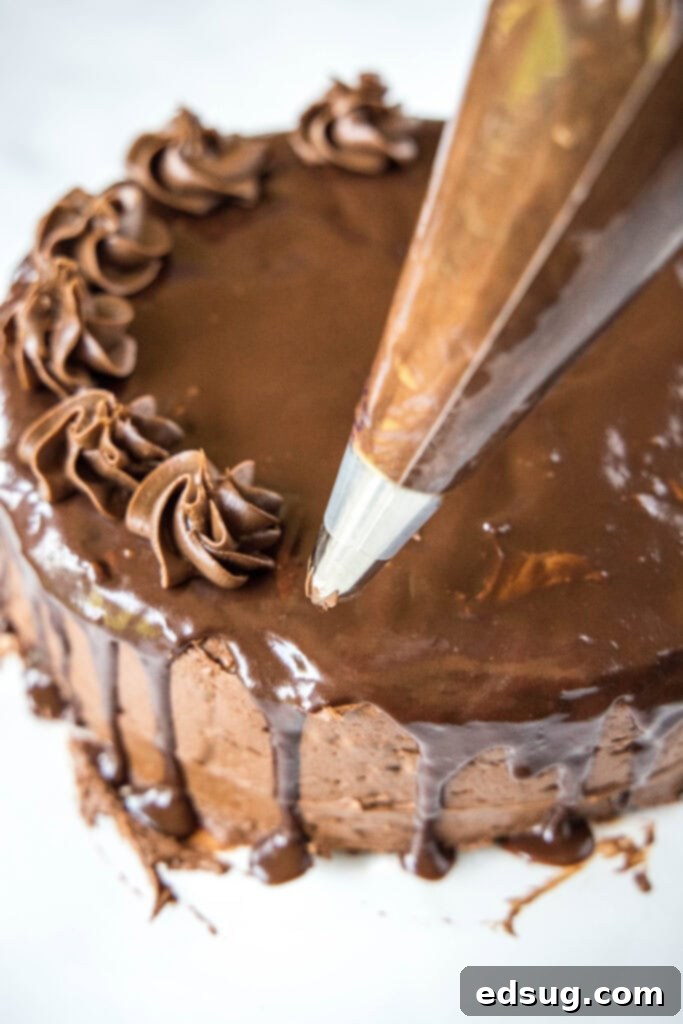
- Apply the Stunning Ganache Drips: Carefully transfer the slightly cooled ganache into a squeeze bottle or a piping bag with a small round tip (or simply use a spoon). Starting at the edge of the cake, slowly pour or pipe a small amount of ganache, allowing it to gently drip down the sides. Work your way around the entire perimeter of the cake, creating beautiful, even drips. Once the drips are complete, pour the remaining ganache into the center of the cake. Use an offset spatula to gently spread it evenly over the top surface. You can encourage a few more drips by pushing a tiny bit of ganache just over the edge if desired.
- Chill to Set & Prepare for Decoration: To ensure the ganache sets properly and to make decorating easier, transfer the assembled cake to the refrigerator and chill for at least 1 hour, or until the ganache is firm to the touch.
- Decorate with Elegant Chocolate Swirls: Retrieve the reserved 3/4 cup of chocolate frosting. If it has stiffened, give it a quick stir. Transfer it to a piping bag fitted with a large star tip (a Wilton 1M tip is highly recommended for classic swirls). Pipe beautiful swirls along the top edge of the cake, above the ganache, or in any pattern you prefer. You can also add additional chocolate shavings or sprinkles for extra flair.
Expert Tips & Clever Substitutions for a Flawless Cake
Achieving the perfect Death By Chocolate Drip Cake involves a few key techniques and knowing when to make smart substitutions. Here are some insights to help you bake like a pro:
- Sour Cream for Supreme Moisture: Our recipe specifically calls for sour cream because it contributes significantly to a moist, tender cake crumb that is robust enough to support three layers of cake and generous amounts of frosting and ganache. If sour cream isn’t available or preferred, you can substitute it with 1 cup of buttermilk or even plain Greek yogurt (full-fat for best results). Both will provide a similar tang and moisture content.
- Choosing Your Cocoa Powder: While any unsweetened cocoa powder will yield a delicious cake, I personally prefer to use Dutch-processed cocoa powder. It has a slightly milder flavor, a darker color, and is less acidic than natural cocoa, resulting in a cake that often feels richer and has a smoother chocolate taste. If using natural cocoa, your cake will still be great, but might have a slightly lighter color and a more intense chocolate flavor. Ensure your baking soda and baking powder ratios are correct for the type of cocoa you use if adapting other recipes.
- The Role of Vegetable Oil: We use vegetable oil in this recipe for its neutral flavor and its ability to keep the cake incredibly moist. Oil stays liquid at room temperature, contributing to a more tender and moist crumb over time compared to butter. I strongly advise against using olive oil or other strongly flavored oils, as they will alter the taste of your cake. If you need a substitute, avocado oil is a great neutral-flavored alternative. Melted butter can be used, but be aware it might result in a slightly denser cake that could dry out faster.
- Avoid Overmixing for Tenderness: This is a golden rule in baking, especially for cakes. When combining your wet and dry ingredients, mix them together only until they are *just* combined. Overmixing develops the gluten in the flour excessively, leading to a tough, chewy, and less tender cake. A few lumps in the batter are perfectly fine and often result in a more tender crumb.
- Room Temperature Ingredients: Always ensure your butter, eggs, and sour cream are at room temperature before you start baking. This allows them to emulsify better, creating a smoother, more uniform batter and a lighter, fluffier frosting.
- Level Your Cake Layers: For a professional-looking, stable cake, it’s often helpful to level your cake layers with a serrated knife or a cake leveling tool once they are completely cool. This ensures flat surfaces for stacking and prevents your cake from leaning.
- Achieving the Perfect Ganache Drip: The temperature of your ganache is critical. If it’s too hot, it will run off the cake too quickly and create transparent, messy drips. If it’s too cool, it will be too thick and won’t drip at all. Aim for a consistency where it’s thick enough to cling but still fluid enough to flow gracefully. Test a small amount on the back of a spoon first.
Planning Ahead: Making Your Death By Chocolate Cake in Advance
This Death By Chocolate Drip Cake is an excellent candidate for making ahead, or you can prepare its components in stages to spread out the work. This flexibility makes it perfect for entertaining or when you simply want to enjoy a homemade treat without all the last-minute fuss.
- Prepare Cake Layers Ahead: You can bake the chocolate cake layers up to a month in advance. Once baked and completely cooled, wrap each layer tightly in several layers of plastic wrap, then an additional layer of aluminum foil. You can store them at room temperature for up to 2 days, or freeze them for up to 1 month. Thaw frozen layers overnight in the refrigerator, or for a few hours at room temperature, before frosting. Baking the layers the day before assembly and simply covering them tightly at room temperature also works beautifully.
- Frosting That Can Wait: The chocolate buttercream frosting can also be made a few days in advance. Store it in an airtight container in the refrigerator for up to a week. When you’re ready to use it, let it come to room temperature for about an hour, then re-whip it with your electric mixer for a few minutes until it regains its smooth, fluffy, and spreadable consistency. You might need to add a splash of milk to loosen it up.
- Store the Assembled Cake in the Fridge: Once fully assembled and decorated, if left uncut, this cake will stay fresh and beautiful in the refrigerator for 3-4 days. For optimal taste and texture, allow the cake to come to room temperature for about 30-60 minutes before serving.
Storing Leftover Death By Chocolate Cake for Maximum Freshness
While it’s hard to imagine having leftovers of this incredible cake, if you do, proper storage is key to maintaining its deliciousness and moisture. This cake doesn’t strictly require refrigeration if stored correctly, but it will last longer in the fridge once cut.
For any cut sections of cake, the most important tip is to press plastic wrap directly against the exposed cake surface. This creates a barrier that prevents air from drying out the cake, which happens very quickly. Then, cover the entire remaining cake loosely with plastic wrap or place it in an airtight cake carrier. It can be stored at room temperature for 3-4 days, or in the refrigerator for up to a week. If refrigerated, remember to bring slices to room temperature before serving for the best texture and flavor.
Discover More Decadent Chocolate Dessert Recipes
If you’re a true chocolate connoisseur, your culinary adventure doesn’t have to end here! Explore our collection of other irresistible chocolate desserts that are sure to satisfy any craving:
- Chocolate Cobbler: A warm, gooey, and deeply chocolatey dessert, perfect for serving with a scoop of vanilla ice cream.
- Homemade Chocolate Ice Cream: Creamy, rich, and intensely flavored – a classic done right.
- Brownie Batter Dip: All the flavor of raw brownie batter, but safe and scoopable! A fun party appetizer.
- Chocolate Pavlova: A stunning gluten-free dessert featuring crisp meringue, creamy chocolate, and fresh berries.
- Air Fryer Cake: Surprisingly delicious and incredibly convenient for smaller, quick cakes.
- Texas Sheet Cake Cookies: All the beloved flavors of a classic Texas Sheet Cake, transformed into easy-to-eat cookies.
Death By Chocolate Cake
Erin Sellin
30 minutes
25 minutes
55 minutes
12
Pin Recipe
Rate Recipe
Print Recipe
Ingredients
Chocolate Cake
-
1 3/4
cups
all-purpose flour
-
2
cups
granulated sugar
-
3/4
cup
unsweetened cocoa powder
-
2
teaspoons
baking soda
-
1
teaspoon
baking powder
-
1
teaspoon
salt
-
1
cup
sour cream
-
1/2
cup
vegetable oil
-
2
whole eggs -
1
teaspoon
vanilla extract
-
1
cup
hot water,
or coffee
Chocolate Frosting
-
1
cup
unsalted butter
,
softened -
4-5
cups
powdered sugar
-
1/2
teaspoon
salt
-
2
teaspoons
vanilla extract
-
1/2
cup
cocoa powder
-
1/3
cup
milk
Chocolate Ganache
-
4
ounces
heavy cream
-
1
cup
semi-sweet chocolate chips
Instructions
-
To make chocolate cake, preheat oven to 350°F (175°C). Prepare three 8-inch round cake pans by greasing them well and coating them with flour. Set aside.
-
Whisk together flour, sugar, cocoa powder, baking soda, baking powder, and salt in a large bowl.
-
Combine sour cream, vegetable oil, eggs, and vanilla in a separate bowl.
-
Slowly add sour cream mixture to flour mixture until everything is just combined. Add in the hot water and mix until blended.
-
Pour into prepared pans and bake for 20-22 minutes until a tester comes out clean. Allow to cool completely on a wire rack.
-
To make chocolate frosting, use an electric mixer and beat butter on high until it is nice and creamy.
-
Add powdered sugar, salt, vanilla, cocoa powder, and milk. Start mixing on low, and once combined, turn to high and beat until fluffy and smooth.
-
To assemble cake, place the first cooled cake layer on a serving platter or large plate. Reserve about 3/4 cup of frosting for the swirls on top.
-
Top first layer of cake with about 1/4 of frosting, spreading evenly across the top. Place the next layer of cake over frosting and repeat with remaining frosting and cake layers. Use an offset spatula to coat top and sides completely in frosting, smoothing as much as possible.
-
For chocolate ganache, pour heavy cream into a microwave-safe liquid measuring cup and heat in the microwave for 35 seconds (until just simmering). Remove and add chocolate chips. Let it stand for about a minute. Stir until smooth. Let it set up for 1-2 minutes until it starts to thicken slightly and won’t make a messy drip on your cake.
-
Start by slowly pouring a little bit of ganache along the edge of the cake all the way around, letting it drip down the sides. Pour remaining ganache into the center of the cake. Use a spatula to gently spread over the top, and push just a little over the edges if you want more drips.
-
Place cake in fridge and let it set up for an hour before decorating the top.
-
Add reserved chocolate frosting to a piping bag with a swirl tip (suggest Wilton 1M), and pipe decorative swirls along the edges around the cake.
Nutrition
Calories:
678
kcal
|
Carbohydrates:
91
g
|
Protein:
6
g
|
Fat:
34
g
|
Saturated Fat:
15
g
|
Polyunsaturated Fat:
16
g
|
Trans Fat:
1
g
|
Cholesterol:
95
mg
|
Sodium:
543
mg
|
Fiber:
2
g
|
Sugar:
71
g
Nutrition information is automatically calculated, so should only be used as an approximation.
Additional Info
Erin Sellin
30 minutes
25 minutes
55 minutes
Dessert Recipes
American
12
678
Like this recipe? Leave a comment below!
I created a fun group on Facebook, and I would love for you to join us! It’s a place where you can share YOUR favorite recipes, ask questions, and see what’s new at Dinners, Dishes and Desserts (so that you never miss a new recipe)!
Be sure to follow me on Instagram and tag #dinnersdishes so I can see all the wonderful DINNERS, DISHES, AND DESSERTS recipes YOU make!
Be sure to follow me on my social media, so you never miss a post!
Facebook | Twitter | Pinterest | Instagram
