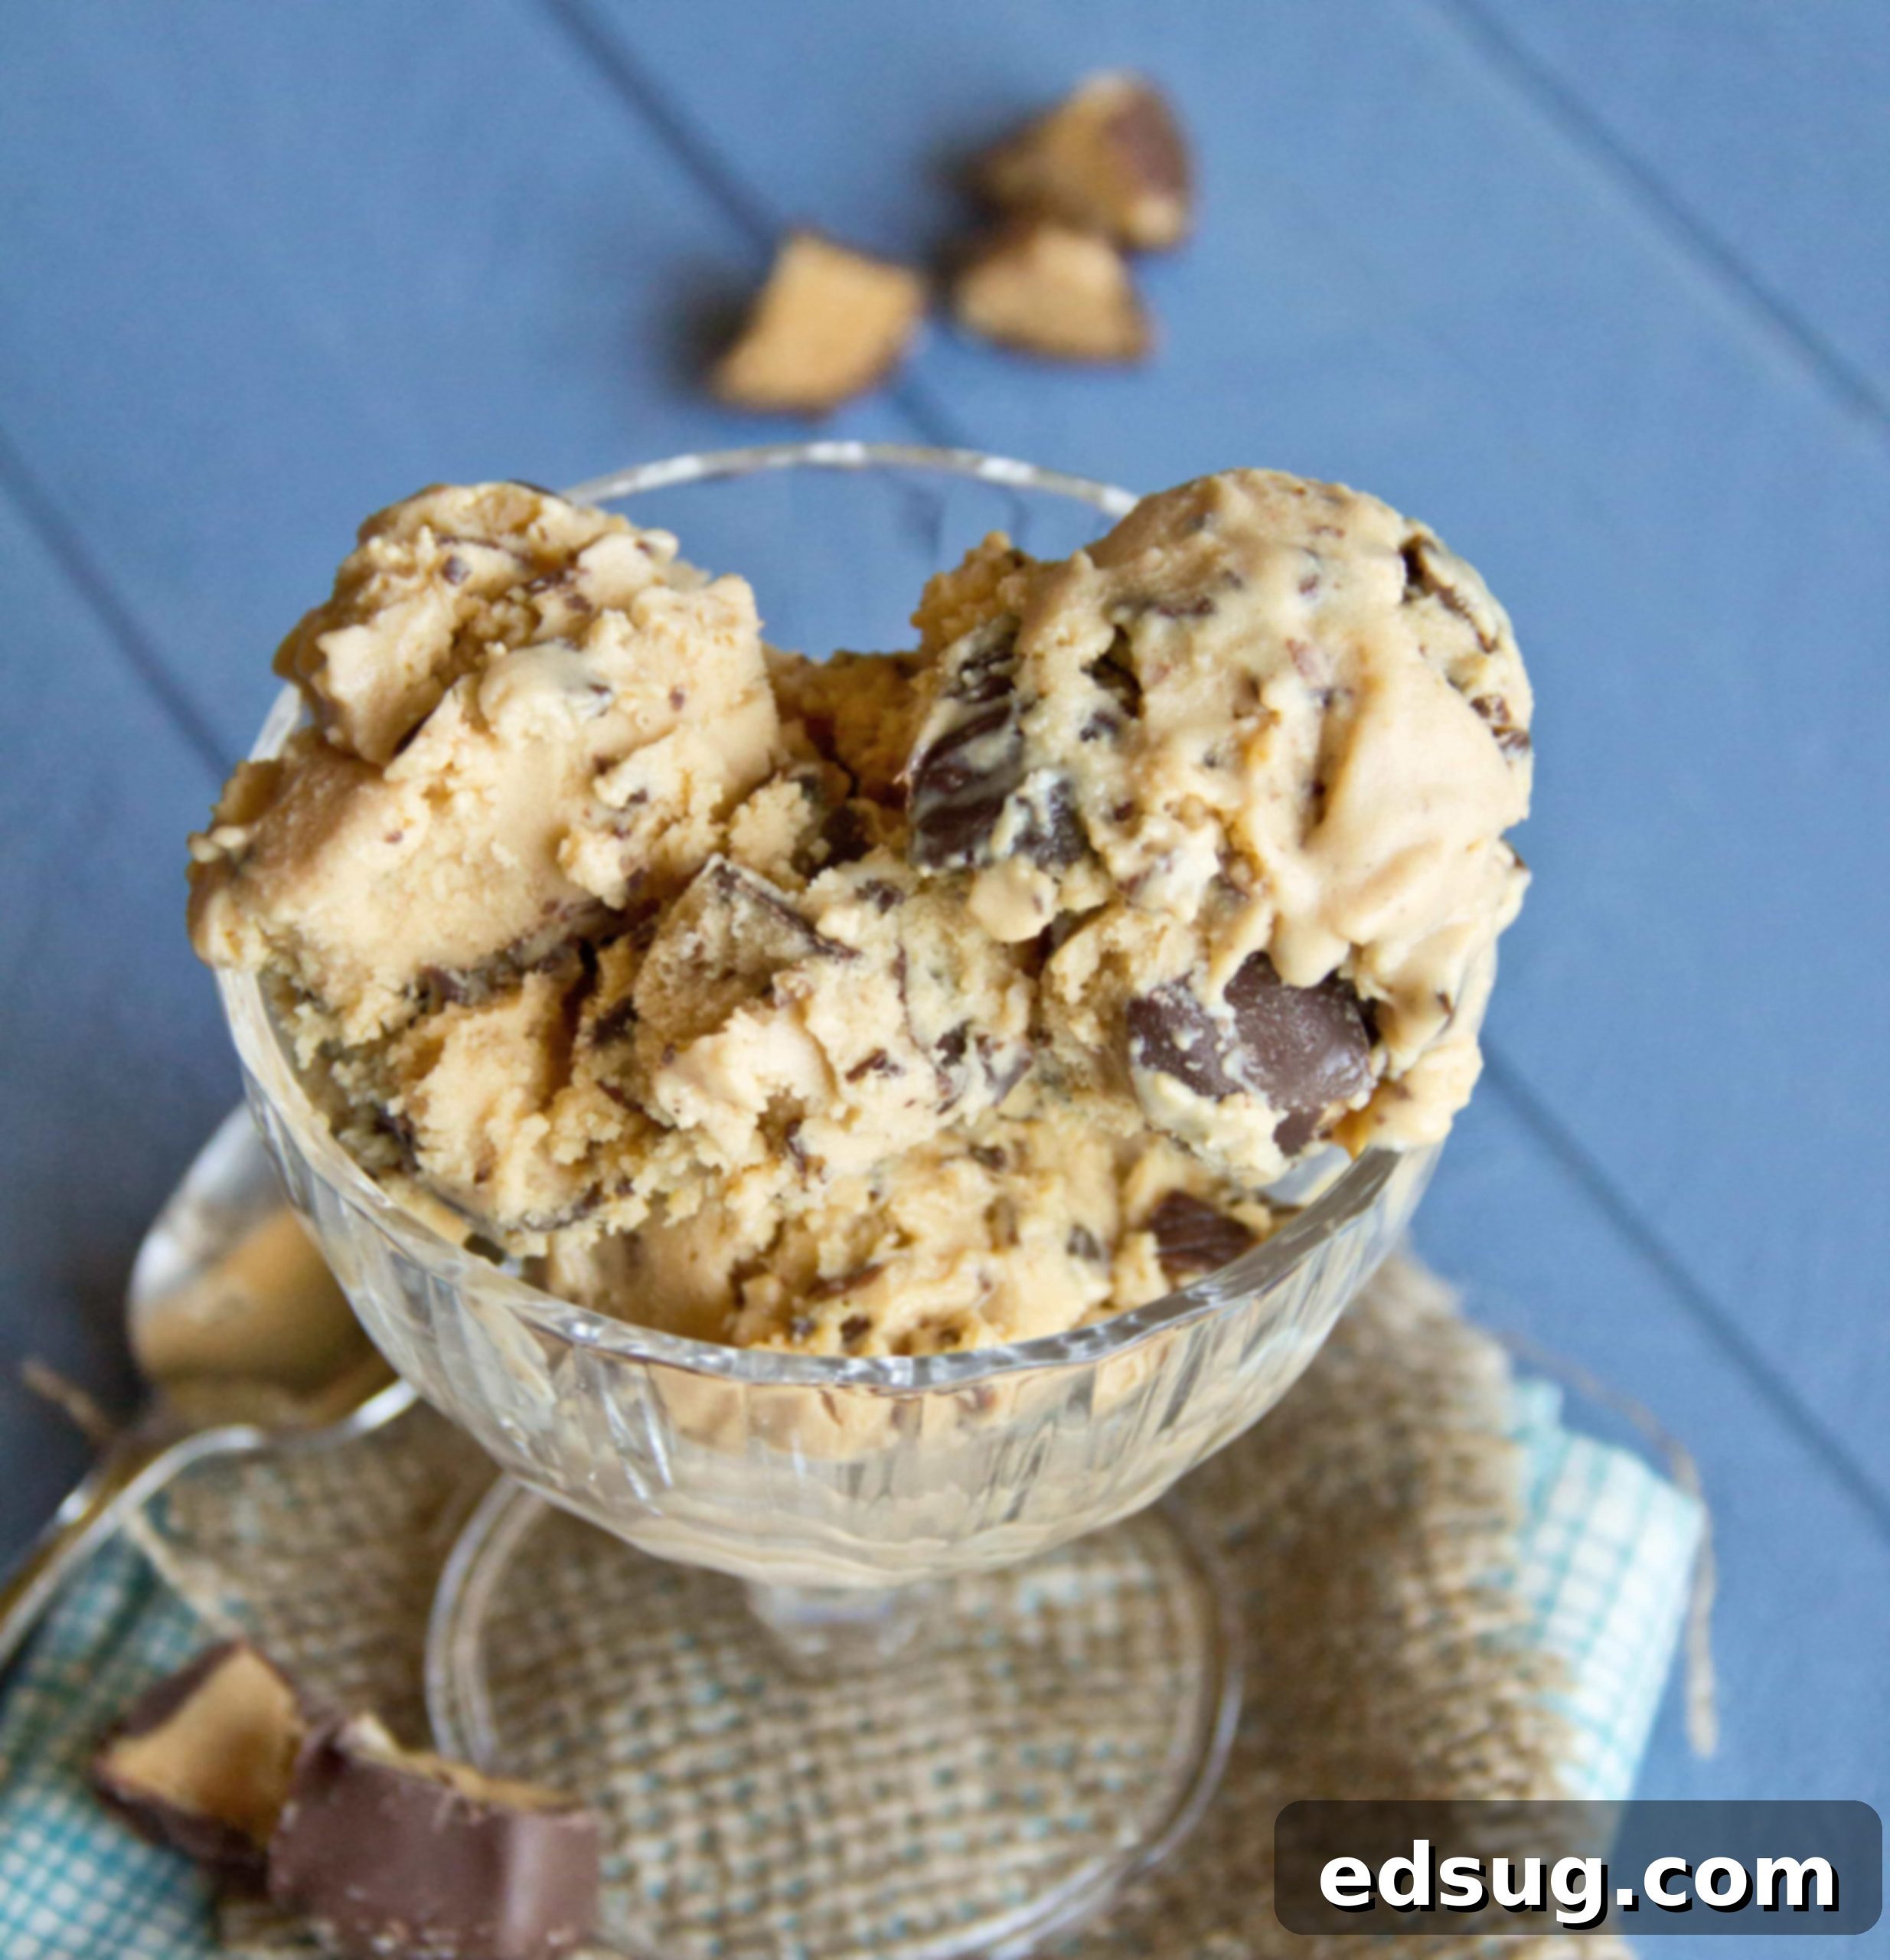
Homemade Peanut Butter Cup Ice Cream: A Lighter, Creamier Indulgence
Welcome to the ultimate dream for every peanut butter and chocolate enthusiast! This delightful Peanut Butter Cup Ice Cream recipe delivers a rich, satisfying flavor profile, but with a clever twist: it’s lower in calories than traditional versions. What’s even better? It comes together significantly faster than many homemade ice cream recipes, meaning you can dive into this cool, creamy, and utterly irresistible treat in hardly any time at all. Forget the long waits; pure bliss is just around the corner.
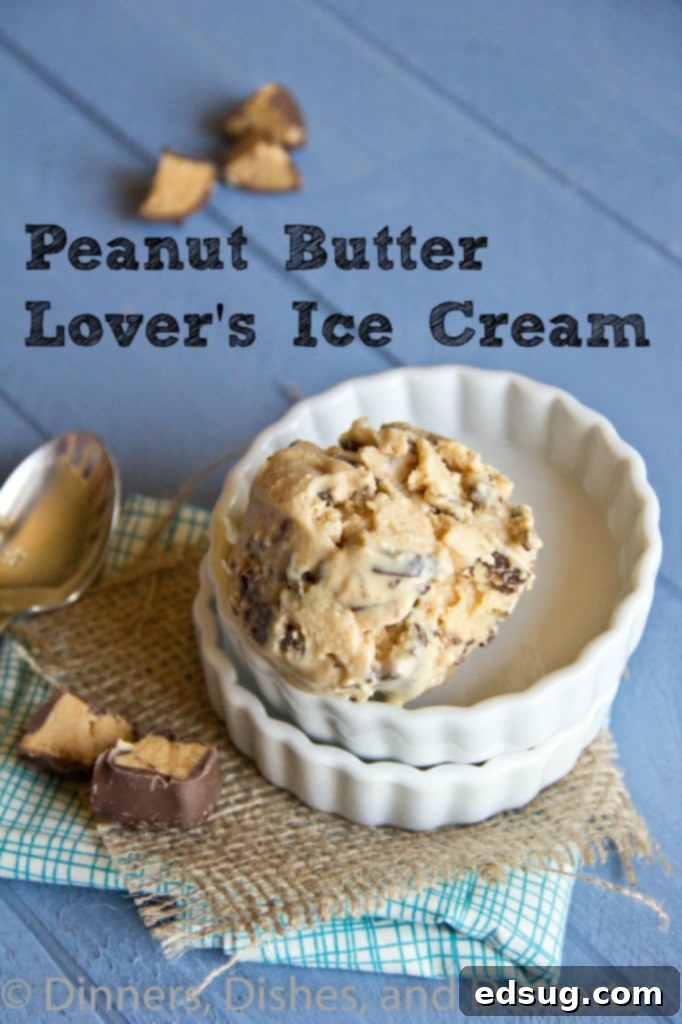
I promised you ice cream, and I’m thrilled to deliver a recipe that truly stands out, especially for all you devoted peanut butter lovers! When developing this particular frozen dessert, my goal was to create something decadent yet a little lighter. I experimented by using whole milk instead of the usual heavy cream, and intentionally omitted the egg yolks often found in traditional custard-based ice creams. The result is a surprisingly peanut-buttery ice cream that manages to be lower in fat and calories, yet remains incredibly high in robust flavor and satisfying richness.
If your heart truly desires a full-fat, ultra-creamy, custard-based ice cream, rest assured, I have plenty of those decadent recipes for you too. For an exquisite combination of frosty chocolate and hazelnut flavors, you simply must try my Nutella Ice Cream. It’s an experience unto itself. And you certainly won’t want to miss my Double Cookie Dough Ice Cream, a truly dreamy dessert made with scratch-made cookie dough, brown butter, and brown sugar for unparalleled depth of flavor and texture.
Why This Peanut Butter Cup Ice Cream Will Be Your New Favorite
This peanut butter cup ice cream isn’t just another dessert; it’s a game-changer for homemade frozen treats. Here’s why you’ll find yourself making it again and again:
- Effortless Preparation with Minimal Ingredients: With a short list of only 5 ingredients, this recipe is incredibly straightforward. Even if you’re a complete novice to making homemade ice cream, you’ll find these steps simple and rewarding. It’s the perfect entry point into the wonderful world of DIY frozen desserts.
- Instant Churning for Quicker Gratification: Unlike traditional custard-based ice creams that require cooking, cooling, and then churning, this recipe’s base doesn’t contain eggs. This means you can begin churning it almost immediately after mixing your ingredients. No waiting for a base to chill overnight—you’ll be enjoying your freshly churned ice cream in about an hour, a true win for spontaneous dessert cravings!
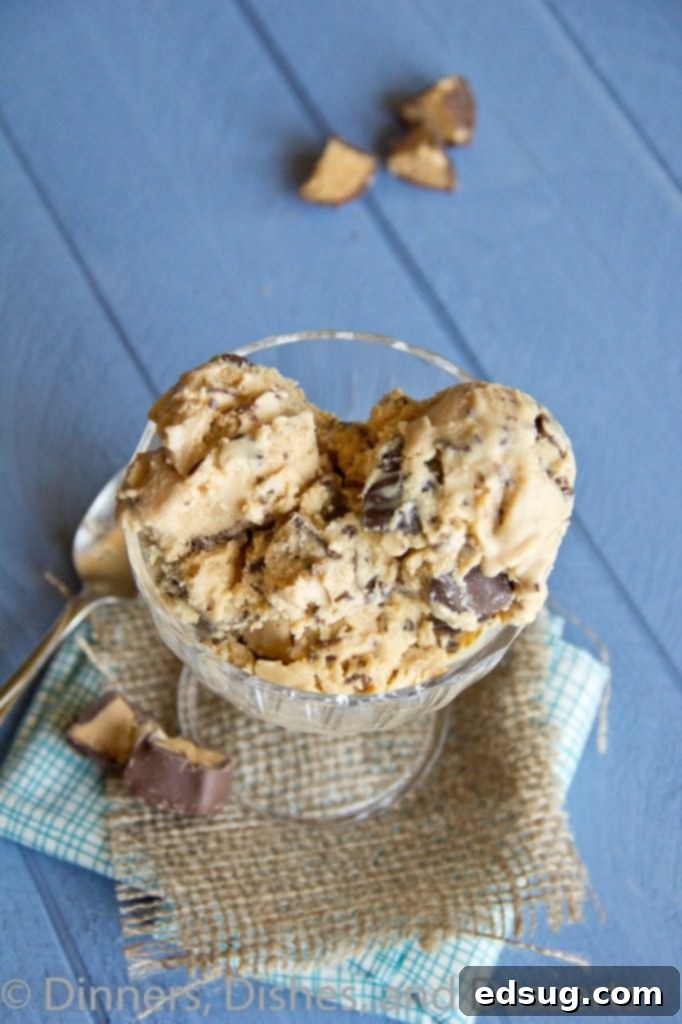
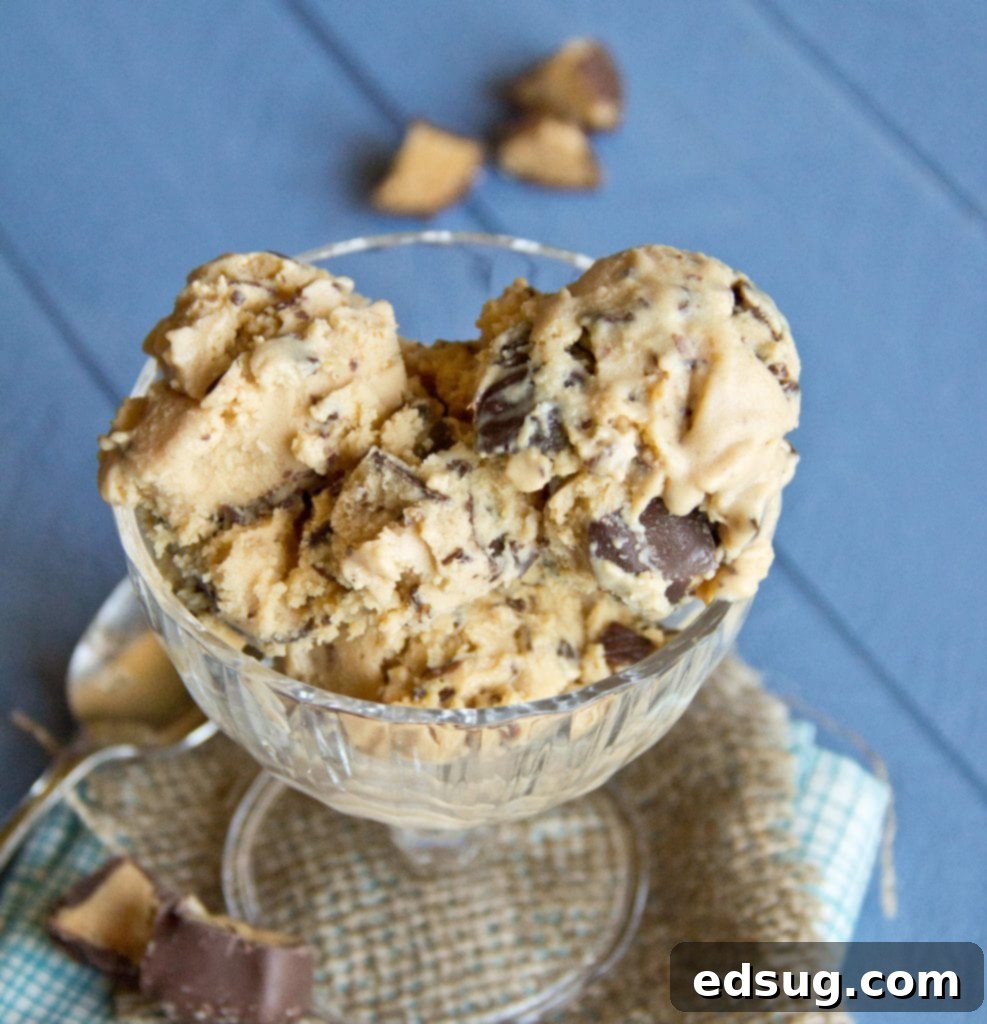
- Irresistible Texture and Flavor Contrast: The inclusion of perfectly chopped peanut butter cups is what takes this ice cream from great to extraordinary. These delightful chunks provide a sumptuous textural contrast to the smooth, creamy ice cream base. Plus, they introduce delightful pockets of rich milk chocolate and extra peanut butter goodness, which, in my book, is always a fantastic addition to any dessert.
- A Lighter Option Without Sacrificing Flavor: Since it’s crafted to be lower in fat and calories by using whole milk instead of heavy cream, this ice cream boasts a slightly lighter mouthfeel than its egg-based counterparts. However, don’t mistake “lighter” for “less flavorful.” The generous amount of creamy peanut butter ensures that it remains incredibly rich, satisfying, and deeply delicious, proving that you don’t need excessive fat to achieve a truly indulgent experience.
- Pure, Wholesome Homemade Goodness: By choosing to make this peanut butter cup ice cream right in your own kitchen, you gain complete control over what goes into your dessert. You can take comfort in knowing that every scoop is free of preservatives, artificial flavors, and unnecessary additives. It’s a wholesome treat you can feel good about sharing with your family and friends.
Essential Ingredients for Your Peanut Butter Cup Ice Cream
Gathering your ingredients is the first step to creating this delectable homemade ice cream. Here’s a breakdown of what you’ll need and why each component is crucial:
- Creamy Peanut Butter: The star of our show! Smooth, creamy peanut butter is essential for achieving the silkiest ice cream base. While you can use natural peanut butter, be aware that it might separate slightly during mixing; ensure it’s well-stirred. If you’re looking to control sugar intake, an unsweetened version works wonderfully.
- Peanut Butter Cups: These are your glorious mix-ins! You can chop up full-sized Reese’s peanut butter cups for substantial chunks or opt for the mini ones for a more even distribution of chocolate and peanut butter goodness. The key is to have them cold and firm before folding into the churned ice cream.
- Whole Milk: This forms the foundational liquid for our ice cream base. Using whole milk helps to keep the calorie count lower than heavy cream, while still providing enough fat content to ensure a creamy texture without becoming icy. Its richness is key to a satisfying mouthfeel.
- Granulated Sugar: Beyond just sweetening the ice cream to perfection, sugar plays a vital role in the texture. It acts as an antifreeze, helping to prevent ice crystals from forming, thus keeping your homemade ice cream wonderfully soft and scoopable even after extended time in the freezer.
- Vanilla Extract: A touch of pure vanilla extract adds a warm, sweet, and incredibly irresistible aromatic complexity. It beautifully complements and enhances the rich flavors of both peanut butter and chocolate, tying all the ingredients together harmoniously.
Simple Steps to Craft Your Own Peanut Butter Cup Ice Cream
Making homemade ice cream might seem daunting, but with this recipe, it’s incredibly easy. Follow these simple steps, and you’ll be enjoying a fresh batch in no time!
- Prepare the Ice Cream Base with Precision. Begin by combining the creamy peanut butter and granulated sugar in a large mixing bowl. Using an electric mixer on medium speed, cream these two ingredients together until they are thoroughly combined and smooth. This step ensures the sugar begins to dissolve into the peanut butter, preventing a grainy texture. Next, with the mixer on a low speed, gradually add 1 cup of whole milk. Continue to mix for about 2 minutes, allowing the mixture to become smooth and uniform. This initial incorporation helps to emulsify the peanut butter. Finally, pour in the remaining milk and the vanilla extract. Increase the speed slightly and mix until the entire base is wonderfully creamy and all ingredients are well incorporated.
- Churn Your Creation in an Ice Cream Maker. Once your creamy base is ready, it’s time for the magic of the ice cream maker. Pour the prepared mixture into the frozen bowl of your ice cream maker. Now, simply follow your specific ice cream maker’s instructions for churning. Churning typically takes between 20 to 30 minutes, depending on your machine, until the ice cream reaches a soft-serve consistency. It should be thick and creamy, but not fully solid yet.
- Incorporate Mix-ins and Freeze to Perfection. As soon as the ice cream reaches that perfect soft-serve stage, gently fold in the chopped peanut butter cups. You can do this directly in the ice cream maker bowl or transfer the ice cream to a larger bowl for easier mixing. Once the peanut butter cups are evenly distributed, transfer the finished ice cream into an airtight, freezer-safe container. To achieve the ideal firm, scoopable texture, place the container in your freezer for at least one hour before serving. For best results and optimal texture, a longer freeze of 3-4 hours is recommended.
Expert Tips & Exciting Variations for Your Ice Cream
Elevate your homemade peanut butter cup ice cream with these helpful tips and creative variations, ensuring every batch is a masterpiece!
- Embrace Creamy Peanut Butter for Smoothness. For the absolute smoothest ice cream texture in the base, always opt for creamy peanut butter. While chunky peanut butter has its place, it can introduce an uneven texture to the base before your mix-ins are added. You’ll get plenty of satisfying chunky texture from the peanut butter cups themselves, so let the base remain velvety smooth.
- Experiment with Dark Chocolate Peanut Butter Cups. If you’re a fan of the deeper, richer notes of dark chocolate, consider using dark chocolate peanut butter cups instead of the standard milk chocolate variety. This simple swap will add a more sophisticated and less sweet flavor profile, creating a gourmet twist on the classic.
- Go Nutty with Almond Butter (or other nut butters). This versatile recipe can easily be adapted for different nut butter preferences. It would be equally delicious and intriguing with almond butter instead of peanut butter. For a cohesive flavor profile, you could even replace the Reese’s cups with almond butter cups, which are readily available at most natural foods stores or specialty markets. Cashew butter is another fantastic option for a mild, creamy alternative.
- Transform it into a Decadent Sundae. For an ultimate dessert experience, serve generous scoops of your peanut butter cup ice cream as a lavish sundae. Drizzle generously with warm chocolate fudge sauce or a homemade caramel, top with a cloud of whipped cream, and sprinkle with extra chopped peanuts or mini peanut butter cups for crunch and visual appeal.
- Blend it into a Refreshing Milkshake. On a hot day, turn this amazing ice cream into an irresistible milkshake. Simply blend a few scoops of the frozen treat with a splash of milk (dairy or non-dairy) or even cold brewed coffee for a mocha-peanut butter kick. Blend until smooth and thick, then pour into a tall glass and top with whipped cream and a sprinkle of chocolate shavings.
- Add a Swirl of Fudge or Caramel: For an extra layer of flavor and visual appeal, drizzle hot fudge sauce or salted caramel sauce into the ice cream during the last few minutes of churning, or swirl it in gently when transferring to the freezer container. This creates beautiful ribbons of flavor throughout.
- Boost the Peanut Butter Flavor: If you’re a true peanut butter fanatic, consider adding an extra tablespoon or two of creamy peanut butter to the base mixture. You can also lightly melt a small amount of peanut butter and drizzle it over the top of individual servings for an added burst of flavor.
Frequently Asked Questions About Homemade Ice Cream
Achieving a smooth, creamy texture is key to great homemade ice cream. One of the easiest and most effective ways to prevent ice crystals from forming, which leads to an icy texture, is to ensure your finished ice cream base is as cold as possible before you begin churning it. Refrigerate the mixture for at least 4-6 hours, or even overnight, before pouring it into your ice cream maker. The colder the base is when it starts churning, the faster it will freeze, resulting in smaller ice crystals and a wonderfully smoother, less icy ice cream. Also, make sure your ice cream maker bowl is thoroughly frozen (usually 24 hours in advance).
Proper storage is crucial for preserving the creamy texture and fresh flavor of your homemade ice cream. Always store the ice cream in an airtight, freezer-proof container. To prevent freezer burn and keep the top surface from developing an icy layer, a clever trick is to place a piece of waxed paper, parchment paper, or plastic wrap directly against the top surface of the ice cream before securing the lid. This creates a barrier that protects it from air exposure. Store in the coldest part of your freezer, typically towards the back, for up to 1-2 weeks for optimal freshness.
While I haven’t personally tested this specific recipe with dairy-free substitutions, it’s certainly possible to adapt it. You could try replacing the whole milk with full-fat canned coconut milk (ensure it’s well-chilled and shaken) or a mixture of coconut milk and coconut cream for extra richness. For the peanut butter cups, look for dairy-free or vegan-friendly alternatives available in natural food stores or specialty aisles. Please note that the texture and flavor might vary slightly with dairy-free alternatives, but it should still yield a delicious frozen treat.
If your homemade ice cream is too hard to scoop, it often means there isn’t enough sugar or fat, or it’s been frozen too long at too low a temperature. Sugar acts as an antifreeze. Ensure you’re using the specified amount of sugar. For a slightly softer texture, you can add a tablespoon of alcohol (like vodka, which won’t freeze) to the base before churning, or a touch of corn syrup. Storing it in an airtight container also helps prevent it from becoming rock solid.
This particular recipe is designed for an ice cream maker, as the base is quite thin and relies on churning for its texture. However, a no-churn version typically involves a base of sweetened condensed milk and heavy cream, whipped until stiff. While this specific recipe cannot be directly adapted to a no-churn method due to its ingredients, you could find a separate no-churn peanut butter cup ice cream recipe that uses those specific ingredients for a similar flavor profile.
Delightful Serving Suggestions for Your Ice Cream
This Peanut Butter Cup Ice Cream is fantastic on its own, but these additions can take it to a whole new level:
- Warm Hot Fudge Sauce – For an unapologetically indulgent experience, generously drizzle this creamy ice cream with a rich, warm hot fudge sauce. The contrast of warm chocolate and cold, peanut-buttery ice cream creates a truly decadent sundae that’s hard to resist.
- Homemade Peanut Butter Cups – If you’re committed to a completely homemade dessert experience, why not make your own peanut butter cups to use as mix-ins? Crafting your own allows for customization of chocolate and peanut butter ratios, making your ice cream even more special and personalized.
- Epic Ice Cream Sundae Bar – Turn dessert into a festive event by setting up an ice cream sundae bar! Offer this peanut butter cup ice cream alongside various toppings like whipped cream, cherries, sprinkles, chopped nuts, different sauces, and other candy pieces. It’s a fantastic idea for parties and gatherings, appealing to kids, adults, and the entire neighborhood!
- Brownie or Cookie À La Mode: Serve a scoop of this ice cream alongside a warm, fudgy brownie or a freshly baked chocolate chip cookie. The combination of warm and cold, soft and chewy, is absolutely divine.
- Coffee Affogato Twist: For an adult treat, place a scoop in a mug and pour a shot of hot espresso over it. The coffee enhances the chocolate and peanut butter flavors beautifully, creating a sophisticated dessert.
More Tasty Summer Dessert Recipes to Enjoy
Looking for more sweet treats to cool down or cap off a meal? Explore these other delightful dessert recipes perfect for any occasion:
- Classic Banana Cream Pie: A timeless dessert featuring a creamy banana custard, fresh banana slices, and a flaky crust.
- Tangy Raspberry Crumble Bars: Sweet and tart raspberry filling sandwiched between a buttery, crumbly oat crust.
- Festive Patriotic Pretzels: A fun and easy snack, perfect for holidays, drizzled with white chocolate and red and blue sprinkles.
- Creamy Strawberry Milkshakes: A refreshing blend of fresh strawberries, milk, and ice cream, perfect for a summer treat.
- Fun Watermelon Krispie Treats: A playful twist on the classic, shaped and colored to resemble slices of watermelon.
- Indulgent Oreo Lasagna (No-Bake Oreo Cream Squares): Layers of crushed Oreos, creamy filling, and whipped topping make for an effortless crowd-pleaser.
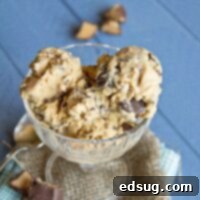
Peanut Butter Cup Ice Cream
Pin Recipe
Rate Recipe
Print Recipe
Ingredients
- 1 1/4 cups creamy peanut butter
- 3/4 cup granulated sugar
- 3 1/4 cups whole milk
- 1 1/2 teaspoon vanilla extract
- 1 cup Peanut Butter Cups, chopped into bite-sized pieces
Instructions
-
Using an electric mixer, combine the creamy peanut butter and granulated sugar in a large bowl. Beat until the mixture is smooth and well-blended, ensuring the sugar starts to dissolve.
-
With the mixer on low speed, gradually add 1 cup of the whole milk. Continue to mix for approximately 2 minutes, until the sugar is fully dissolved and the base is smooth and uniform.
-
Pour in the remaining milk and the vanilla extract. Mix on low to medium speed until all ingredients are thoroughly combined and the ice cream base is creamy.
-
Transfer the milk mixture into the pre-frozen bowl of your ice cream maker. Churn the ice cream according to your manufacturer’s instructions until it reaches a soft-serve consistency (usually 20-30 minutes).
-
Once the ice cream is churned to a soft-serve texture, gently fold in the chopped peanut butter cups. Ensure they are evenly distributed throughout the mixture.
-
Spoon the finished ice cream into an airtight, freezer-safe container. Place it in the freezer for at least one hour (or ideally 3-4 hours) to firm up before serving.
Notes
Nutrition
Nutrition information is automatically calculated and should be used as an approximation.
Additional Recipe Information
Enjoyed this recipe? Leave a comment below and share your experience!
I’ve created a fantastic community group on Facebook, and I’d be absolutely delighted for you to become a part of it! It’s a vibrant space where you can share your own favorite recipes, ask questions, and stay completely up-to-date with all the new delicious content from Dinners, Dishes and Desserts, ensuring you never miss a new recipe!
Be sure to follow me on Instagram and
tag #dinnersdishes so I can see all the wonderful DINNERS, DISHES, AND DESSERTS
recipes YOU make and share!
Don’t miss out on any new posts – be sure to follow me across my social media channels!
Facebook | Twitter | Pinterest | Instagram
