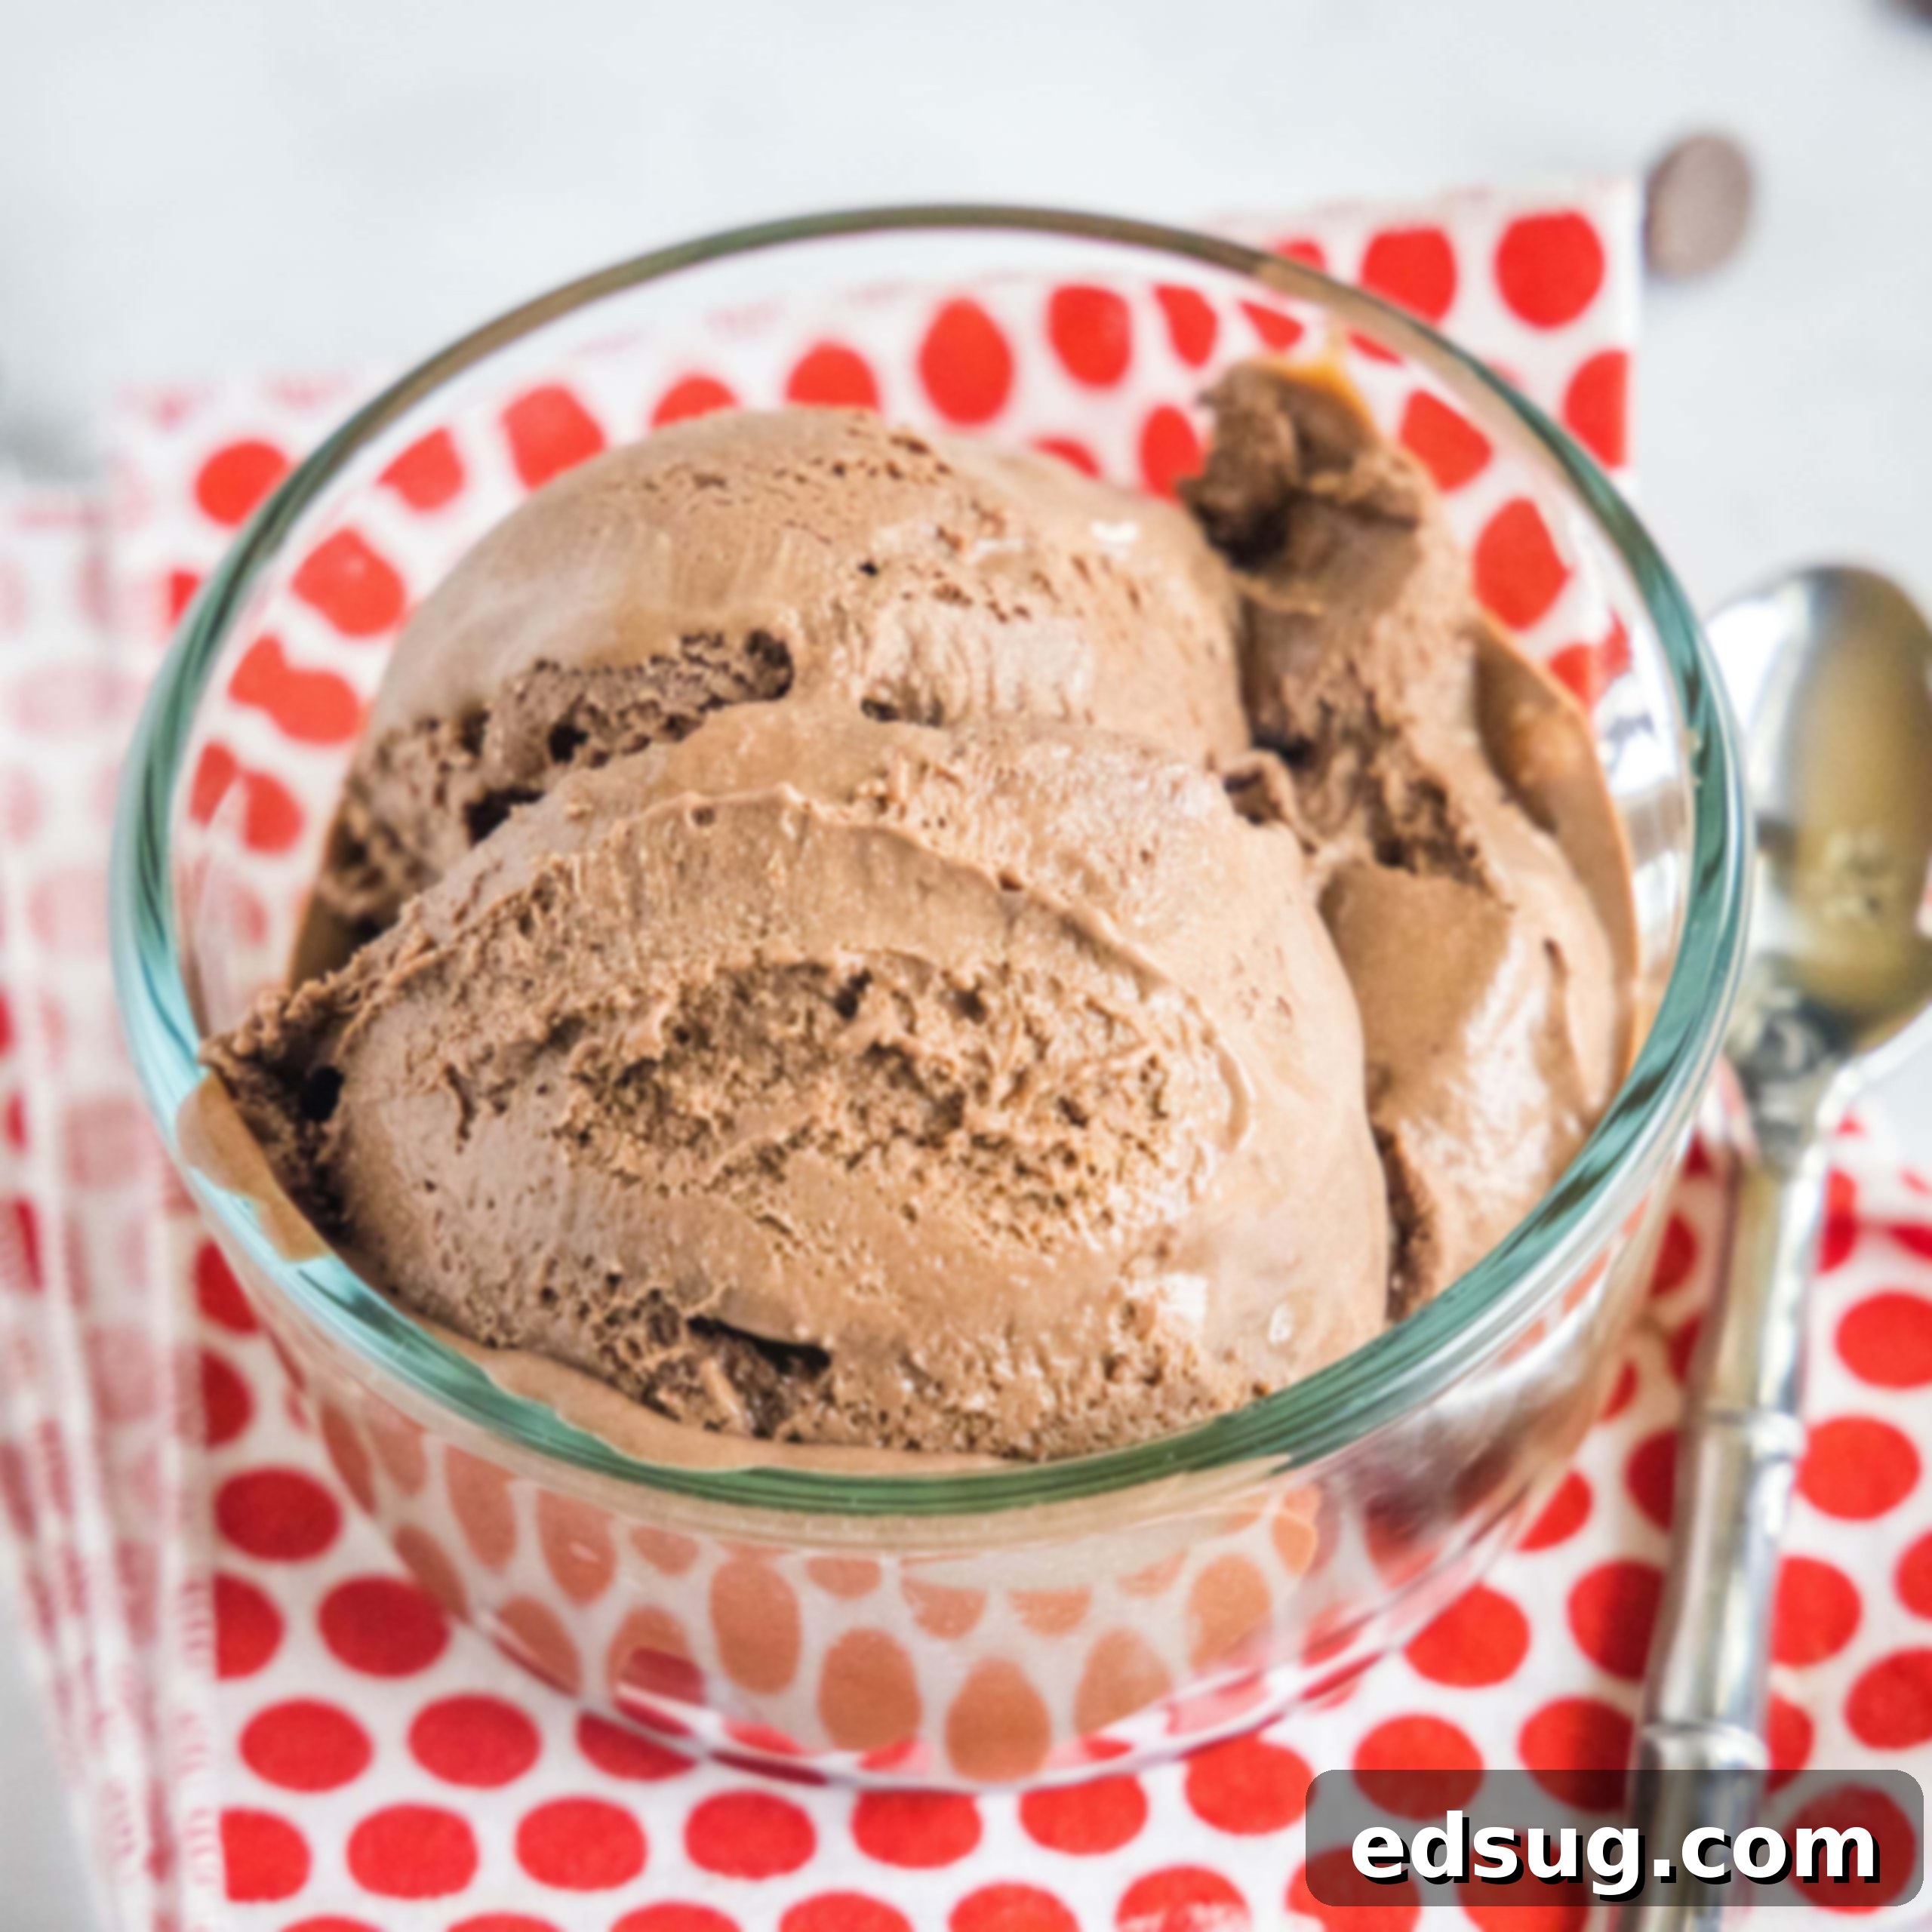
The Ultimate Guide to Making Rich, Creamy Homemade Chocolate Ice Cream
Prepare to tantalize your taste buds with the absolute best, most decadent, and luxuriously creamy Homemade Chocolate Ice Cream you’ll ever churn. This recipe isn’t just easy; it’s a journey to crafting the richest, most intensely chocolatey frozen dessert that will make you forget all about store-bought tubs. Imagine scoops of velvety smooth chocolate goodness, made right in your own kitchen with simple, wholesome ingredients. This isn’t just any chocolate ice cream; it’s an experience waiting to happen, promising a delightful treat for any day of the year, whether it’s a scorching summer afternoon or a cozy winter evening.
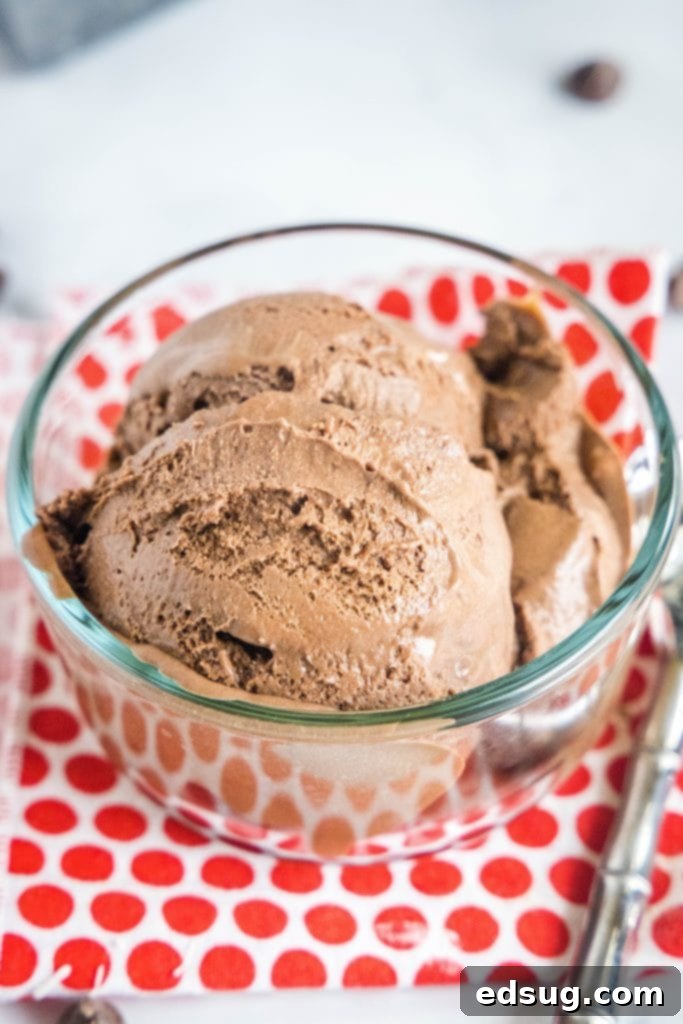
Indulge in a truly satisfying and profoundly delicious dessert with this exceptional homemade chocolate ice cream recipe! What sets this recipe apart is its deep, complex chocolate flavor, achieved by combining two kinds of chocolate: rich, unsweetened cocoa powder for an earthy base, and luxurious semi-sweet chocolate chips that melt into the custard, contributing to its incredible smoothness and intense flavor. Alongside these chocolate powerhouses, you’ll find a handful of other simple, readily available ingredients that transform into this magical frozen delight. This isn’t merely a dessert; it’s a perfect choice for a sweet after-dinner treat, a refreshing pick-me-up on a warm day, or a celebratory addition to any gathering. Despite its gourmet taste and texture, the process is surprisingly straightforward, requiring only a few key steps. Get ready to savor every single spoonful of this undeniably delectable and deeply satisfying chocolatey creation!
Why You’ll Absolutely Love This Homemade Chocolate Ice Cream Recipe
- Effortlessly Easy: Don’t let the detailed instructions fool you – this recipe is designed for simplicity. While it involves a few steps and some chilling time, each part is straightforward and requires minimal active cooking. The “downtime” while the custard chills and the ice cream freezes means you’re not constantly tied to the kitchen, making it far less intensive than it might initially appear. It’s a perfect project for home cooks of all skill levels, delivering gourmet results without the fuss.
- Common, Accessible Ingredients: Many people find the idea of making homemade ice cream a bit intimidating, imagining exotic or hard-to-find components. Not so with this recipe! It relies entirely on everyday staples you likely already have in your pantry or can easily pick up at any grocery store. Think heavy cream, whole milk, eggs, sugar, and cocoa powder – humble ingredients that, when combined correctly, create something truly extraordinary.
- Perfect for Making Ahead: If you’re someone who loves to plan desserts in advance, or needs a show-stopping treat for an upcoming event, homemade ice cream is your ideal candidate. This recipe not only allows you to make it ahead but actually benefits from it! The custard needs a good 8 hours (or even overnight) to chill thoroughly, which is crucial for achieving that ultra-creamy texture. This means you can prepare the base a day or two in advance, churn it when convenient, and have perfect, ready-to-serve ice cream whenever you need it.
What You’ll Need: Simple Ingredients for Rich Flavor
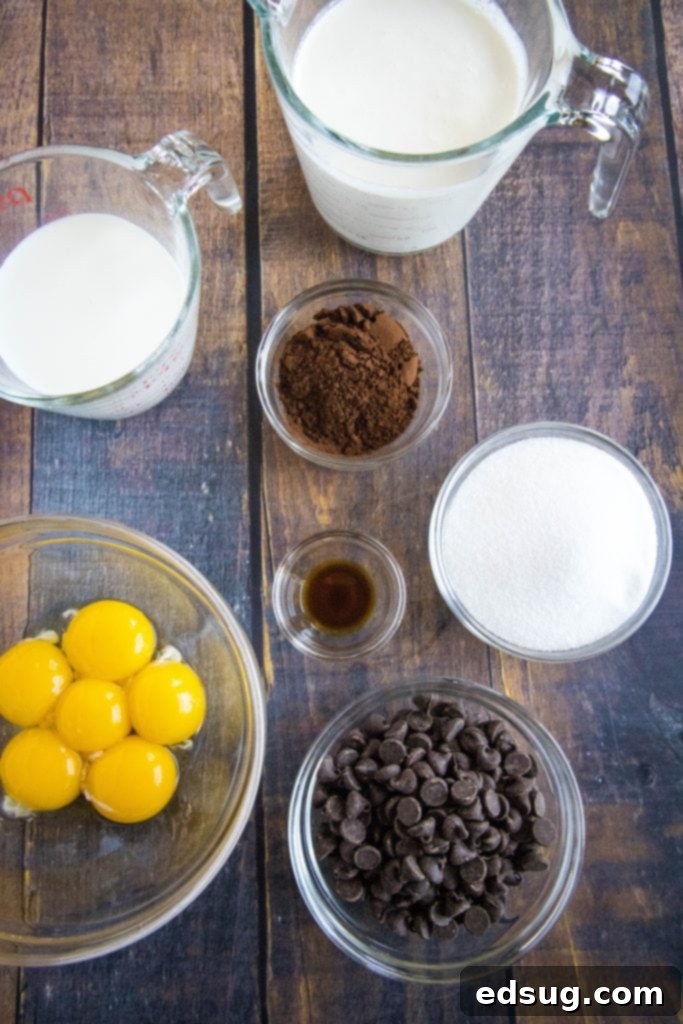
The magic of this homemade chocolate ice cream comes from a carefully balanced blend of common ingredients. Each plays a vital role in achieving that rich, creamy, and deeply satisfying texture and flavor:
- Heavy Cream: This is the superstar for ultimate richness and creaminess. Its high-fat content is essential for a smooth, luscious ice cream that resists ice crystal formation.
- Whole Milk: Providing a necessary balance to the heavy cream, whole milk contributes to the liquid base of our custard without making it overly heavy.
- Egg Yolks: The secret to a truly smooth, rich, and velvety custard-based ice cream. Egg yolks act as an emulsifier, binding the ingredients and preventing iciness, while also adding a beautiful pale yellow hue and contributing to the body of the ice cream.
- Granulated Sugar: Beyond sweetness, sugar is crucial for the texture of ice cream. It lowers the freezing point, helping to keep the ice cream soft and scoopable.
- Unsweetened Cocoa Powder: For that deep, authentic chocolate flavor. We recommend a high-quality cocoa powder for the best results. You can choose regular unsweetened cocoa for a classic taste or Dutch-processed for a darker color and milder, less acidic flavor.
- Semi-Sweet Chocolate Chips: These add another layer of chocolate complexity and melt into the warm base, contributing to the smooth texture and intense flavor. They ensure a pronounced chocolate presence throughout.
- Vanilla Extract: A touch of pure vanilla extract enhances and rounds out the chocolate flavors, adding a subtle warmth and depth that makes the ice cream even more irresistible.
This exquisite chocolate ice cream is proudly based on my all-time favorite Homemade Vanilla Ice Cream recipe. It truly is a testament to the power of a custard base, which consistently delivers an unparalleled smooth, rich, and wonderfully creamy texture that sets it apart from simpler, no-churn versions.
How To Make The Best Homemade Chocolate Ice Cream
Creating this gourmet chocolate ice cream at home is a rewarding process. Follow these detailed steps to achieve perfect results:
- Prepare the Chocolate Milk Base: In a sturdy saucepan, combine the whole milk, granulated sugar, and 1 cup of heavy cream. Place this mixture over medium heat. Gradually whisk in the unsweetened cocoa powder until it is fully incorporated and the mixture is beautifully smooth, with no lumps of cocoa remaining. Continue to heat, whisking occasionally, until the mixture just comes to a gentle boil. Once it reaches a boil, reduce the heat immediately and let it simmer for approximately 30 seconds. This brief simmer helps to deepen the cocoa flavor and ensures the sugar is fully dissolved.
- Melt in the Chocolate Chips: Remove the saucepan from the heat. Stir in the semi-sweet chocolate chips. Continue to stir until they are completely melted into the warm milk mixture, resulting in a perfectly smooth, glossy, and intensely chocolatey base. Set this aside briefly.
- Whisk the Egg Yolks: In a separate, medium-sized bowl, vigorously whisk the egg yolks. Continue whisking until they are thoroughly combined, appear pale yellow in color, and have a slightly thickened consistency. This aeration is important for a smooth custard.
- Temper the Eggs: This is a crucial step to prevent the egg yolks from scrambling. While actively and continuously whisking the egg yolks in their bowl, very slowly stream in about half of the warm chocolate milk mixture. Pour in a thin, steady stream. This gradual addition raises the temperature of the egg yolks gently, tempering them. Once about half is incorporated, pour the tempered egg yolk mixture back into the saucepan with the remaining chocolate milk base.
- Cook the Custard: Return the saucepan to the stove over medium heat. Continue to cook the mixture, stirring frequently and scraping the bottom of the pan to prevent scorching. Heat until the custard reaches a temperature of 170-175°F (77-79°C). You can test for doneness by dipping a spoon into the custard; it should coat the back of the spoon. When you run your finger across the spoon, the line should remain separated and not run back together. Do not boil the custard once the eggs are added, as this can cause them to curdle.
- Strain for Smoothness: To ensure an impeccably smooth and velvety ice cream, pour the cooked custard mixture through a fine-mesh sieve into a clean bowl. This step will catch any tiny bits of scrambled egg (if any occurred) or undissolved cocoa, guaranteeing a flawless texture.
- Chill the Custard: Stir in the remaining heavy cream and vanilla extract into the strained custard. This addition helps cool the mixture and incorporates the final rich elements. Cover the bowl tightly with plastic wrap, pressing the wrap directly onto the surface of the custard to prevent a skin from forming. Place the bowl in the refrigerator for at least 8 hours, or preferably overnight, until it is thoroughly chilled and very cold. This chilling period is vital for the texture of your ice cream.
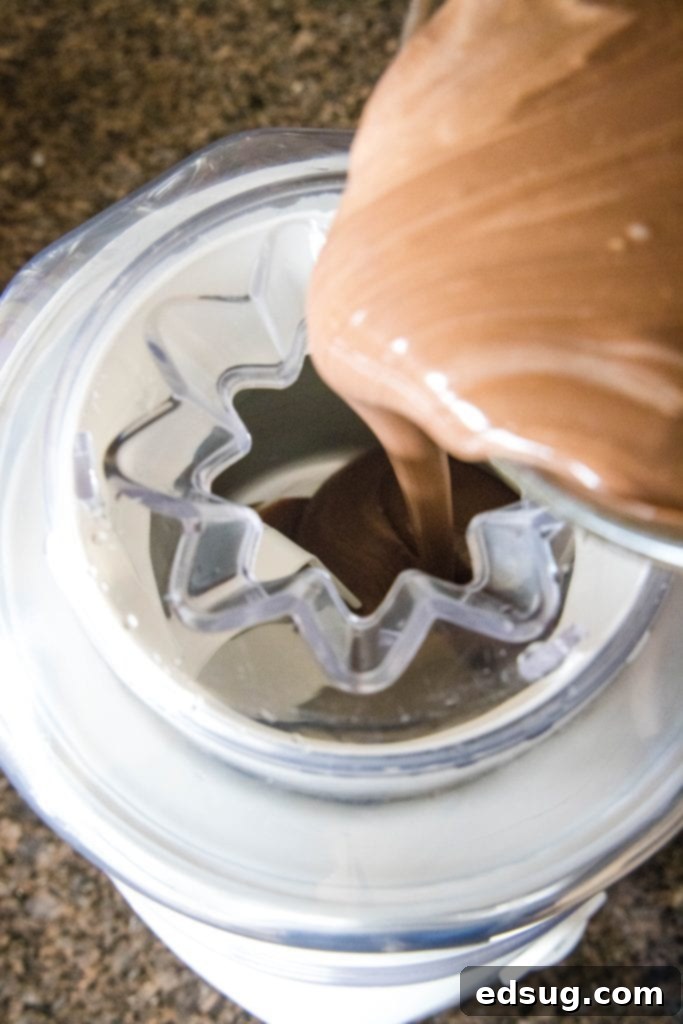
- Churn the Ice Cream: Once the custard mixture is perfectly cold, transfer it to your ice cream maker. Churn for approximately 25 minutes, or according to the specific instructions provided by your ice cream maker’s manufacturer. The mixture will be soft-serve consistency at this stage.
- Firm Up in the Freezer: Transfer the freshly churned, soft ice cream to an airtight freezer-safe container. Place it in the freezer for at least an hour (or up to several hours) to allow it to fully firm up to a scoopable consistency before serving.
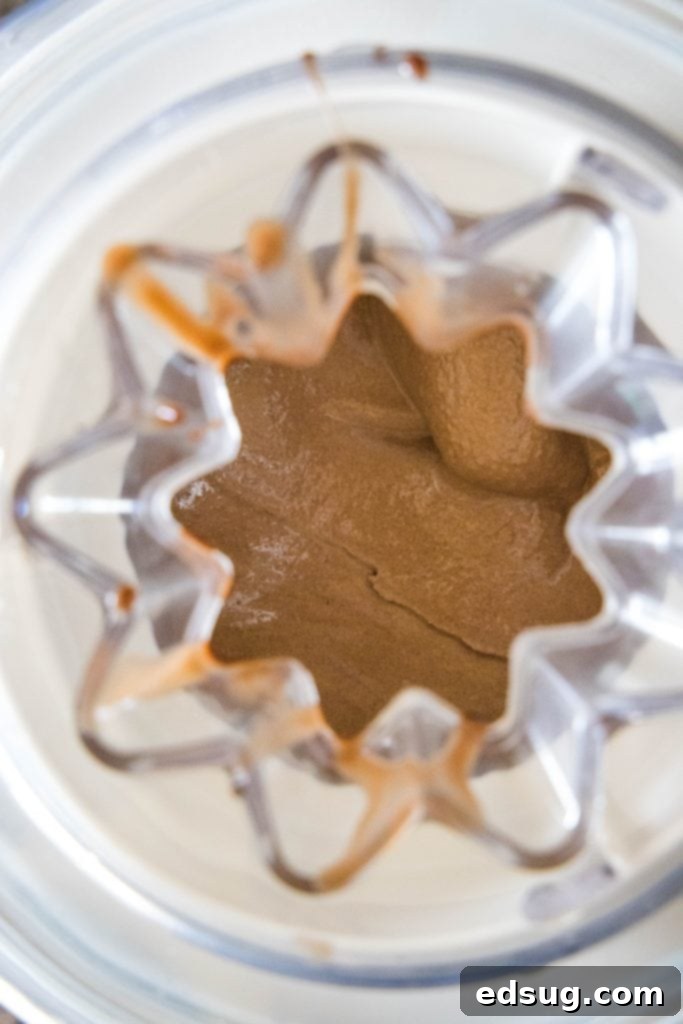
Expert Recipe Tips & Tricks for Perfect Chocolate Ice Cream
Achieving that perfectly rich, creamy, and irresistible homemade chocolate ice cream is easier with a few insider tips:
- Customizing Your Chocolate Flavor: The beauty of homemade ice cream is the ability to tailor it to your preferences.
- Cocoa Powder Choice: You can use any high-quality unsweetened cocoa powder. For a classic, balanced chocolate flavor, regular cocoa works wonderfully. If you desire a darker, less acidic, and more intense chocolate profile, opt for Dutch-processed cocoa powder.
- Chocolate Chip Variation: For a sweeter ice cream, consider using milk chocolate chips instead of semi-sweet. If you’re a true dark chocolate aficionado and want an intensely dark chocolate experience, combine dark or Dutch-processed cocoa powder with high-quality dark chocolate chips (70% cacao or higher). Feel free to experiment with different percentages to find your perfect balance of richness.
- Mastering the Egg Tempering Technique: The step where you slowly add the warm chocolate mixture to the egg yolks (tempering) is critical. Whisk continuously and vigorously as you slowly stream in the warm liquid. This gradual heating prevents the eggs from scrambling and ensures they smoothly incorporate into the custard, contributing to its velvety texture. While a few tiny, almost imperceptible bits might still appear (which the sieve will catch), a successful tempering will prevent a lumpy, unappealing texture.
- The Importance of a Thermometer: For the most accurate and consistent results when cooking the custard, using a reliable kitchen thermometer is highly recommended. It takes the guesswork out of the process, ensuring you cook the custard to the precise temperature (170-175°F) needed for safety and optimal thickness without overcooking or curdling the eggs.
- Embrace the Overnight Chill: Patience is a virtue in ice cream making, especially when it comes to chilling the custard. Allowing the mixture to sit in the fridge overnight (at least 8 hours) is paramount. This extended chilling time not only ensures the custard is exceptionally cold, which is vital for efficient churning and a creamy texture, but also allows the flavors to meld and deepen beautifully. You can easily make the custard one day and churn it the next, making meal prep a breeze.
- Post-Churn Freezing for Perfect Scoops: While your ice cream maker will produce a soft-serve consistency, the ice cream truly transforms after an additional hour or more in the freezer. This “curing” time allows it to firm up properly, developing that classic, scoopable texture we all love. Don’t rush this final step – it’s key to achieving perfectly formed balls of rich chocolate ice cream.
- Optimal Storage for Freshness: Store your homemade chocolate ice cream in an airtight container in the coldest part of your freezer. This prevents freezer burn and helps maintain its creamy texture and fresh flavor for up to two weeks. For best scoopability, remove it from the freezer 5-10 minutes before serving.
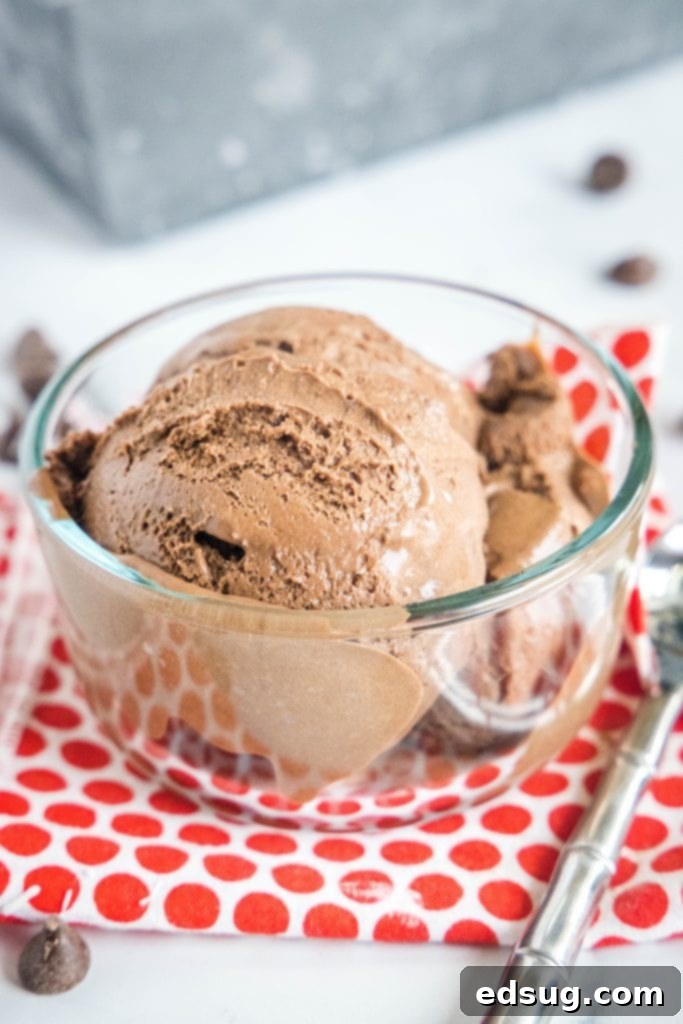
Elevate Your Dessert: Ice Cream Toppings Galore!
While this rich, creamy homemade chocolate ice cream is absolutely divine on its own, it also serves as the perfect canvas for an array of delightful toppings. Transform it into a spectacular dessert with an Ice Cream Sundae Bar, offering something for everyone!
- Homemade Hot Fudge: An absolute classic! What could be better than rich chocolate ice cream topped with even more warm, gooey chocolate fudge? It’s a chocolate lover’s dream!
- Peanut Butter Magic Shell: For those who adore the timeless chocolate and peanut butter combination, this crunchy, homemade magic shell is a game-changer. It hardens instantly on contact with the cold ice cream!
- Crunchy Delights: Sprinkle with an assortment of your favorite nuts (pecans, walnuts, almonds), extra chocolate chips, mini marshmallows, or crushed cookies (Oreos, graham crackers).
- Fruity Freshness: Add a burst of natural sweetness with fresh berries like strawberries, raspberries, or sliced bananas.
- Caramel Drizzle: A luscious swirl of warm caramel sauce adds a wonderful buttery counterpoint to the deep chocolate.
- The Classic Sundae Finish: Top with a generous dollop of freshly whipped cream and crown it with a bright red maraschino cherry for the ultimate sundae experience!
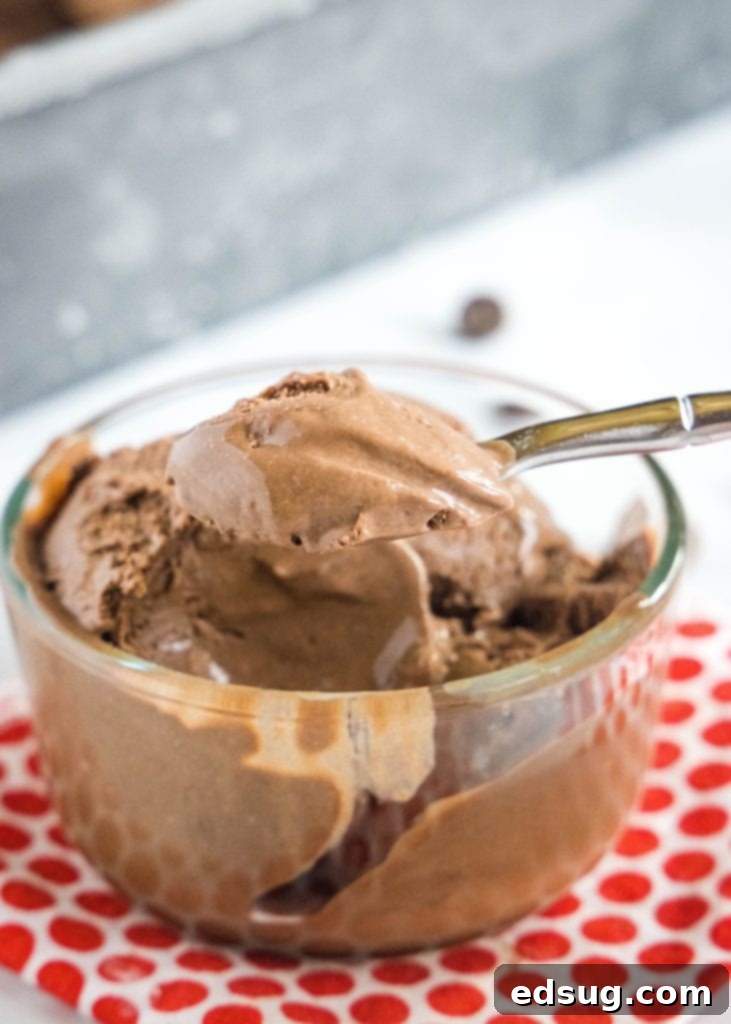
More Fun Summer & Year-Round Dessert Recipes
Looking for more sweet treats to enjoy beyond this fantastic chocolate ice cream? Here are some other delightful dessert recipes that are perfect for summer gatherings or any time you crave something sweet:
- Oreo Lasagna (No-Bake Oreo Cream Squares)
- No Bake Lemon Cheesecake
- Snicker Salad
- Strawberry Cheesecake Lasagna
- Oven S’mores
- Strawberry Milkshakes
- Watermelon Rice Krispie Treats

Chocolate Ice Cream
Erin Sellin
5 minutes
30 minutes
8 hours
8 hours
35 minutes
1
quart
Pin Recipe
Rate Recipe
Print Recipe
Ingredients
-
2
cups
heavy cream
,
divided -
1
cup
whole milk
-
3/4
cup
granulated sugar
-
1/4
cup
unsweetened cocoa powder
-
6
oz
semi-sweet chocolate -
6
large egg yolks -
1/2
teaspoon
vanilla extract
Instructions
-
Start by mixing together whole milk, granulated sugar, and 1 cup of heavy cream over medium heat. Whisk in cocoa powder until it is nice and smooth. Bring this to a boil. Once it boils, reduce heat and cook for about 30 seconds. You want to get it just hot enough that it will melt the chocolate chips.
-
Remove mixture from heat and stir in chocolate chips. Mix until they are completely melted and mixture is nice and smooth.
-
In a separate bowl, whisk egg yolks until they are really well combined and have a pale yellow color.
-
Very slowly, while actively whisking eggs, stream in chocolate milk mixture. Once it is all mixed in, pour it back into saucepan and return to stove.
-
Heat mixture over medium heat until it reaches 170-175º F, stirring frequently. It will coat the back of a spoon, and when you run a finger through it, it will stay separated and not run back together.
-
Pour mixture through a sieve to get rid of any eggs that scrambled and make sure it is nice and smooth.
-
Mix in remaining heavy cream and vanilla extract. Cover and place in a fridge for at least 8 hours, or until it is nice and cold.
-
Once mixture is nice and cold, use your ice cream maker and churn for 25 minutes, or according to your manufacturer’s instructions.
-
Store in freezer for at least an hour until ready to serve.
Nutrition
Calories:
311
kcal
|
Carbohydrates:
25
g
|
Protein:
6
g
|
Fat:
22
g
|
Saturated Fat:
13
g
|
Polyunsaturated Fat:
8
g
|
Trans Fat:
1
g
|
Cholesterol:
155
mg
|
Sodium:
57
mg
|
Fiber:
1
g
|
Sugar:
23
g
Nutrition information is automatically calculated, so should only be used as an approximation.
Additional Info
Erin Sellin
5 minutes
30 minutes
8 hours
8 hours
35 minutes
Dessert Recipes
American
1
quart
311
Like this recipe? Leave a comment below!
I created a fun group on Facebook, and I would love for you to join us! It’s a place where you can share YOUR favorite recipes, ask questions, and see what’s new at Dinners, Dishes and Desserts (so that you never miss a new recipe)!
Be sure to follow me on Instagram and tag #dinnersdishes so I can see all the wonderful DINNERS, DISHES, AND DESSERTS recipes YOU make!
Be sure to follow me on my social media, so you never miss a post!
Facebook | Twitter | Pinterest | Instagram
.
