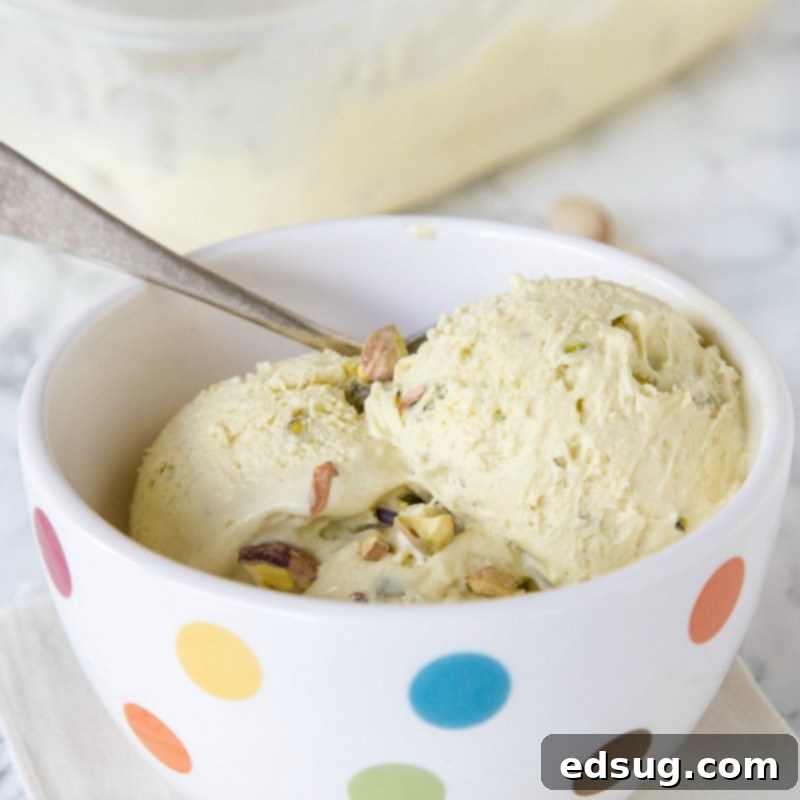
Homemade Pistachio Ice Cream: Creamy, Nutty & Naturally Delicious
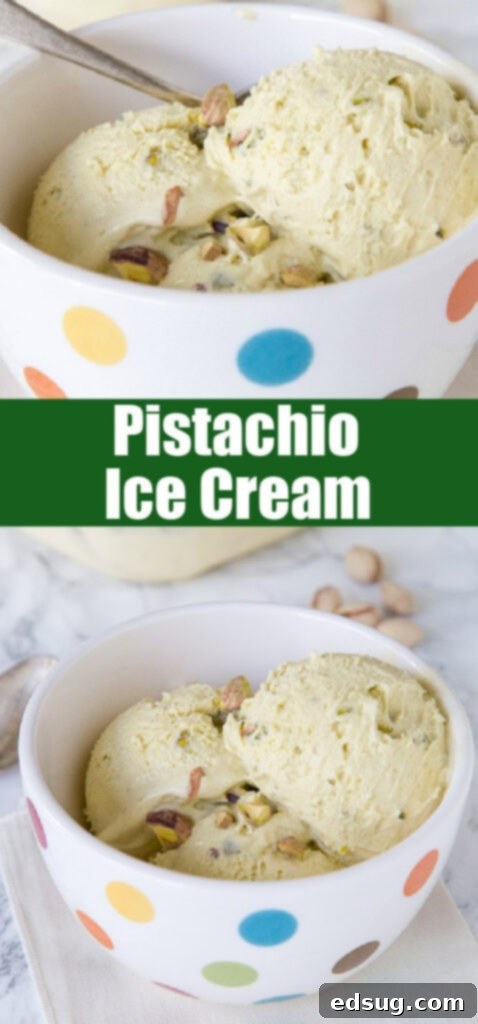
Indulge in the irresistible flavor of homemade Pistachio Ice Cream, a luxurious treat infused with a rich, nutty, and subtly buttery taste. This recipe brings you the pure essence of pistachios, free from artificial colors or preservatives often found in store-bought versions. Each scoop is generously loaded with finely ground and coarsely chopped pistachios, providing both a smooth texture and a delightful crunch. Whether enjoyed on its own or as a decadent accompaniment to your favorite desserts à la mode, this homemade pistachio ice cream is sure to become a cherished recipe.
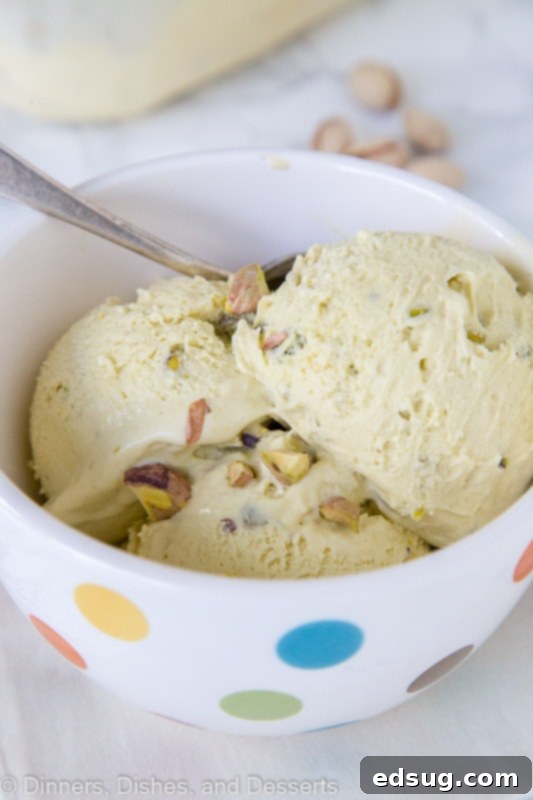
There’s something uniquely comforting and refreshing about a scoop of ice cream, especially as the warmer months arrive. It’s a universal symbol of summer joy, family gatherings, and sweet indulgence. While many flavors vie for attention, pistachio stands out with its distinctive profile and elegant appeal.
My personal journey with pistachio ice cream took a delicious turn during a summer trip to Italy. My husband, captivated by the local culinary scene, ordered pistachio gelato at every opportunity. We quickly discovered that traditional Italian gelato often relies on a concentrated pistachio paste for its intense flavor. This experience inspired me to recreate that authentic, vibrant pistachio taste at home, but with a fresher approach. Instead of a paste, this recipe utilizes freshly ground pistachios, steeped directly in milk, to extract their full, natural essence and achieve an unparalleled flavor profile that truly shines.
I first developed this pistachio ice cream recipe during my early days of blogging, aiming for a taste that rivals gourmet creameries. It proved so successful that I incorporated it into another beloved treat: my Pistachio Ice Cream Sandwich Cookies. Beyond ice cream, pistachios have a magical ability to elevate almost anything, including these surprisingly healthy Pistachio Cranberry Energy Bars. They offer a delightful crunch and a boost of flavor, making them a perfect snack for hiking or a wholesome addition to a lunchbox. The versatility of pistachios is truly remarkable, and this ice cream recipe perfectly showcases their unique charm.
Why You’ll Love This Homemade Pistachio Ice Cream Recipe
- Unrivaled Freshness and Flavor: You’ll savor the rich, creamy taste of this homemade pistachio ice cream, knowing it’s made without any artificial flavors, colors, or preservatives. The natural buttery, nutty notes of pistachios truly come through, offering a gourmet experience that store-bought options simply can’t match.
- Beginner-Friendly Instructions: Don’t be intimidated by making ice cream from scratch! This recipe provides simple, easy-to-follow instructions that guide even a beginner through the process, ensuring you can create an amazing dessert with confidence. You’ll be surprised at how accessible and rewarding homemade ice cream can be.
- A Special, Naturally Green Treat: The unique, slightly buttery flavor and delicate natural green color of pistachios make this ice cream a truly special and elegant dessert. It’s a sophisticated treat that’s impossible not to love, perfect for impressing guests or simply enjoying a moment of pure bliss.
- Perfect Creamy-Crunchy Texture: By incorporating finely ground pistachios into the base and then folding in coarsely chopped pistachios after churning, this ice cream achieves a delightful blend of velvety creaminess and the perfect amount of satisfying crunch. Every spoonful offers a dynamic textural experience.
- Economical Indulgence: Making your own ice cream at home is often more cost-effective than repeatedly buying premium tubs from the store. This allows you to indulge in high-quality, delicious ice cream more frequently without breaking the bank, and often with plenty left over to enjoy later.
- Customizable to Your Taste: Homemade means you’re in control! Adjust the sweetness, add extra pistachios, or experiment with other mix-ins to tailor this ice cream exactly to your preferences. The possibilities are endless for creating your ultimate pistachio dream dessert.
Essential Ingredients for Perfect Pistachio Ice Cream
Crafting exceptional pistachio ice cream starts with a selection of high-quality ingredients. Each component plays a crucial role in achieving that rich flavor and incredibly creamy texture:
- Pistachio Nuts: The star of the show! You’ll need shelled pistachio nuts for this recipe. It’s best to use unsalted pistachios to control the overall flavor profile. You’ll use 1 ¼ cups for steeping and flavoring the base, and then set aside an additional ½ cup of coarsely chopped pistachios to fold into the finished ice cream for that delightful textural contrast. If you can find raw pistachios, even better, as they offer the most authentic flavor when ground.
- Granulated Sugar: Beyond merely sweetening the ice cream, sugar is vital for its texture. It helps lower the freezing point of the mixture, preventing it from becoming rock-hard and ensuring it maintains a smooth, scoopable consistency directly from the freezer.
- Heavy Cream: This is the foundation of our rich custard base, contributing significantly to the luxurious, velvety texture of the ice cream. Using full-fat heavy cream (at least 36% milk fat) is essential for that signature creamy mouthfeel and to prevent ice crystal formation.
- Whole Milk: While heavy cream provides richness, whole milk (around 3.5% milk fat) helps to lighten the custard base slightly, preventing it from becoming too dense. Whole milk is important here for optimal flavor and creaminess; avoid using skim or low-fat milk, as they will compromise the final texture.
- Egg Yolks: These are critical for creating the classic custard base (crème anglaise) that forms the heart of this ice cream. Egg yolks act as an emulsifier, binding the fat and water molecules together, which results in an incredibly rich, smooth, and stable ice cream with a superior texture that resists iciness. They also contribute to a beautiful pale yellow color.
- Vanilla Extract: A staple in most dessert recipes, vanilla extract adds a sweet, warm, and aromatic background flavor that complements the pistachios without overpowering them. Use a good quality pure vanilla extract for the best results.
- Almond Extract: This is a secret weapon for enhancing the pistachio flavor. Almond extract has a similar aromatic profile to pistachios, and a small amount works wonders to accentuate and deepen the nutty notes, making the pistachio flavor pop even more. Be careful not to add too much, as it can easily dominate.
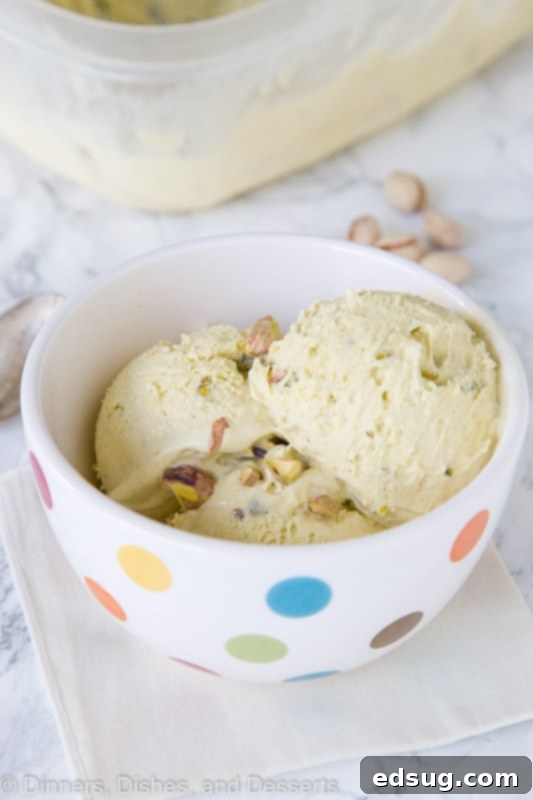
Step-by-Step Guide: How to Make Homemade Pistachio Ice Cream
Making homemade pistachio ice cream involves a few key steps, but each is straightforward and contributes to the incredible final product. Follow these instructions carefully for the best results:
- Grind the Pistachios: Begin by taking 1 ¼ cups of shelled pistachio nuts and placing them in a food processor. Pulse until they are finely ground, resembling a coarse meal. Be careful not to over-process them to the point of forming a paste, as we want to extract flavor from the ground nuts, not create a butter at this stage.
- Heat the Cream Base and Steep: In a large, heavy-bottomed saucepan, combine the whole milk, granulated sugar, and 1 cup of the heavy cream. Stir continuously over medium heat until the sugar completely dissolves and the mixture begins to steam, but do not bring it to a boil. Once steaming hot, remove the saucepan from the heat and stir in the finely ground pistachios. Cover the saucepan with a lid and let the mixture steep for 30-45 minutes. This crucial step allows the heat to extract the deep, nutty flavors from the pistachios into the cream base.
- Strain and Press for Flavor: After steeping, place a fine-mesh strainer over a clean bowl. Pour the pistachio-infused milk mixture through the strainer. Use a rubber spatula or the back of a spoon to press firmly on the ground nuts collected in the strainer, extracting as much of the flavored liquid as possible. Discard the spent nuts. Return the strained, pistachio-flavored liquid to the saucepan.
- Prepare the Strainer Bowl with Cold Cream: In a separate, clean bowl, pour the remaining 1 cup of heavy cream. Place a fine-mesh strainer over this bowl. This setup will be used to strain the hot custard directly into the cold cream later, rapidly cooling it and ensuring a silky-smooth texture. Set this aside.
- Temper the Egg Yolks: In another medium-sized bowl, whisk the egg yolks until they are well blended and appear pale yellow. This prepares them for tempering. Slowly, and while continuously whisking, ladle a small amount of the warm (but not boiling) steeped milk mixture into the egg yolks. Continue to add the warm milk mixture gradually, whisking constantly, until the egg yolks are warmed through. This tempering process prevents the eggs from scrambling when they are added to the hot liquid. Once tempered, pour the entire egg yolk mixture back into the saucepan with the remaining pistachio milk.
- Cook the Ice Cream Custard Base: Return the saucepan to the stovetop and cook the mixture over medium heat. Stir constantly with a heatproof spatula, making sure to scrape the bottom of the pan to prevent scorching. Continue to cook until the mixture thickens enough to coat the back of the spatula. To test, run your finger across the spatula; if the line remains separated, the custard is ready. Alternatively, if using a thermometer, the mixture should reach a temperature between 170-175°F (77-79°C). Do not let it boil.
- Strain into the Cold Cream and Flavor: Immediately pour the thickened custard through the prepared strainer, directly into the bowl with the cold heavy cream. This rapid cooling helps to stop the cooking process and ensures a perfectly smooth custard, catching any tiny bits of cooked egg that might have formed. Stir in the vanilla extract and almond extract until thoroughly combined.
- Chill Thoroughly and Churn: Cover the ice cream base tightly with plastic wrap, pressing the wrap directly onto the surface to prevent a skin from forming. Refrigerate the base until it is completely cold, ideally overnight for at least 8 hours. The colder the base, the better your ice cream will churn and the smoother the final texture will be, minimizing ice crystals. Once thoroughly chilled, pour the base into your ice cream maker and freeze according to the manufacturer’s instructions.
- Fold in Chopped Pistachios and Freeze: Once the ice cream has churned to a soft-serve consistency, remove it from the ice cream maker. Gently fold in the reserved ½ cup of freshly coarsely chopped pistachios. Transfer the ice cream to an airtight, freezer-safe container. For best results and optimal firmness, freeze the ice cream for at least 4-6 hours (or overnight) before serving.
Recipe Tips & Variations for Your Pistachio Ice Cream
Elevate your homemade pistachio ice cream with these expert tips and creative variations:
- Prioritize Chilling Time: This is perhaps the most critical tip for perfectly smooth, non-icy ice cream. After cooking, always chill your ice cream base overnight (at least 8 hours) in the refrigerator. A very cold base churns more efficiently, resulting in smaller ice crystals and a superior, creamy texture.
- Toast Your Pistachios for Deeper Flavor: For an even more intense and nuanced nutty flavor, lightly toast your shelled pistachios in a dry skillet over medium-low heat for about 5-7 minutes before grinding them. Watch them carefully to prevent burning, as burnt nuts will make the ice cream bitter. This simple step unlocks a deeper aroma and taste.
- Embrace a Natural Green Hue (or Enhance it): The natural green color of pistachios can vary. For a subtle, natural pale green, rely on the steeping process. If you desire a more vibrant green, you can add a tiny drop of green food coloring (gel or liquid) during the last step of mixing in the extracts, just before chilling.
- Serve it Neapolitan-Style: For a delightful classic dessert, serve this pistachio ice cream alongside a scoop each of homemade or high-quality strawberry and chocolate ice creams. Drizzle with warm chocolate syrup or rich hot fudge for an incredible Neapolitan sundae experience that combines three beloved flavors.
- Experiment with Decadent Add-ins: Once the ice cream is churned to a soft-serve consistency, the possibilities for mix-ins are endless! For a truly decadent treat, fold in chunks of dark chocolate, miniature white chocolate chips, or swirl in a luscious salted caramel sauce. You could also try chopped candied pecans or even a hint of cardamom for a unique spice note.
- Add Liqueur for a Grown-Up Flavor: For an adult twist, stir in a shot (about 1-2 tablespoons) of your favorite liqueur just before chilling the base or after churning. Irish Cream adds a creamy, boozy depth, Cointreau (orange liqueur) offers a bright citrusy lift, and Amaretto beautifully complements the nutty pistachio flavor. This also slightly lowers the freezing point, contributing to a softer scoop.
- Make it a Sundae Bar Star: This pistachio ice cream is the perfect foundation for an elaborate ice cream sundae bar. Offer a variety of toppings like whipped cream, cherries, various sauces, different nuts, and sprinkles. Let everyone customize their perfect pistachio creation!
- Use an Ice Bath for Faster Chilling: If you’re short on time and need to chill your ice cream base quickly, prepare an ice bath. Place the bowl containing the strained custard over a larger bowl filled with ice and a little water. Stir the custard frequently until it reaches a temperature of around 39°F (4°C). This can significantly reduce the chilling time from hours to minutes.
- Storage for Freshness: To keep your homemade pistachio ice cream fresh and free from ice crystals, store it in an airtight, freezer-proof container. For an extra layer of protection against freezer burn and ice buildup, press a piece of waxed paper or plastic wrap directly against the surface of the ice cream before sealing the lid. This helps to prevent air exposure.
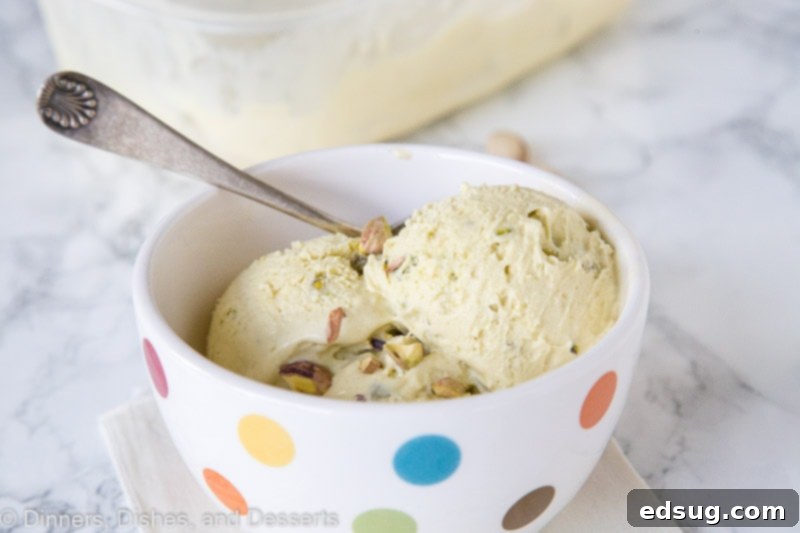
Frequently Asked Questions About Pistachio Ice Cream
Beyond the suggestions above, feel free to get creative with your mix-ins! Fresh raspberries or chopped dried cranberries can offer a lovely tart counterpoint to the buttery pistachio flavor. For candies, consider mini chocolate chips (dark, milk, or white), toffee bits, or even crushed pieces of a shortbread cookie. A swirl of homemade fudge or a sprinkle of shredded coconut could also be delicious additions.
Absolutely! If you need to expedite the cooling process for your ice cream base, you can place the bowl containing the prepared base into a larger bowl filled with ice water (an ice bath). Stir the base frequently with a rubber spatula, making sure to scrape the bottom, until its temperature drops to around 39°F (4°C). This method can significantly cut down the chilling time before you pour it into your ice cream maker for churning.
To maintain the optimal texture and prevent ice crystals, store your homemade pistachio ice cream in an airtight, freezer-proof container. For an extra layer of protection against freezer burn and to keep the surface smooth, place a piece of waxed paper or plastic wrap directly against the top surface of the ice cream before sealing the lid. This minimizes air exposure, which is the main cause of iciness. Properly stored, it will last for up to 2-3 weeks in the freezer.
Delicious Serving Suggestions for Pistachio Ice Cream
While this homemade pistachio ice cream is magnificent on its own, it also pairs beautifully with a variety of toppings and desserts:
- Homemade Hot Fudge Sauce: Drizzle warm, rich hot fudge over your pistachio ice cream for an incredibly decadent and satisfying treat that balances the nutty flavor with deep chocolate notes.
- DIY Magic Shell: Create your own hardening chocolate shell at home using Nutella or another chocolate spread. The crisp shell combined with the creamy pistachio ice cream offers a delightful textural contrast.
- Ice Cream Sundae Bar: Set up a fun ice cream sundae bar with this pistachio ice cream as the star. Offer a variety of toppings such as whipped cream, maraschino cherries, different syrups, other nuts, and sprinkles, allowing everyone to customize their perfect dessert.
- With Fresh Berries: A simple yet elegant pairing, fresh strawberries, raspberries, or blueberries complement the creamy, nutty flavor of the pistachios beautifully.
- Affogato Style: For coffee lovers, place a scoop of pistachio ice cream in a small bowl and pour a shot of hot espresso over it. The melting ice cream and strong coffee create an exquisite dessert.
- Alongside Baked Goods: Serve a scoop with a warm brownie, a slice of apple pie, or a delicate almond cake. The coolness of the ice cream contrasts wonderfully with warm baked desserts.
More Summer Dessert Recipes to Enjoy
Looking for more refreshing and delightful treats for the summer season? Explore these other fantastic dessert recipes:
- Peanut Butter Cup Ice Cream: A dream for peanut butter enthusiasts, packed with chocolatey goodness.
- Homemade Strawberry Popsicles: A simple, fruity, and refreshing treat perfect for cooling down on a hot day.
- Classic Banana Cream Pie: A beloved comfort dessert with a creamy banana filling and a light, airy topping.
- Tangy Strawberry Lemon Bars: Bright and zesty bars with a sweet strawberry layer, ideal for picnics and gatherings.
- Festive 4th Of July Poke Cake: A colorful and moist cake, perfect for patriotic celebrations.
- Sweet & Crispy Special K Bars: An easy, no-bake bar cookie with a delightful crunch and rich chocolate and peanut butter layers.
- Decadent No Bake Oreo Cheesecake: A creamy and indulgent cheesecake that requires no oven, making it perfect for summer.

Pistachio Ice Cream
Rate Recipe
Print Recipe
Ingredients
- 1 1/4 cup shelled pistachios nuts
- 3/4 cup granulated sugar
- 2 cups heavy cream
- 1 cup whole milk
- 6 large egg yolks
- 1 teaspoon vanilla extract
- 1/2 teaspoon almond extract
- 1/2 cup pistachios, coarsely chopped for folding in later
Instructions
-
Grind Pistachios: In a food processor, finely grind the 1 ¼ cups of shelled pistachios. Ensure they are finely ground but not processed into a paste.
-
Steep Cream Base: In a large saucepan, combine the whole milk, granulated sugar, and 1 cup of the heavy cream. Stir until the sugar dissolves. Heat until the mixture is steaming hot and just about to simmer (do not boil). Remove from heat, stir in the ground pistachios, cover, and let steep for 30-45 minutes.
-
Strain Mixture: Place a fine-mesh strainer over a clean bowl. Pour the warm pistachio mixture through the strainer, pressing firmly on the ground nuts to extract as much liquid as possible. Discard the nuts.
-
Prepare Cold Cream: In a separate bowl, pour the remaining 1 cup of heavy cream. Cover this bowl with a clean fine-mesh strainer and set aside.
-
Temper Egg Yolks: In another bowl, whisk the egg yolks until well blended and pale. While continuously whisking, slowly pour about 1 cup of the warm strained milk mixture into the egg yolks. Once tempered, pour the entire egg yolk mixture back into the saucepan with the remaining pistachio milk.
-
Cook Custard: Return the saucepan to medium heat. Stir constantly with a heatproof spatula, scraping the bottom, until the mixture thickens enough to coat the spatula. When you run your finger over the spatula, the mixture should separate and stay separated. If using a thermometer, it will reach 170-175ºF (77-79ºC).
-
Strain & Flavor: Immediately pour the hot custard through the prepared strainer into the bowl with the cold cream. This helps to cool it quickly and catch any small lumps. Stir in the vanilla and almond extracts until fully combined.
-
Chill Base: Cover the ice cream base with plastic wrap, pressing it directly onto the surface to prevent a skin from forming. Refrigerate for at least 8 hours, or preferably overnight, until very cold.
-
Churn Ice Cream: Pour the thoroughly chilled base into your ice cream maker and freeze according to the manufacturer’s instructions until it reaches a soft-serve consistency.
-
Add Pistachios: Once churning is complete, gently fold in the ½ cup of coarsely chopped pistachios.
-
Freeze & Serve: Transfer the ice cream to an airtight container and freeze for at least 1 hour (or until firm) before serving for the best texture.
Notes
Nutrition
Nutrition information is automatically calculated, so should only be used as an approximation.
Additional Info
Love this recipe? Share your thoughts below!
I’ve created a fantastic community group on Facebook, and I’d be absolutely thrilled for you to join us! It’s a vibrant space where you can share YOUR favorite recipes, ask questions, get inspiration, and stay up-to-date with all the new culinary delights from Dinners, Dishes and Desserts (so you never miss out on a delicious new recipe)!
Be sure to follow me on Instagram and tag #dinnersdishes so I can see all the wonderful DINNERS, DISHES, AND DESSERTS recipes YOU create!
Make sure to follow me on all my social media channels, so you never miss a post or a new recipe!
Facebook | Twitter | Pinterest | Instagram
