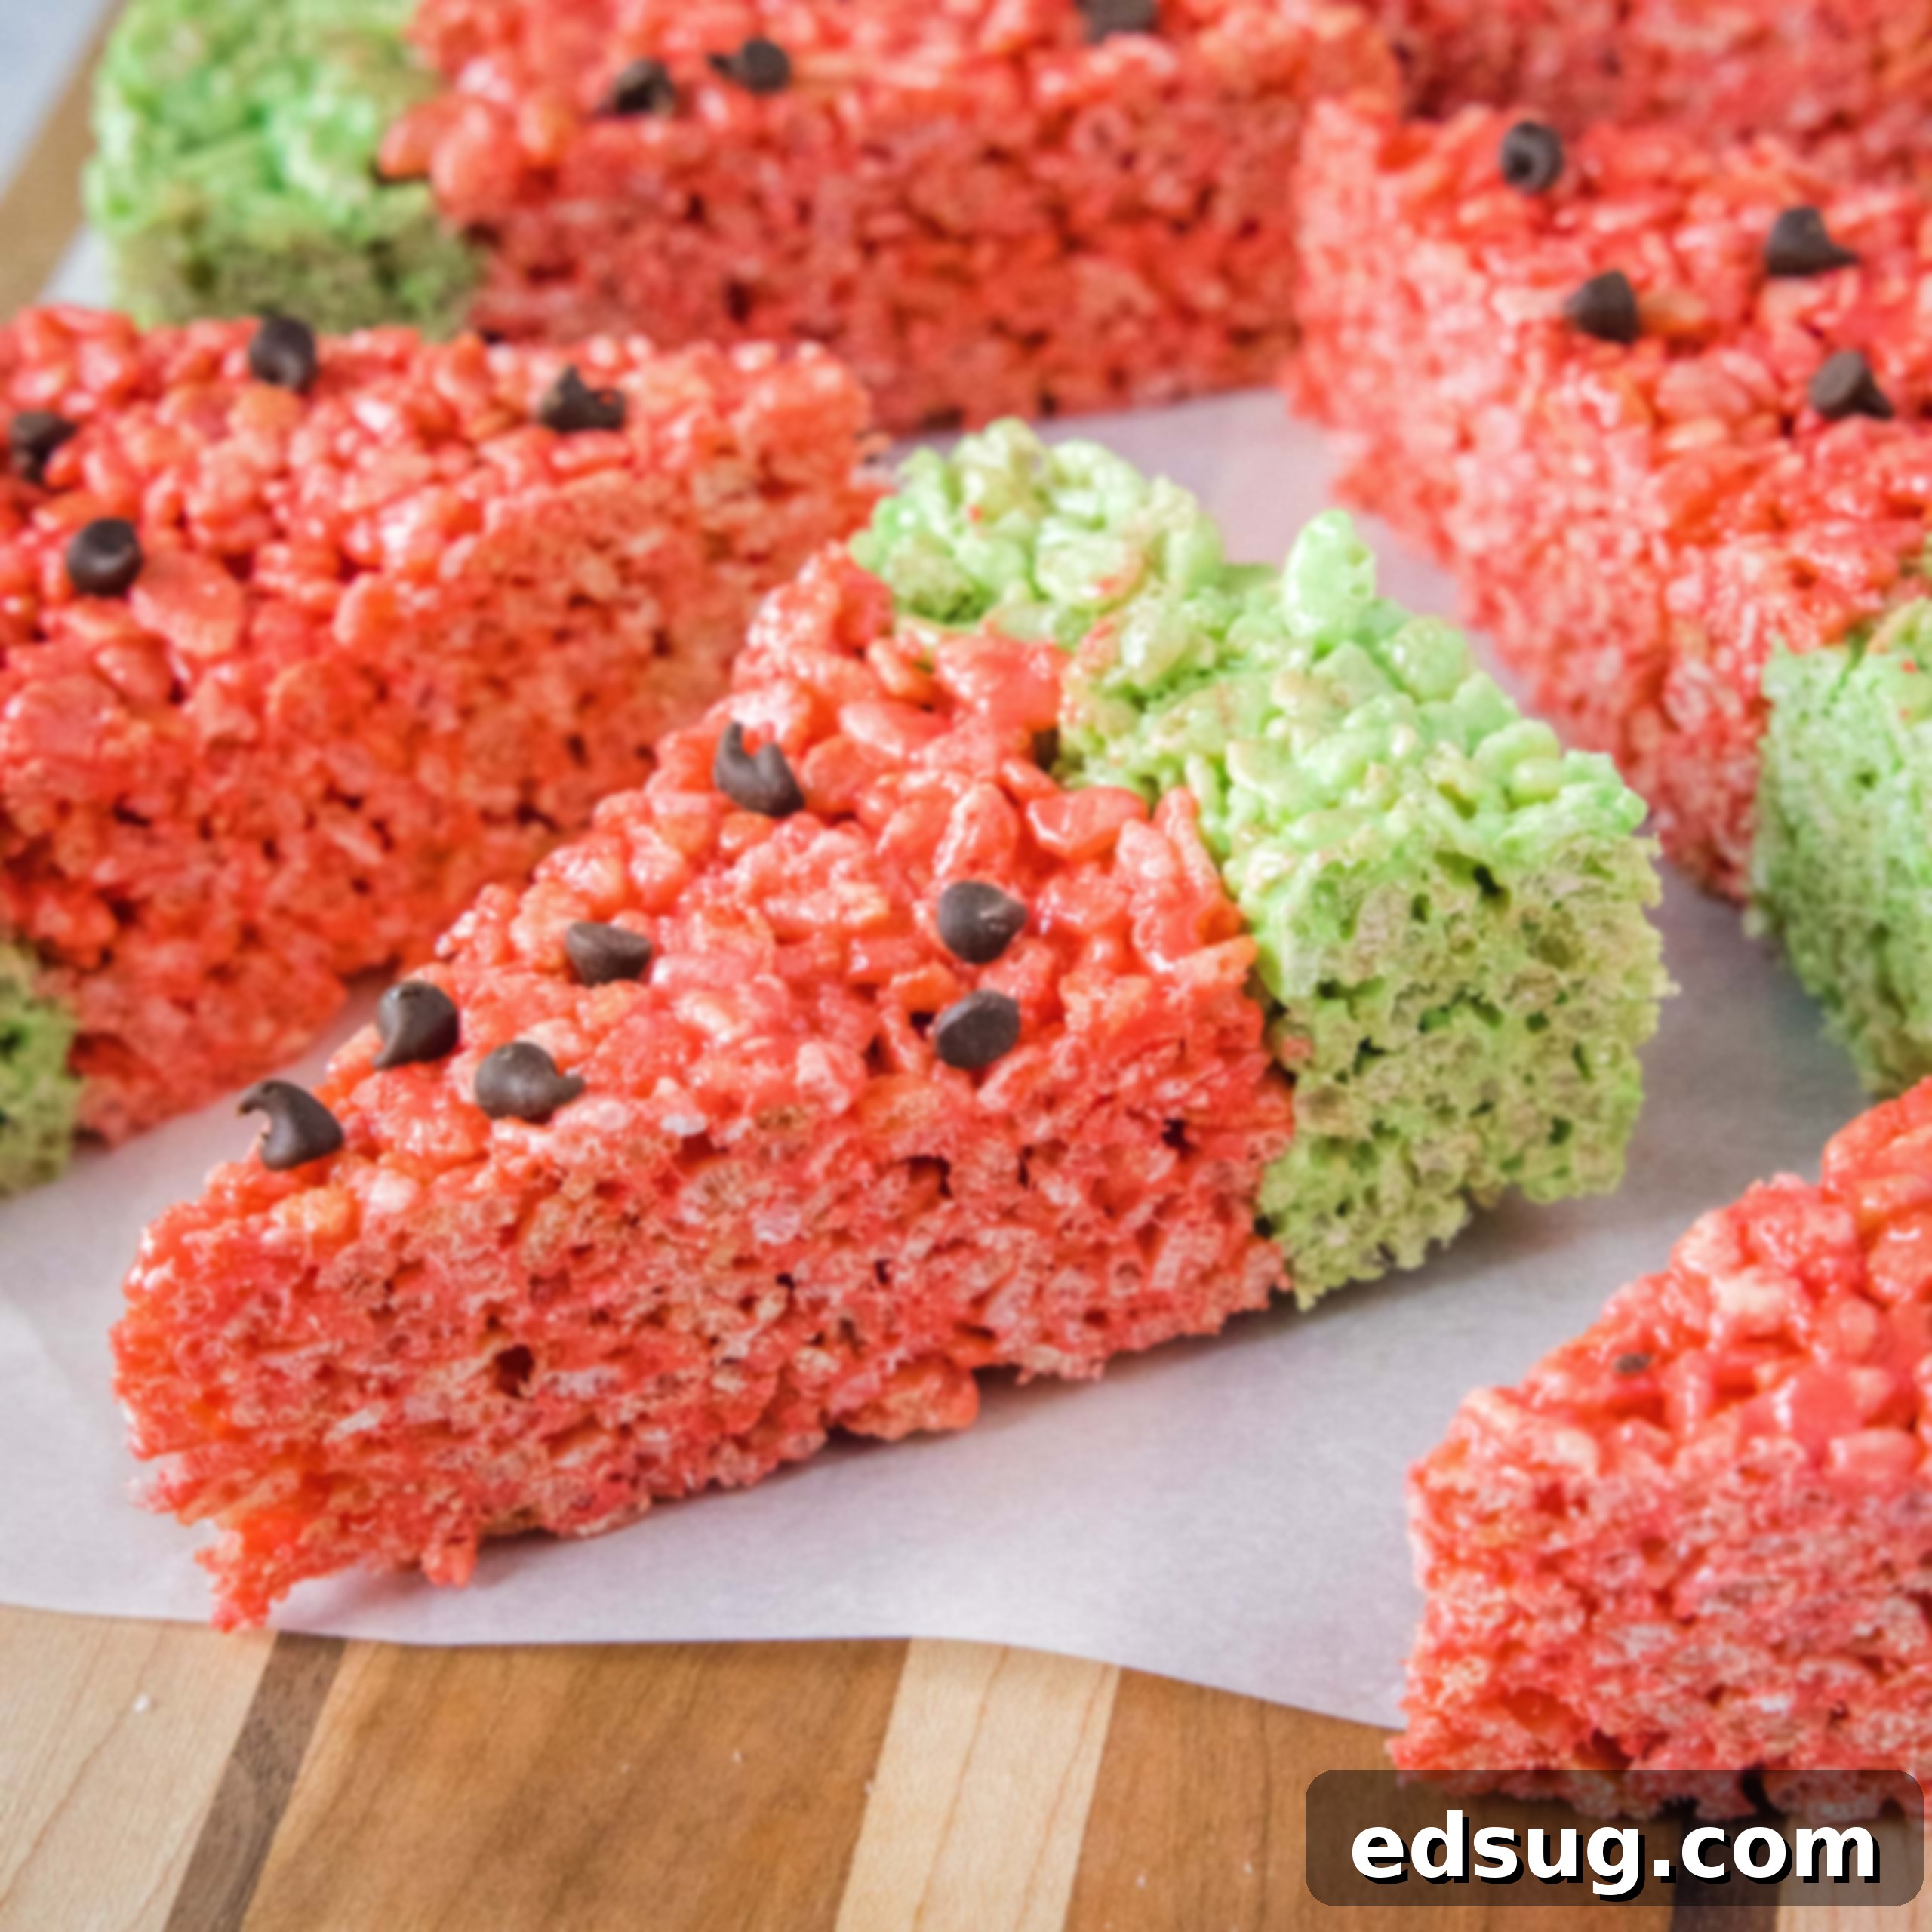
Delicious Watermelon Rice Krispie Treats: Your Ultimate Guide to a Fun Summer Dessert
Get ready to impress at your next summer gathering with these incredibly fun and easy Watermelon Rice Krispie Treats! This delightful twist on a classic no-bake dessert transforms ordinary crispy cereal squares into vibrant, eye-catching watermelon slices. They are not only super simple to prepare but also a guaranteed hit with guests of all ages, offering a playful and refreshing treat perfect for any warm-weather occasion.
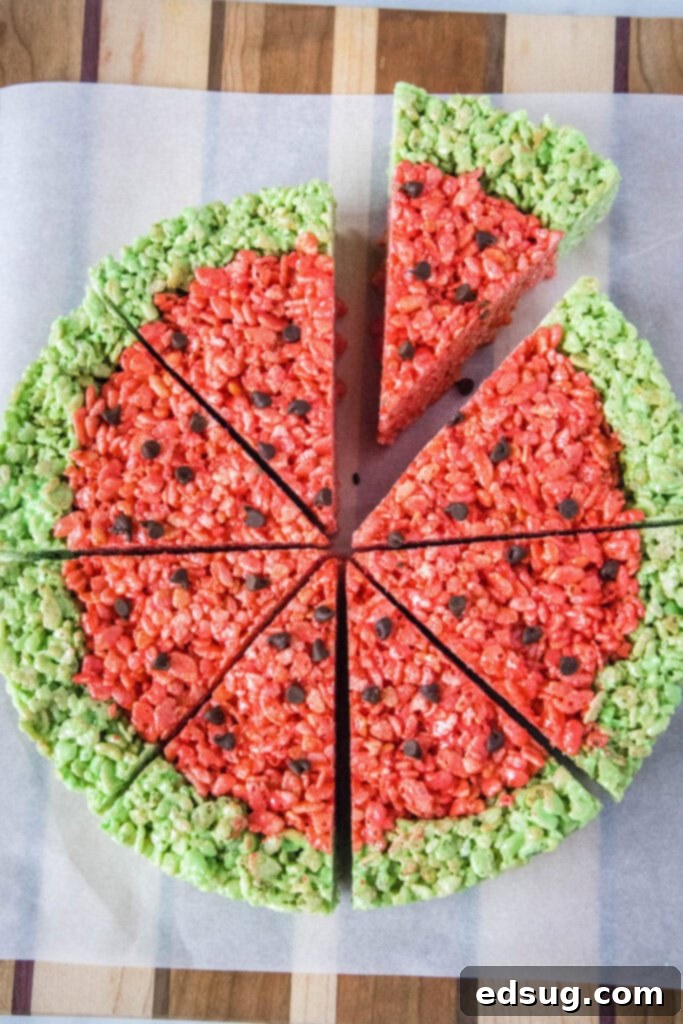
Why You’ll Love These Watermelon Treats
Rice Krispie treats hold a special place in many hearts, and for good reason! They’re quick, require no baking, and deliver that satisfying chewy-crispy texture everyone adores. For my family, these treats are a consistent favorite, especially for my husband who isn’t a fan of chocolate. We make them often, but for summer, we love to elevate them into something truly special. Turning them into adorable watermelon slices takes just a few extra steps, but the “wow” factor is undeniable.
Imagine the smiles and surprised faces when you present a platter of these colorful, dessert-worthy watermelon slices. They’re perfect for barbecues, picnics, pool parties, or simply as a fun after-school snack. While it does involve separating the mixture and adding food coloring, the process is incredibly straightforward and uses the same fundamental techniques as making traditional Rice Krispie treats. The result is a memorable dessert that will have everyone asking for your secret!
Essential Ingredients for Watermelon Rice Krispie Treats
You’ll be delighted to know that these impressive watermelon-shaped treats require only a handful of common pantry staples. With just five core ingredients, you can whip up a batch that’s both delicious and visually stunning. Simplicity is key to a perfect summer treat!
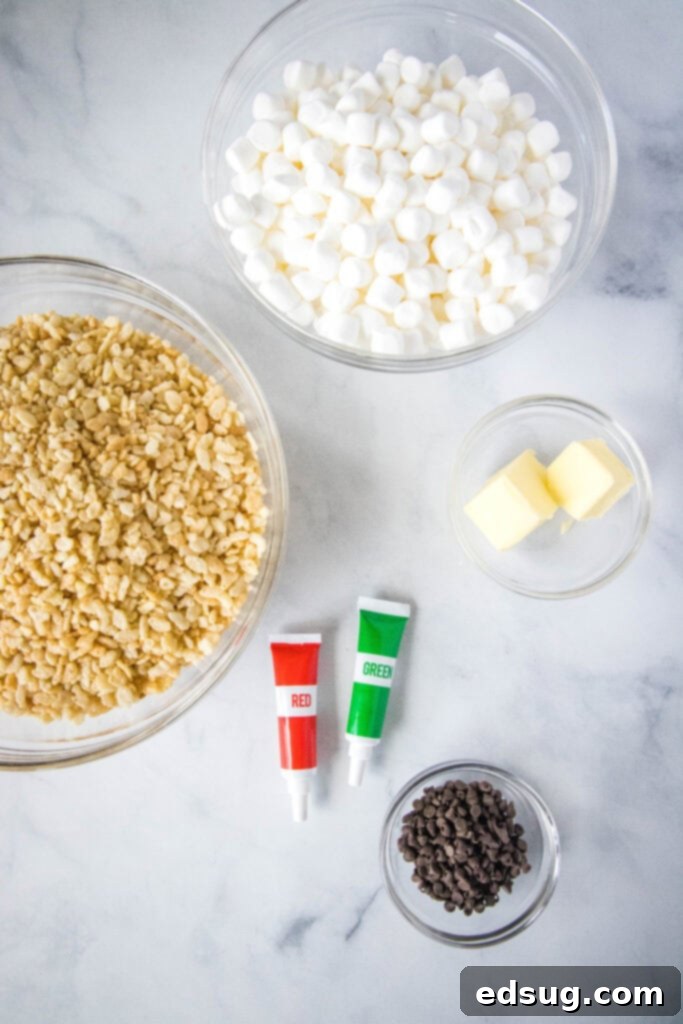
What You’ll Need:
- Butter: Essential for that rich, chewy texture and to prevent sticking.
- Mini Marshmallows: The magical binding agent that holds everything together. Mini marshmallows melt faster and more evenly.
- Rice Krispies Cereal: The crispy foundation of our delightful treats.
- Green Food Coloring: To create the authentic watermelon rind. Gel food coloring often provides a more intense color with less liquid.
- Red Food Coloring: For the vibrant, juicy-looking watermelon flesh. Again, gel is recommended for best results.
- Mini Chocolate Chips: These tiny morsels are perfect for mimicking watermelon seeds, adding a touch of chocolatey goodness.
Step-by-Step Guide: Crafting Your Watermelon Rice Krispie Treats
Creating these adorable watermelon treats is a fun and straightforward process. The key is working in two separate batches for the green rind and the red flesh, then assembling them in a round pan. Follow these simple steps for a perfect outcome every time.
Preparing the Pan:
- First, prepare your pan. Spray a 9-inch round cake pan or a 9-inch springform pan generously with non-stick cooking spray. This crucial step will ensure your treats don’t stick and are easy to remove once set.
Creating the Green Rind:
- In a large, microwave-safe bowl, combine 2 tablespoons of butter with 2 cups of mini marshmallows for the green “rind.”
- Heat in the microwave on high for approximately 45 seconds, or until the marshmallows are puffed and soft. Remove from the microwave.
- Add several drops of green food coloring to the melted marshmallow mixture. Stir vigorously until the color is smooth, consistent, and vibrant.
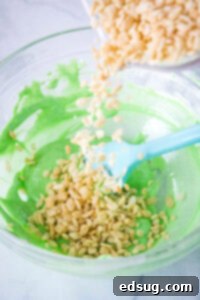
- Quickly add 3 cups of Rice Krispies cereal to the green marshmallow mixture. Mix well until the cereal is thoroughly coated and evenly blended with the green color.
- Transfer the green Rice Krispie mixture to the prepared round pan. Using your greased hands (or a piece of parchment paper), press the green mixture around the outer edge of the pan, forming a border that is about 1 to 1.5 inches thick. This will be the “rind” of your watermelon. Set the pan aside while you prepare the red center.
Forming the Red Watermelon Flesh:
- In a separate large, microwave-safe bowl, combine 3 tablespoons of butter with 4 cups of mini marshmallows for the red “flesh.”
- Heat in the microwave on high for approximately 1 minute, or until completely melted and smooth. Remove from the microwave.
- Add a generous amount of red food coloring to the melted marshmallow mixture. Stir until you achieve a bright, uniform red color.
- Fold in 4 cups of Rice Krispies cereal. Mix thoroughly until all the cereal is evenly coated in the red marshmallow mixture.
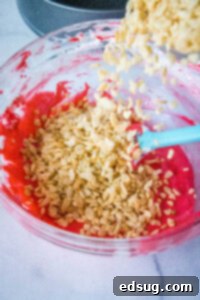
Assembling and Finishing:
- Carefully pour the red Rice Krispie mixture into the center of the pan, inside the green rind.
- Using your greased hands or a spatula, gently press the red mixture into an even layer, ensuring it connects seamlessly with the green rind.
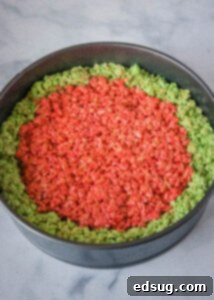
- Generously sprinkle mini chocolate chips over the red center. Gently press them down lightly to ensure they adhere and resemble watermelon “seeds.”
- Allow the treats to set completely at room temperature for at least 30 minutes, or refrigerate for 15-20 minutes for a quicker set.
- Once firm, carefully remove the large round treat from the pan. Slice into wedges to create authentic-looking watermelon slices.
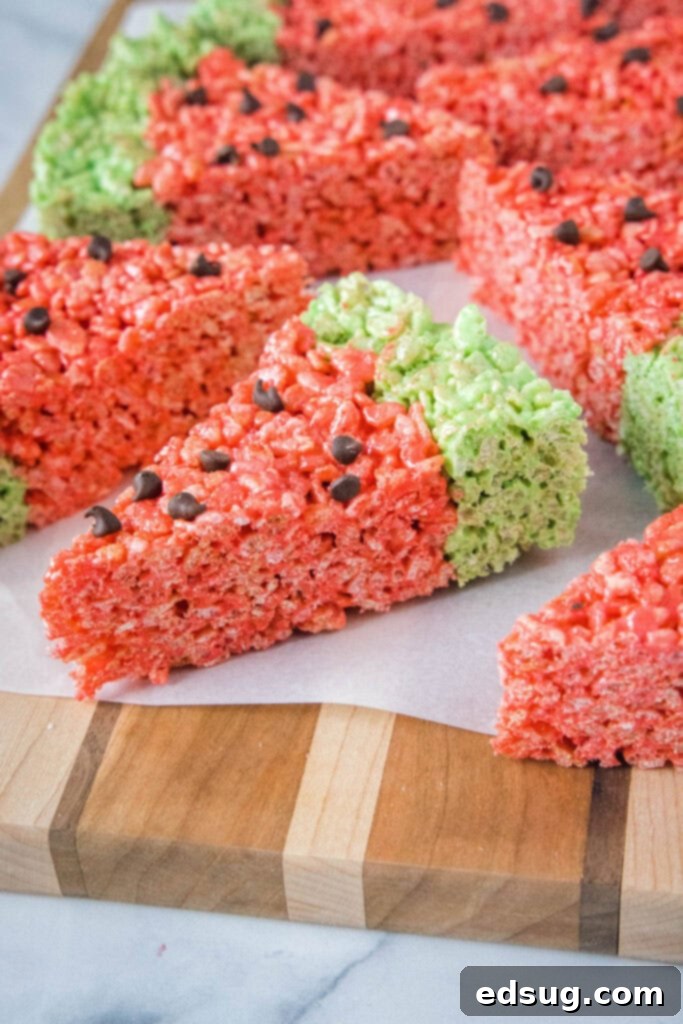
Expert Tips & Creative Variations for Perfect Treats
Achieving perfectly shaped and delicious Watermelon Rice Krispie Treats is simple with a few insider tricks. Here are some tips and suggestions to make your treats even better and offer creative twists:
- The Secret to Non-Sticky Hands: Pressing Rice Krispie treats into a pan can be a sticky business. To avoid this, lightly spray your hands with non-stick cooking spray before handling the mixture. Alternatively, you can wet your hands with cold water and shake off any excess. This will prevent the marshmallow from sticking and allow you to press the mixture into an even, desired shape with ease.
- Perfect “Seeds”: Mini chocolate chips are ideal for simulating watermelon seeds due to their size and shape. However, if you only have regular chocolate chips, they will work just as well, simply appearing as slightly larger seeds. For an extra touch, you can also use black sesame seeds for a more realistic, non-chocolate option.
- Boost the Watermelon Flavor: If you want your treats to not just *look* like watermelon but also *taste* like it, consider adding a few drops of watermelon flavoring (available on Amazon or at specialty baking stores) to the red marshmallow mixture. Start with a small amount and add more to taste.
- Achieving Vibrant Colors: For the best, most vibrant green and red hues, I highly recommend using gel food coloring, such as Betty Crocker Gel Food Coloring, which can be found at most grocery stores or craft stores. Gel colors are concentrated and produce richer, deeper tones without altering the consistency of your marshmallow mixture as much as liquid food coloring might.
- Pan Alternatives: Don’t have a 9-inch round pan? You can use a square 9×9 inch pan, press the green mixture into a square border, and then the red inside. Once set, cut them into square “watermelon” slices. For smaller, individual treats, you could press the mixture into muffin tins, creating mini watermelon cups.
- Kid-Friendly Fun: This recipe is fantastic for getting kids involved in the kitchen! Let them help with pressing the cereal mixture (with greased hands!) and sprinkling the chocolate chip “seeds.” It’s a simple, safe, and engaging activity for little bakers.
- Presentation Matters: To truly make these treats shine, arrange the watermelon slices on a platter with some fresh mint leaves or actual watermelon wedges for a beautiful summer display.
Proper Storage for Freshness
Just like their classic counterparts, these Watermelon Rice Krispie Treats are best enjoyed when fresh. To maintain their delicious texture and prevent them from becoming hard or stale, proper storage is essential. Store them in an airtight container at room temperature for up up to 3-4 days. While they are a wonderful make-ahead option for a party, it’s best not to make them too far in advance, as they can lose their soft chewiness over time. Freezing is generally not recommended, as it can significantly alter their texture, making them crumbly and less enjoyable upon thawing.
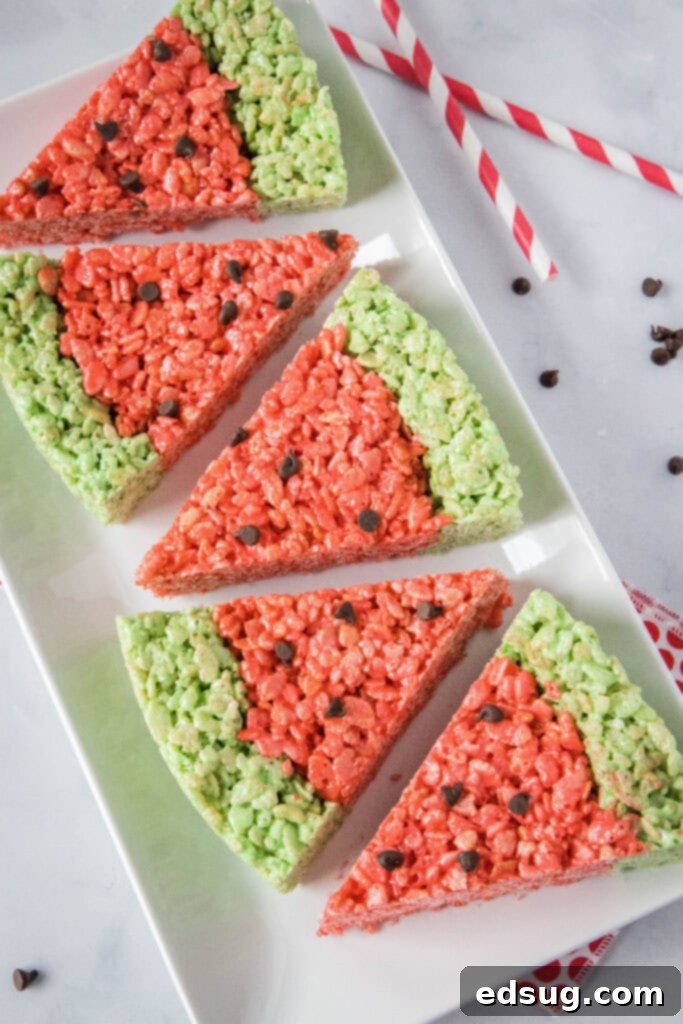
Frequently Asked Questions (FAQs)
Can I use a different type of cereal?
While Rice Krispies cereal is traditional for its light and airy texture, you could experiment with other puffed rice cereals or even corn flakes for a slightly different bite. However, the classic Rice Krispies give the most authentic texture for these treats.
Can I make these treats ahead of time?
Yes, these treats are a fantastic make-ahead dessert! You can prepare them 1-2 days in advance and store them in an airtight container at room temperature. For optimal freshness and chewiness, it’s best to serve them within 2-3 days of making them.
What if I don’t have a round cake pan?
No problem! You can use a square 9×9 inch baking dish. Simply press the green mixture around the perimeter to form a square rind, then fill the center with the red mixture. Once set, cut the large square into smaller square slices or even triangles to mimic watermelon wedges.
Are Watermelon Rice Krispie Treats gluten-free?
Traditional Rice Krispies cereal (Kellogg’s brand) contains malt flavoring derived from barley, which is not gluten-free. However, many brands offer gluten-free crispy rice cereal options. If you need these treats to be gluten-free, be sure to use a certified gluten-free crispy rice cereal and check all other ingredient labels (like marshmallows and food coloring) to ensure they are also gluten-free.
More Delightful Summer Treat Recipes
Looking for more easy and fun recipes to sweeten up your summer? Here are some other fantastic treats perfect for warm weather and gatherings:
- Patriotic Party Mix – A festive, sweet, and salty snack mix.
- Red, White & Blue Muddy Buddies – Another colorful, no-bake favorite.
- Patriotic Pretzels – Simple chocolate-covered pretzels with a holiday twist.
- No Bake Cookies – Classic, quick, and satisfying chocolate oat cookies.
- Lemon Cheesecake Cones – A refreshing and unique dessert in a cone.
- Strawberry Jello Pie – A light, fruity, and cool pie perfect for summer.
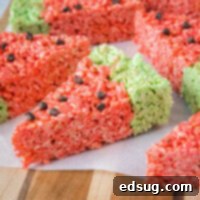
Watermelon Krispie Treats
By Erin Sellin
These fun and easy Watermelon Rice Krispie Treats are super easy to make and super fun for any of your summer get togethers!
- Prep Time: 20 mins
- Total Time: 20 mins
- Servings: 16
Ingredients
Green “Rind”
- 2 Tablespoons butter
- 2 cups mini marshmallows
- 3 cups Rice Krispie cereal
- Green food coloring
Red “Fruit”
- 3 Tablespoons butter
- 4 cups mini marshmallows
- 4 cups Rice Krispie cereal
- Red food coloring
- 1 Tablespoon mini chocolate chips
Instructions
- Spray a 9-inch cake pan or 9-inch spring form pan with non-stick spray.
- In a microwave safe bowl add marshmallows and butter for the green part of the watermelon. Heat for 45 seconds on high. Remove from the oven, add the green food coloring and mix until smooth and melted.
- Add in the rice krispie cereal and mix until evenly blended and a nice green color.

- Add the green krispies to the pan, and press around the edges. It will be 1-1 1/2 inches thick around the edge to make the “rind” of the watermelon. Set aside while you made the center.
- In a microwave safe bowl add the marshmallows and butter for the red part of the watermelon. Heat for 1 minute on high. Remove from the microwave and add the red food color. Mix until smooth and a bright red color.
- Add in the rice krispie cereal and mix until evenly blended.

- Pour the red krispies into the center of the cake pan and press into an even layer.

- Sprinkle mini chocolate chips over the top and gently press down for the “seeds” to stick.
Nutrition
Serving: 1g | Calories: 141kcal | Carbohydrates: 26g | Protein: 1g | Fat: 4g | Saturated Fat: 2g | Polyunsaturated Fat: 1g | Cholesterol: 10mg | Sodium: 107mg | Sugar: 12g
Nutrition information is automatically calculated, so should only be used as an approximation.
Additional Info
- Author: Erin Sellin
- Prep Time: 20 minutes
- Total Time: 20 minutes
- Course: Dessert Recipes
- Cuisine: American
- Servings: 16
- Calories: 141
Like this recipe? Leave a comment below!
I created a fun group on Facebook, and I would love for you to join us! It’s a place where you can share YOUR favorite recipes, ask questions, and see what’s new at Dinners, Dishes and Desserts (so that you never miss a new recipe)!
Be sure to follow me on Instagram and tag #dinnersdishes so I can see all the wonderful DINNERS, DISHES, AND DESSERTS recipes YOU make!
Be sure to follow me on my social media, so you never miss a post!
Facebook |
Twitter |
Pinterest |
Instagram
